46
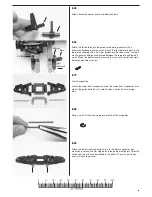
J-2
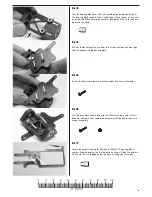
Insert the engine mount between the left stiffener and the left side frame
as shown.
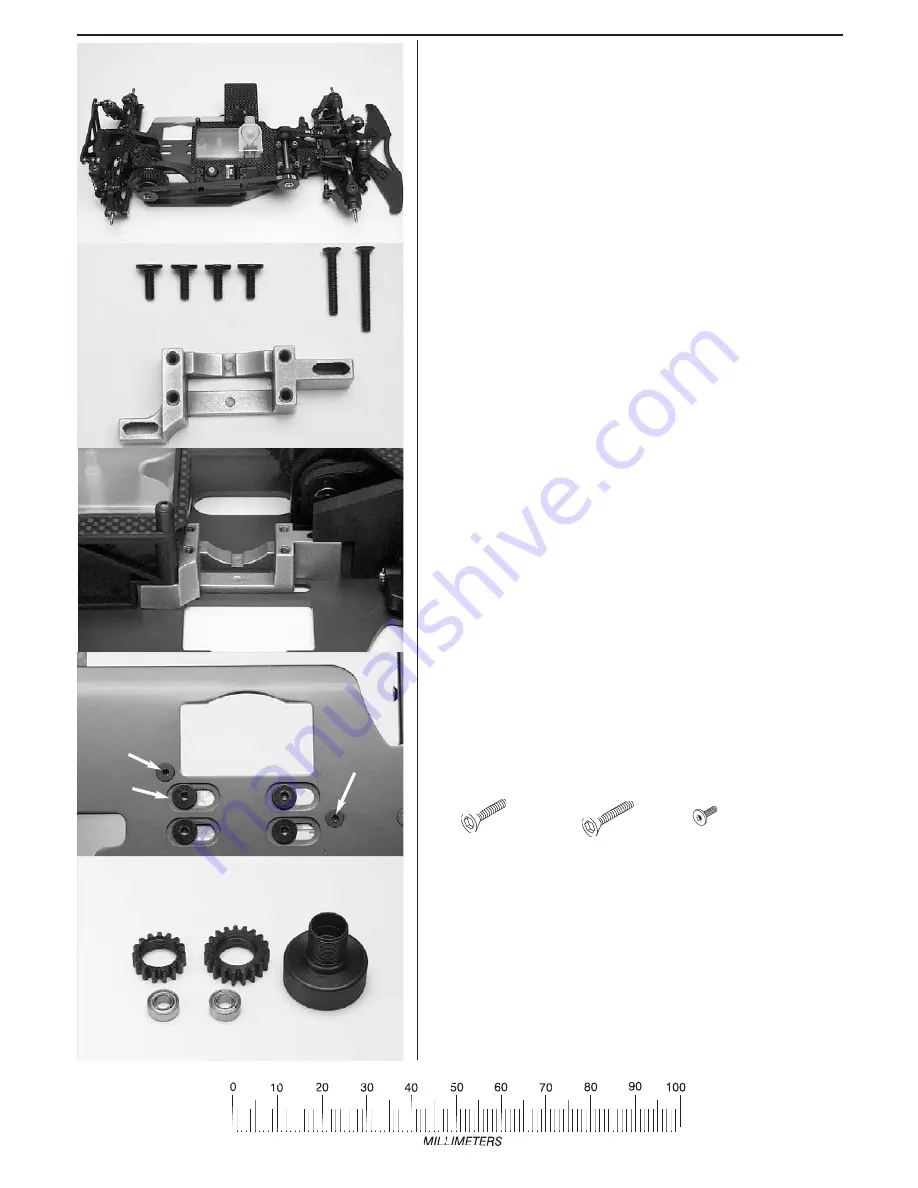
J-3
Fasten the engine mount to the chassis with a 3x20mm countersunk
machine screw in the front hole, (4) 3x10mm shoulder screws in the
slotted middle holes, and a 3x25mm countersunk machine screw in the
rear hole. Do not tighten these screws. The engine mount needs to be
loose for adjustment.
J-4
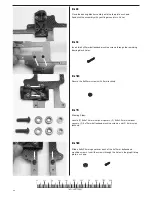
Clutch Assembly:
Locate the 19-tooth and 15-tooth clutch bell gears, the clutch bell, and
(2) 5x10mm ball bearings.
I-45
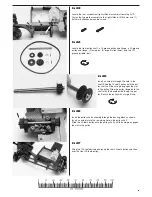
By now, your Nitro 4-Tec Pro should look fairly complete. Now it’s time
to install the engine and radio gear.
BAG-J
Engine Mount
Radio system installation
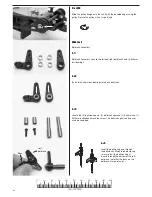
J-1
Locate the engine mount, (1) 3x20mm countersunk machine screw, (1)
3x25mm countersunk machine screw, and (4) 3x10mm shoulder screws.
left side frame
3x20mm
3x25mm
shoulder
screws
stiffener

