28
•
XO-1
EXPERTS ONLY: OPERATING THE XO-1 AT MAXIMUM SPEED
Now that you are familiar with the operation of the XO-1 in ‘out-of-
the-box’ trim, it’s time to explore the upper limits of its performance
capability.
Before you unlock the power system and outfit your model
for full-power operation, make certain you have fully read and
understand the warnings and precautions starting on page 3
.
If you have questions about the XO-1, please contact Traxxas at
1-888-TRAXXAS or e-mail us at support@Traxxas.com
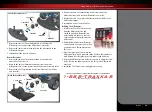
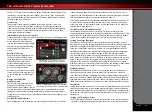
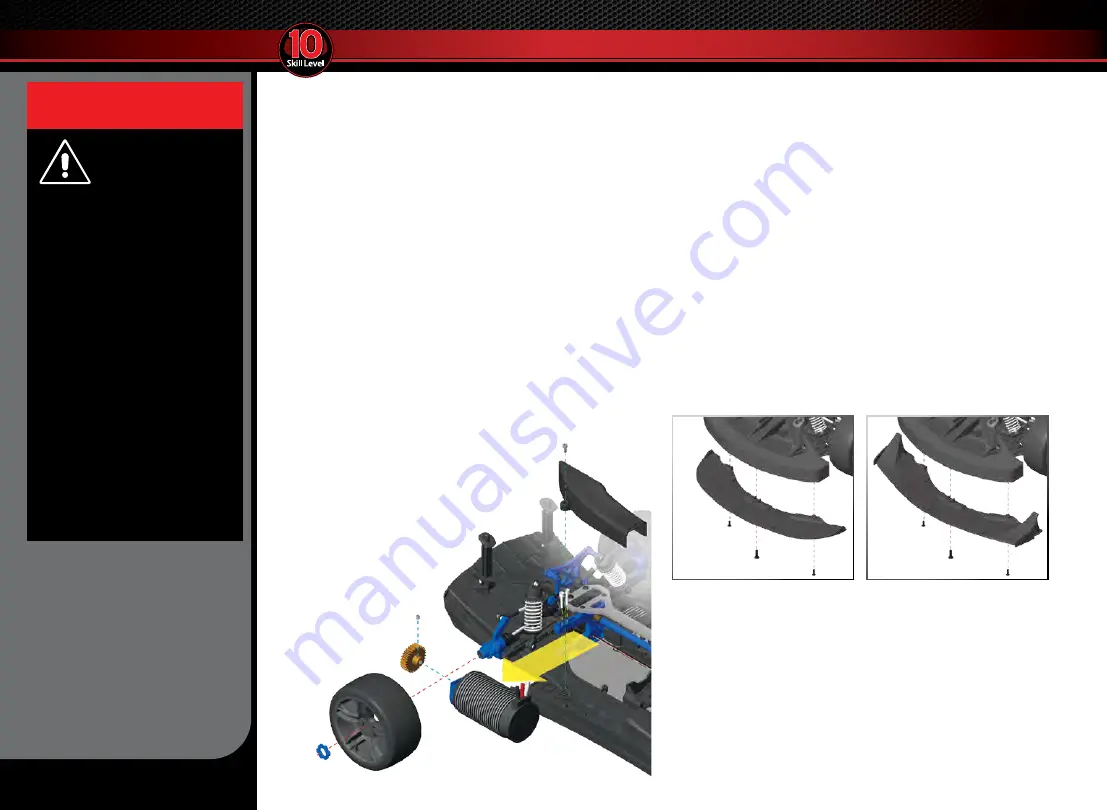
Installing the High-Speed Pinion
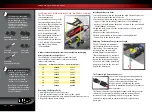
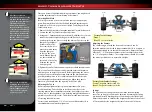
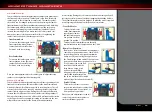
1. Remove the right rear wheel. This will make it easier to adjust the
gear mesh.
2. Remove the right rear shock’s upper mounting screw and pivot it
away from the chassis to allow clearance for the pinion when you
remove the motor.
3. Remove the 3x8mm cap screw and lift the motor cooling duct off
the chassis.
4. Remove the 3x15mm cap screws and slide the motor out of the
motor mount. You do not need to unplug the motor from the
speed control or remove the motor temperature sensor.
5. Loosen the 4x4mm set screw in the pinion and slide the pinion off
the motor’s output shaft.
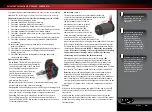
6. Install the high-speed pinion on the
motor’s output shaft. Do not tighten
the set screw yet.
7. Turn the shaft so the pinion’s set
screw faces up. With the 2mm
driver installed in the pinion’s set
screw, slide the pinion toward
the motor mount until the
driver fits into the slot in
the motor mount. This sets the pinion’s offset from the motor for
proper mesh with the spur gear. Tighten the set screw.
8. Reinstall the motor and cooling duct. Follow the steps on
page 20 to properly set the gear mesh.
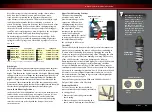
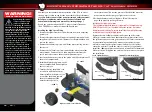
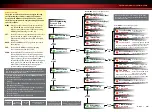
Installing the 100mph Splitter
The 100mph splitter with canards is required for 100mph running.
DO NOT run the XO-1 at 100mph without the splitter. It provides
downforce and stability. Failure to install the 100mph Splitter may
result in a loss of control at high speed.
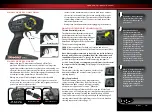
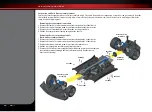
Remove the two 3x10mm countersunk screws and the center
4x15mm countersunk screws that attach the splitter extension to
the splitter mount. Loosening the two outer 4x15mm countersunk
screws attaching the front body mount to the splitter mount
will aid in removing the splitter extension. Remove the splitter
extension and store it with the other accessories for your model.
Install the 100mph splitter extension and reinstall the 3x10mm and
4x15mm screws. Retighten the outer 4x15mm screws to complete
the installation.
3.
3x8CS
4.
3x15CS
5.
4x4GS
1.
2.
High Speed Pinion Installation
Skill Level = Myriad Semi Bold
1 2 3 3+ 4 5
bluehighway font
For Expert Drivers
For Expert Drivers
ONLY
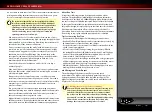
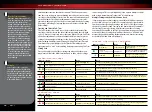
Experts Only! This product
is not a toy. This product
carries our highest skill
level rating, 10, and is not
intended for use by children or minors
under the age of 16. Individuals under
the age of 18 require responsible
adult supervision during operation
and maintenance.
The XO-1 is only
intended to be owned and operated by
experienced users, with advanced skills,
and expert driving ability. Responsibility,
maturity, and common sense are
required. This model must be treated
with absolute respect and caution to
ensure the safety of yourself and others
around you. It must only be driven at its
top speed on a closed course such as a
racetrack or drag strip where there are
safety barricades and pedestrian access
controls. Operating the XO-1 in a careless,
unsafe manner, without adequate care
and preparation, can result in collisions
with catastrophic consequences such as
serious injury or death. Know your limits.
Be honest with yourself about your true
ability and be certain you have a location
where you can safely run the model.
WARNING!
RISK OF INJURY OR DEATH
4x15CCS
3x10CCS
3x10CCS
4x15CCS
3x10CCS
3x10CCS
100mph Splitter Installation
Stock Splitter Removal

