TRX-4 • 15
4
4
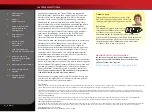
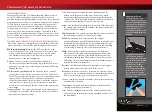
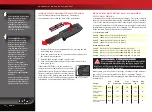
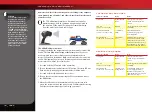
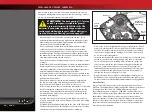
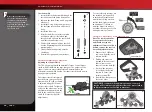
INSTALLING THE BATTERY PACK
WARNING:
Do not pinch the battery wires or connector.
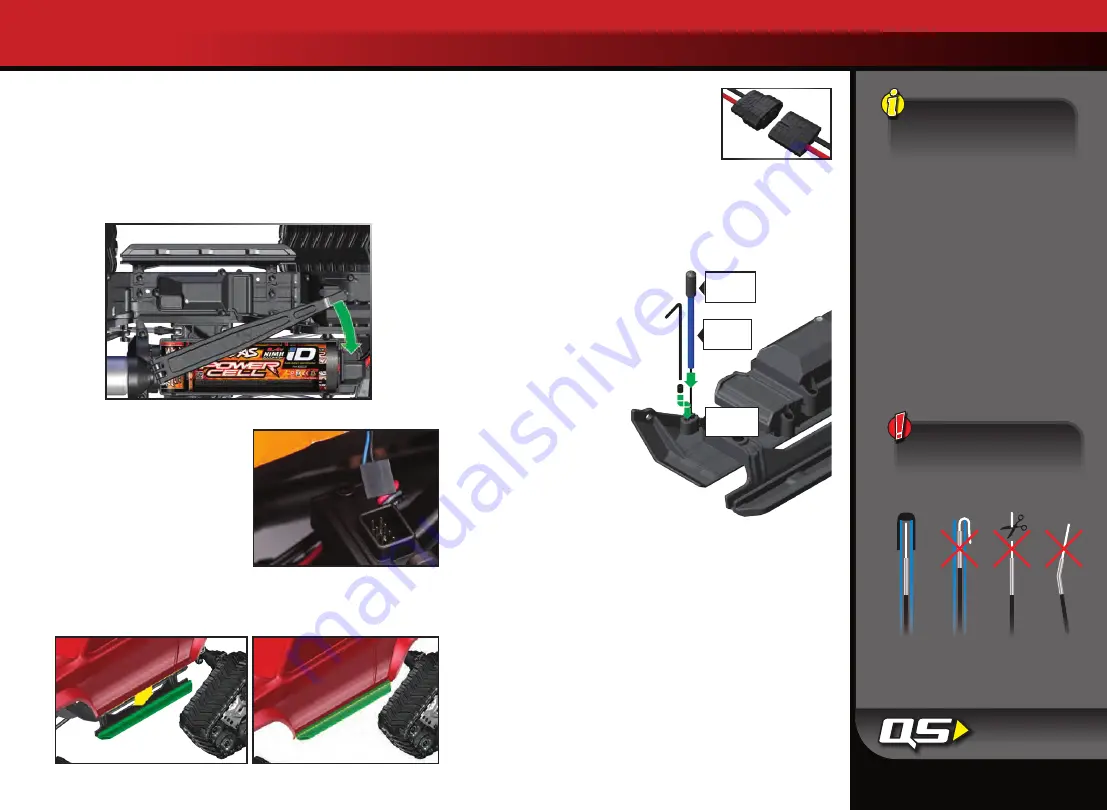
Install the battery pack with the battery wires facing the rear of the
model. Swing the battery hold down towards the chassis and snap
(lock) the end into the front hold-down retainer.
Note:
The battery hold down can be rotated on its pivot to
accommodate different height battery packs.
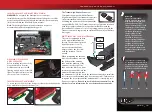
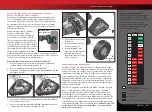
CONNECTING THE
LED LIGHTS
Before installing the vehicle body,
plug the black wire from the
distribution block into the LED
lighting module to power the LED
lights. The lights will turn on when
the speed control is turned on.
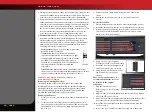
INSTALLING THE BODY
To secure the vehicle body to the frame to prevent body shake, align the
body with the rock sliders as shown below.
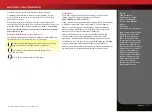
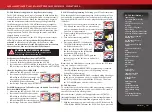
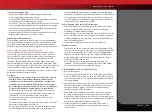
The Traxxas High-Current Connector
Your model is equipped with the Traxxas
High-Current Connector. Standard connectors
restrict current flow and are not capable of
delivering the power needed to maximize the
output of the XL-5 HV. The Traxxas connector’s gold-plated terminals
with large contact surfaces ensure positive current flow with the
least amount of resistance. Secure, long-lasting, and easy to grip, the
Traxxas connector is engineered to extract all the power your battery
has to give.
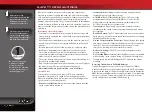
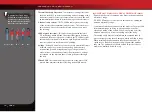
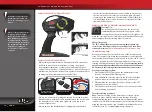
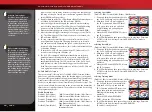
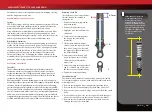
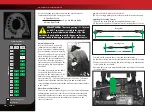
SETTING UP THE ANTENNA
The receiver antenna has been
set up and installed from the
factory. The antenna is secured
by a 3x4mm set screw. To
remove the antenna tube,
simply remove the set screw
with the included 1.5mm
wrench.
When reinstalling the antenna,
first slide the antenna wire into
the bottom of the antenna
tube until the white tip of the
antenna is at the top of the
tube under the black cap. Next,
insert the antenna tube into the
mount while making sure that
the antenna wire is in the slot in the antenna mount; then, install the
set screw next to the antenna tube. Use the supplied 1.5mm wrench
to tighten the screw just until the antenna tube is securely in place.
Do not over tighten.
Do not bend or kink the antenna wire! See the
side bar for more information. Do not shorten the antenna tube.
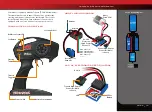
TRAXXAS TQ 2.4GHz RADIO SYSTEM
Battery iD
Traxxas recommended
battery packs are equipped
with Traxxas Battery iD. This
exclusive feature allows
Traxxas battery chargers (sold
separately) to automatically
recognize connected battery
packs and optimize the
charge settings for the
battery. This eliminates
the need to worry over
charger settings and menus
for the easiest and safest
charging solution possible.
Visit Traxxas.com to learn
more about this feature and
available Traxxas iD chargers
and batteries.
Antenna
Tip
Antenna
Tube
Antenna
Mount
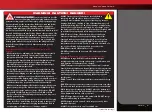
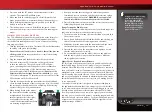
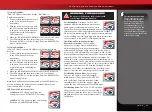
To prevent loss of radio range
do not kink or cut the black wire,
do not bend or cut the metal tip,
and do not bend or cut the white
wire at the end of the metal tip.
Correct
No
No
No
1
2
Summary of Contents for 82034-4
Page 1: ...MODEL 82034 4 owner s manual EQUIPPED WITH ...
Page 31: ...TRX 4 31 ...


