DESERT RACER • 27
Centering Your Servo
If you have removed the servo horn from your Desert Racer’s steering
servo, or the servo has been removed for service or cleaning, the
servo must be re-centered prior to installation of the servo horn or
installation of the servo.
1. Remove the servo horn from the steering servo.
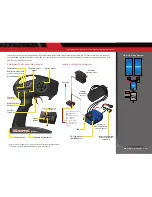
2. Connect the steering servo to channel 1 on the receiver. Connect
the electronic speed control (ESC) to channel 2. The white wire on
the servo lead is positioned toward the receiver’s LED.
3. Turn the transmitter power switch on. Make certain the
transmitter’s batteries are not depleted.
4. Turn off TSM (see page 19).
5. Turn the transmitter’s steering trim knob to the center “0” position.
6. Disconnect both the blue and white motor connectors (see page
13) to prevent the motor from turning during the next steps.
Connect a fresh battery pack to the speed control and turn on the
ESC (see page 20). The servo’s output shaft will automatically jump
to its center position.
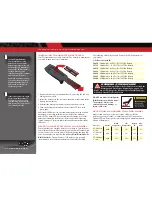
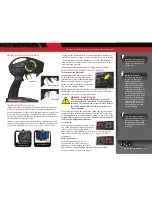
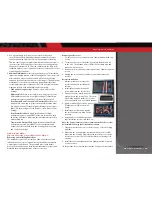
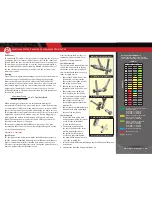
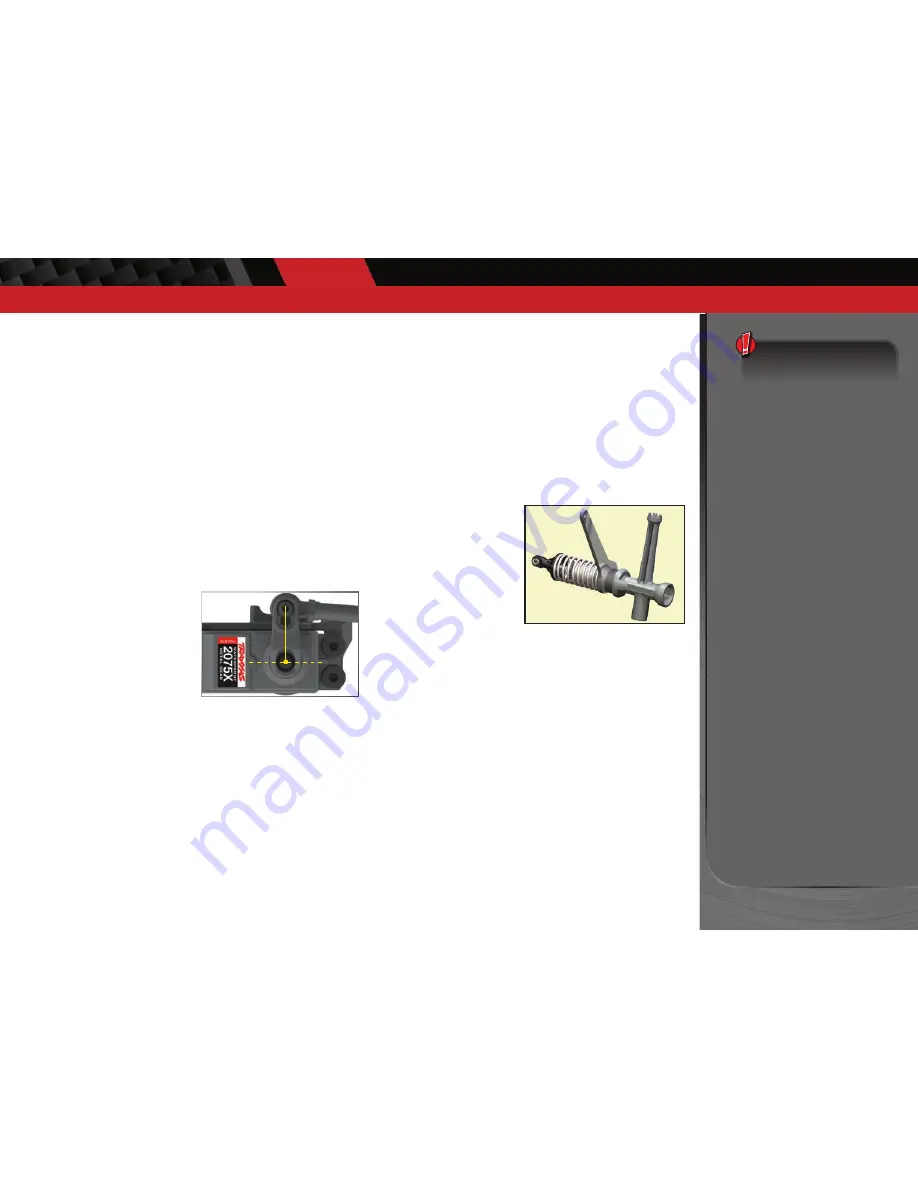
7. Install the servo horn onto
the servo output shaft. With
the servo laying down flat,
the servo horn should be
installed vertically so that it is
in the centered position.
8. Check servo operation by
turning the steering wheel
back and forth to ensure that the mechanism has been centered
properly and you have equal throw in both directions. Use the
transmitter’s steering trim knob to fine-tune the position of the
servo horn so the model tracks straight when the steering wheel is
at neutral.
Fine Tuning the Shocks
The eight (8) oil-filled aluminum shocks (dampers) effectively control
the suspension movement by preventing the wheels and tires from
continuing to “bounce” after rebounding from a bump. Changing the
oil in the shocks can vary the suspension damping effect. Changing
the oil to a higher viscosity oil will increase damping. Lowering the
viscosity of the oil will cause the suspension damping to be reduced.
Damping should be increased (with higher viscosity oil) if the model
is bottoming easily over jumps. Damping should be decreased (with
thinner viscosity oil) if the model is hopping over small bumps and feels
unstable. The viscosity of shock oil is affected by extremes in operating
temperature; an oil of certain viscosity will become less viscous at higher
temperatures and more viscous at lower temperatures. Operating in
regions with cold temperatures may require lower viscosity oil. Only
use 100% silicone oil in the shock. From the factory, the shocks are filled
with 30W silicone oil in the front and 60W silicone oil in the rear.
For shock piston tuning, see Advanced Tuning Adjustments on page 29.
Replacing Shock Oil
The shocks have to be removed from the vehicle and disassembled to
change the oil.
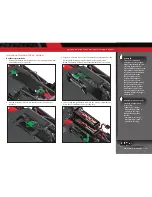
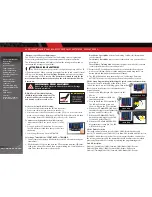
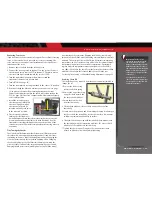
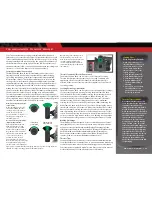
1. Remove the lower spring
retainer and shock spring.
2. Remove the upper shock cap
using the shock wrench and
the suspension multi tool.
3. Empty the used shock oil
from the shock body.
4. Fill the shock with new silicone shock oil up to the top of the
shock body.
5. Slowly move the piston up and down (always keeping it submerged
in oil) to release the air bubbles. Let the shock sit for a few minutes
to allow any remaining air bubbles to surface.
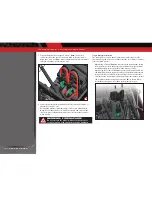
6. Slowly thread the upper cap with the installed shock bladder onto
the shock body with the suspension multi tool. The excess oil will
bleed out of the small hole in the shock cap.
7. Tighten the shock cap until snug. Use the included steel shock
wrench to hold onto shock body while tightening.
BASIC TUNING ADJUSTMENTS
Important:
The shocks are
assembled at the factory with
the correct center-to-center
distance (between the rod end
balls). Any time the shocks are
removed and disassembled, this
distance should be checked to
ensure proper operation of the
suspension.
See your parts list for correct
center-to-center measurements
(for front and rear shocks with
and without springs).

