6) Operate the forward/reverse shift button on the transmitter.
With the shift button pushed down, the truck will only operate
in forward motion. Pushing up on the shift button shifts the
transmission into reverse. Check for normal operation of the
shifting servo. In reverse, the shifting servo should extend the
transmission shifter from the transmission housing.
PREPARING TO RUN
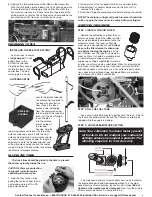
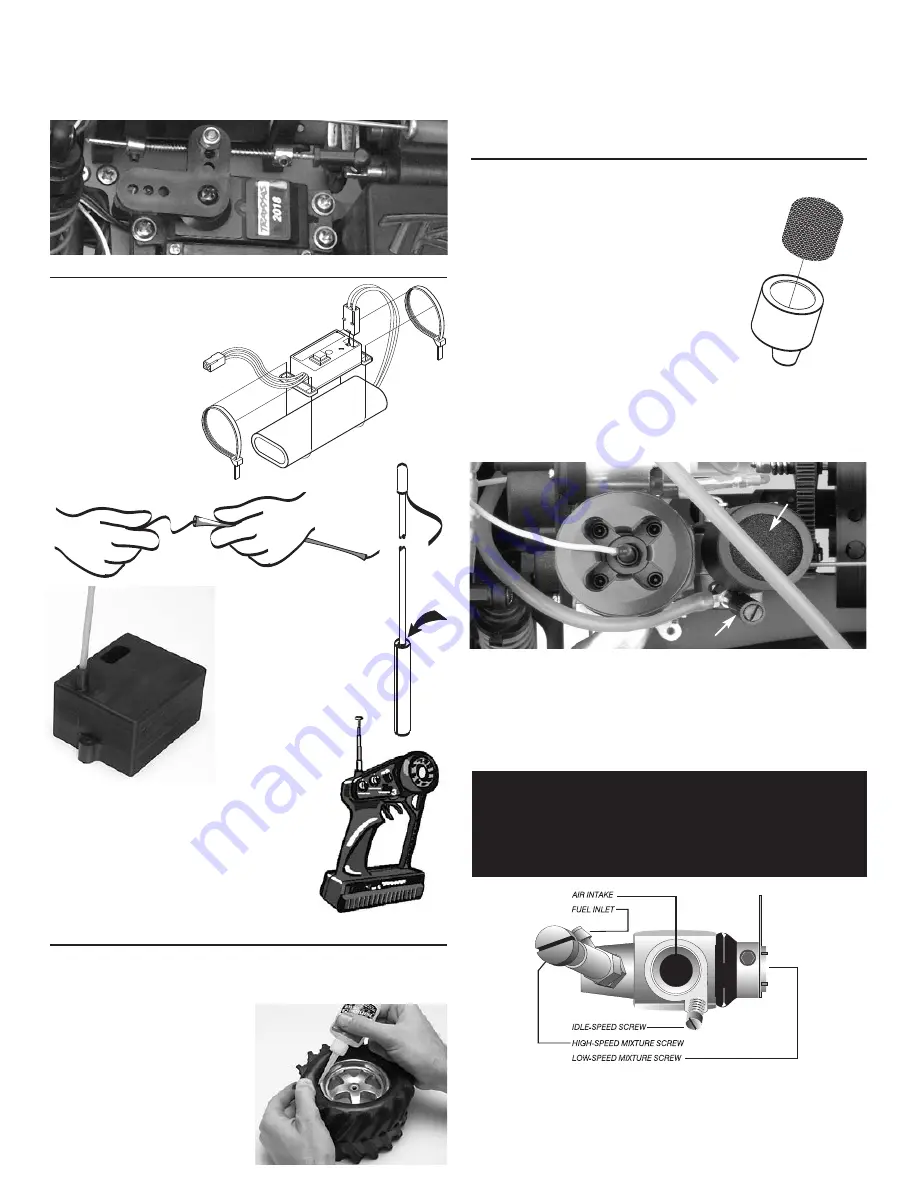
• INSTALLING THE EZ-START BATTERY
Use tie wraps to secure
a
fully-charged
7.2 volt
battery back to the
EZ-Start control box.
Plug the battery connec-
tor into the face of the
control box. The plug
will only go in one way.
• ANTENNA SETUP
Locate the plastic tube and
the antenna tip (supplied in
the bag with your instruc-
tions). Insert the black
antenna wire, extending
from the receiver housing,
into one end of the tube and
push it all the way through.
Insert the tube
into the antenna
mount on top of
the receiver
housing. Fold the
remaining antenna wire over the top of the
antenna tube and secure it with the vinyl
antenna tip. Under no circumstances should
you ever cut your antenna wire. Its length is
specially tuned to the frequency band, and
cutting it could severely shorten the radio’s
range. On top of the transmitter, fully extend
the chrome telescopic antenna.
GLUING THE TIRES
The truck tires should be glued to the rims to prevent
them from spinning inside the tire.
CAUTION: Wear eye protection
to prevent injury from glue
spattering into your eyes.
1. Glue the tires to the rim by
pulling the tire back from the rim
and placing a drop of thin CA
glue onto the bead.
2. Quickly re-seat the tire bead into the rim and allow to dry.
3. Repeat step 1 at several points around the tire until it is
secured to the wheel.
4. Allow the CA glue to completely cure before driving the vehicle.
NOTE: The acetone in finger nail polish remover should dis-
solve any glue that may come in contact with your fingers.
STARTING THE ENGINE
STEP 1: INSTALL THE AIR FILTER
Remove the protective cap from the car-
buretor air intake. Install the rubber air filter
base and pre-lubed foam element onto the
carburetor intake. The foam air filter ele-
ment may be cleaned and reused.
Always
be sure the filter element is oiled prop-
erly before running the engine.
For the
best filtration, use the type of oil made for
foam air filters. It should be available local-
ly from motorcycle shops and small
engine repair shops. Lightweight motor oil
or after-run oil may also be substituted. When the element gets
dirty, clean it with dish soap and rinse. Next, saturate it with oil
and then squeeze out the excess oil. For extremely dusty condi-
tions, special two or three-stage, pre-lubed filters are available
from Traxxas (Part #4062 and #4063).
STEP 2: FILL THE FUEL TANK
Use a small fuel bottle or bulb to put fuel into the tank. Only fill
the tank to the bottom of the fill neck. The T-Maxx can carefully be
refueled while the engine is running.
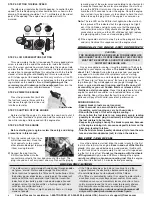
STEP 3: HIGH-SPEED MIXTURE SETTING
The high-speed mixture screw controls how much fuel enters
the engine during mid and high-speed operation. Turn the high-
speed mixture screw clockwise, by hand, until it stops
(Do not
tighten or the needle may be damaged).
Now, turn the mixture
screw counter-clockwise 2
1
/
2
complete turns.
AIR FILTER
HIGH SPEED NEEDLE
RECEIVER
HOUSING
Contact Traxxas for assistance: 1-888-TRAXXAS. 972-265-8000 (outside USA). E-mail us at support@Traxxas.com
5
Note: Your carburetor has been factory preset
for break-in. Do not readjust your carburetor
settings unless you suspect a problem. The
following steps are for reference only.

