truck has poor acceleration but very high top speed, the
transmission is shifting into second gear almost instantly.
The shift point needs to be raised by turning the adjustment
screw clockwise.
• FORWARD TO REVERSE SHIFT ADJUSTMENT
Included on the TQ-3 transmitter is a forward/reverse shift button
which operates the channel 3, shifting servo. The forward/
reverse shift button has been pre-set at the factory to shift the
truck into reverse when the button is pushed up.
Do not attempt
to make adjustments to the shifter mechanism unless you
are experiencing a problem.
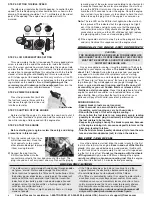
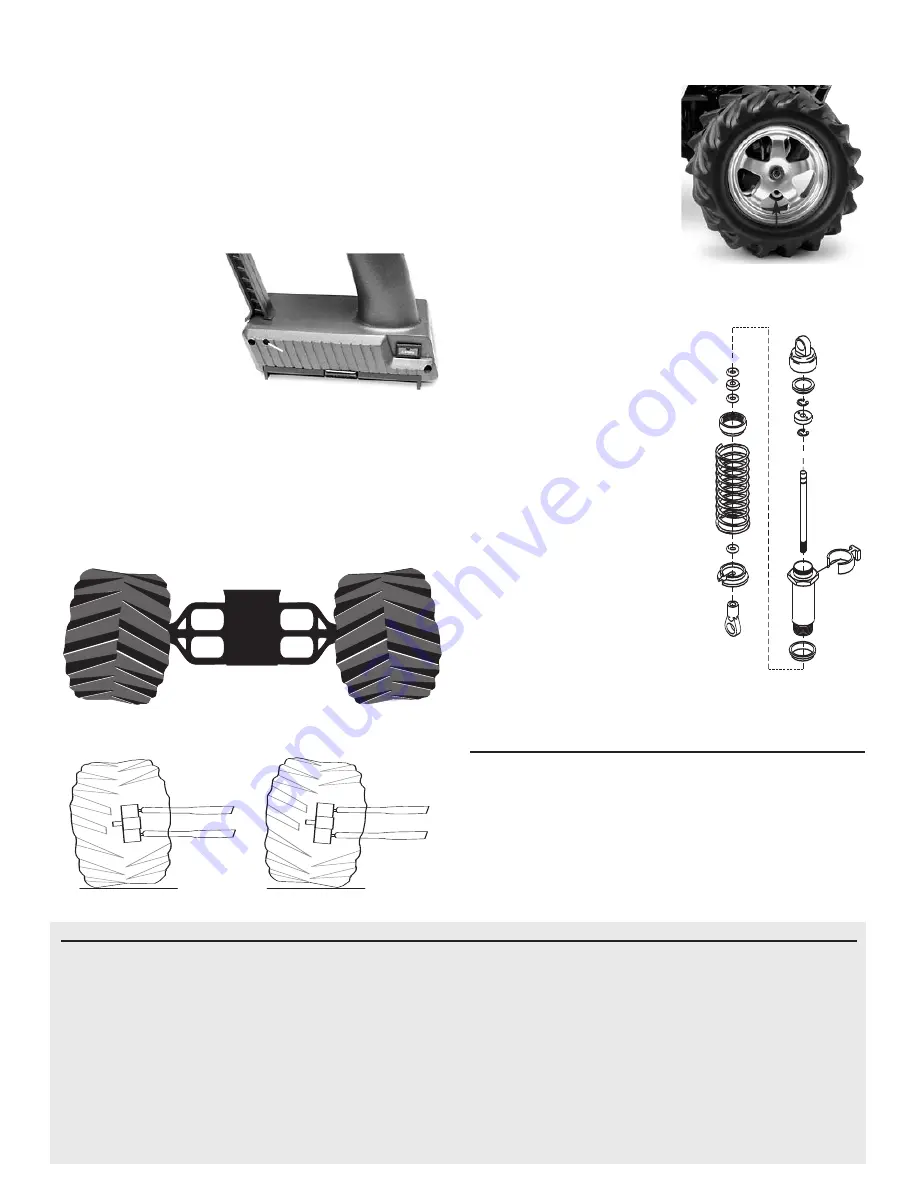
There is also a shifting trim
adjustment on the back of the TQ-3 transmitter. The trim adjust-
ment is factory pre-set for your convenience. You should not
have to make any adjust-
ments. If trim adjustments
for shifting become neces-
sary, insert a long small
screwdriver into the small
hole in the back of the
transmitter. Do not turn the
screwdriver more than 1/4
turn in either direction.
• TOE-IN
The T-Maxx comes from the factory with zero degrees of toe-in in
the front and one degree of toe-in in the rear. You can adjust the
toe-in on the front and rear of the truck. Set the steering trim on
your transmitter to neutral. Now, adjust your steering turnbuckles
so that both front wheels are pointing straight ahead and are par-
allel to each other (0 degrees toe-in). This will ensure the same
amount of steering in both directions. Adjust the rear toe control
links so that the rear wheels have 1˚ of toe-in.
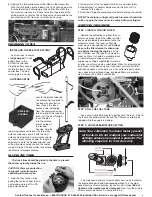
• CAMBER
There are two pivot balls which are accessible through the
spokes of each of the wheels on the T-Maxx. From the factory, the
pivot balls are completely tightened into the suspension arms which
gives each of the wheels -1˚ of
camber. Loosening the bottom
camber pivot ball with a 2.5mm
Allen wrench will increase the
wheel’s negative camber. You
should not adjust the top pivot ball.
Loosening the top pivot ball will
increase positive camber and will
also change the wheel’s toe-in.
After running the truck, always
remember to check the front pivot
balls to make sure they are tight.
• SHOCKS
The eight dampers (shocks) on your
T-Maxx have the most influence on its
handling. Whenever you rebuild your
shocks, or make any changes to the
pistons, springs or oil, always do it care-
fully and in sets (front or rear). Piston
head selection depends on the range of
oil viscosities that you have available.
For example, using a two-hole piston
with a lightweight oil will give you the
same dampening as a three-hole piston
with heavier oil. We recommend using
two-hole pistons with a range of oil
viscosities from 10W to 40W (available
from your hobby shop). The thinner
viscosity oils (30W or less) flow with
less resistance and provide less
dampening, while thicker oils provide
more dampening. Use only 100% pure
silicone shock oil to prolong seal life.
The ride height for the T-Maxx can
be adjusted by adding or removing the
clip-on spring pre-load spacers. Note
that changes in ride height will occur
when the changes in damper angle or
spring rates are made. You can compensate for ride height
changes by changing the pre-load spacers on the dampers.
STORAGE
After running your T-Maxx, use a good “after-run” product prior
to storage. The chemicals used in the fuel attract moisture and
can cause moisture and corrosion to form inside the engine.
Drain the fuel tank, start the engine and run it until all of the
remaining fuel is completely used up. Remove the air cleaner
and place the recommended number of drops (usually 6 drops)
of the after-run oil into the carburetor. Now, spin the engine for 2-3
seconds with the EZ-Start to circulate the oil. Replace the air
cleaner.
Never store your T-Maxx with unused fuel in it.
PRE-LOAD
SPACERS
MAINTENANCE
1) Check the wheels and steering fr binding. Check the operation
of the shock absorbers.
2) Check the wiring for any frayed wires or loose connections,
including the wires on the EZ-Start quick connector. Fraying
or melting of the blue wire on your EZ-Start system can
cause your glow plugs to immediately short out.
3) Check the tightness of the grub screws in the collars on the
throttle and steering linkages.
4) Check the tightness of the front pivot balls.
5) Check the mounting of the receiver and servos.
6) Check the tightness of the wheel nuts with a wrench.
7) Check the fuel tank and all hoses for signs of leaks.
8) Check the operation of the radio system, especially the
condition of the batteries.
9) Check the exhaust system for leaks, cracks, or tears. Do not
run the car if there are any exhaust leaks.
10) Use Traxxas Nitro Wash spray cleaner to keep the T-Maxx
clean of accumulated dirt and oil. Do not spray any radio
components with Nitro Wash. Do not spray Nitro Wash into
a dirty air filter while it is installed on the engine.
11) The steering servo saver will wear out over time. If the
steering becomes loose, the servo saver should be replaced.
Positive camber
Negative camber
Toe-in
CAMBER PIVOT
BALL
Shifting Trim
Contact Traxxas for assistance: 1-888-TRAXXAS. 972-265-8000 (outside USA). E-mail us at support@Traxxas.com
8

