8
User manual
6.
First start-up of the TrekStor SmartTV Station
A)
If you switch on your SmartTV Station for the first time, a menu appears on
the screen, allowing you to set up language, region and LAN settings.
B)
We recommend you to choose during the LAN setup
DHCP (Auto)
in the first
step
as well as
DNS (Auto)
in the second step. Confirm your settings with the
OK button.
C)
After all adjustments have been made, your SmartTV Station will run a
connection test. Once this is finished, press EXIT to exit the initial
configuration menu.
If an external volume is connected to the device, the SmartTV Station scans
the volume after switching it on. Please wait until the process is complete be-
fore proceeding with the operation.
6.1
Connecting the SmartTV Station with the network
LAN settings
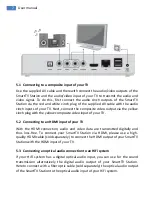
If you use a wired connection, the SmartTV Station automatically connects to the
Internet. If there is no automatic integration into the network enabled, the IP
address, subnet mask, router address and DNS address has to be entered
manually. Please read about the configuration settings in your router's manual.
Wi-Fi settings
If you want to establish a wireless connection to your network, you will need the
SmartTV Wireless Adapter N (optionally available e. g. in the TrekStor online
shop). Connect it to one of the USB ports of your SmartTV Station and then
proceed as follows:
A)
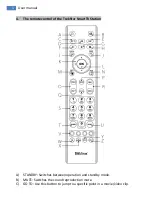
Use the remote control and go via
Settings
Network
to the point
Wi-Fi
setup
and choose your Wireless Access Point (AP) from the list of all available
wireless networks.
B)
If your wireless network is protected by a password, enter it and confirm
your entry. The SmartTV Station connects itself then with the network.
C)
If no wireless network is found, please check your wireless network.
Summary of Contents for SmartTV Station
Page 1: ......

