background image

Publication Part Number DOCMT-1001


Edition: August 2017, Rev A1

DOCMT-1001

*DOCMT-1001*

Install your TPS 8200TX and 8400TX 

security devices 

This information provides detailed installation instructions for your Threat Protection System (TPS) 
8200TX and 8400TX security devices. 

Before you begin

Before you begin, go to the TMC at 

https://tmc.tippingpoint.com

, and see the documentation for your 

product to:

— Review the product release notes for information about product updates.
— Review the detailed installation and safety documentation for your product. 

Important: 

The 8200TX and 8400TX security devices may require a license update to ensure 

sufficient inspection throughput when you connect to your network. For more information, see 

Step 9. Install your license package

,” on page 7.

— Make sure the power capacity for your installation meets the documented requirements:

• 8200TX device: AC Voltage 100 to 240; Current 12 to 6A; Frequency 47 to 63 Hz
• 8400TX device: AC Voltage 100 to 240; Current 12 to 6A; Frequency 47 to 63 Hz
• 8200TX and 8400TX devices: DC Voltage -40 to -60; Current 24 to 16A

Warning: 

Before you turn on power for your product or connect to your network, ensure your 

installation meets all power capacity, ventilation, and other safety guidelines. To avoid injury and 
damage, you should always review and adhere to all guidelines described in the safety, specification, and 
installation documentation. For more information, see the 

Read Me First

 document that was included in 

your product shipment.

Summary of Contents for TippingPoint TPS 8200TX

Page 1: ...inspection throughput when you connect to your network For more information see Step 9 Install your license package on page 7 Make sure the power capacity for your installation meets the documented r...

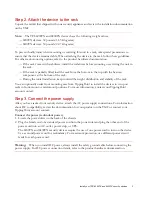
Page 2: ...f the chassis front panel when you install and configure the device Figure 1 TippingPoint TPS 8200TX and 8400TX security devices front panel Step 1 Determine total rack space Before you install the ch...

Page 3: ...t distribution and stability of the rack You can optionally order front mounting ears from TippingPoint to install the devices in two post racks in front mount or mid mount positions For more informat...

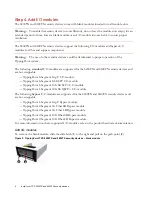
Page 4: ...the 8200TX and 8400TX security devices and are hot swappable TippingPoint 6 Segment Gig T I O module TippingPoint 6 Segment GbE SFP I O module TippingPoint 4 Segment 10 GbE SFP I O module TippingPoin...

Page 5: ...management port to the network to enable remote management of the device 1 Locate the management port on the front of the unit directly above the MGMT label see Figure 1 label 8 2 Connect one end of...

Page 6: ...ed Indicates that the system is experiencing a health alert such as a fan failure This state resets to solid green when you view the system log Management port status Link LED Solid green indicates th...

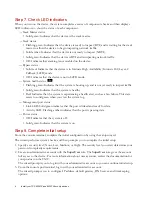
Page 7: ...license package to the device The Local Security Manager LSM When the device is not managed by the SMS download your updated license package from the TMC and then install the package by using the LSM...

Page 8: ...lete your installation see the Release Notes for your product on the TMC at https tmc tippingpoint com The Release Notes provide the latest post installation information for your product You can perfo...

Page 9: ...arranties for Trend Micro Incorporated products and services are set forth in the express warranty statements accompanying such products and services Nothing herein should be construed as constituting...

Reviews: