B
-
55
Enable Scheduled Report Profiles
By default, Control Manager enables scheduled profiles upon creation. In an event
that you disable a profile (for example, during database or agent migration), you can
re-enable it via the Scheduled Local Reports or Scheduled Global Reports screen.
To enable scheduled report profiles:
1.
Access Local or Global Scheduled Reports.
2.
On the working area under Report Profiles column, click the profile check box.
Click the check box adjacent to Report Profiles to select or deselect all profiles.
3.
Click
Enable
.
Note:
The options to enable, disable, and edit one-time-only profiles are not available
because Control Manager generates these reports only once.
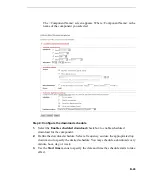
Generate On-demand Scheduled Reports
The Report Server generates scheduled reports based on the date and time you
specified. When the date and time has not yet commenced, use
Run Now
to create
scheduled reports on demand.
To generate on-demand scheduled reports:
1.
Click
Reports
on the main menu.
2.
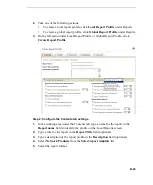
Do one of the following:
•
To create a local report profile, click
Local Report Profile
on the left menu
under Reports
•
To create a global report profile, click
Global Report Profile
on the left
menu under Reports
3.
On the working area under the Available Reports column, click the
corresponding
View
link.
4.
On the Available Reports for {profile name} under
Generate a {Frequency}
report starting from
, specify the starting month, day, and year.
5.
Click
Run Now
.


