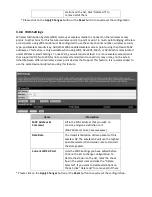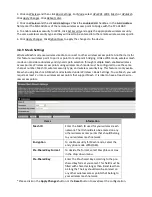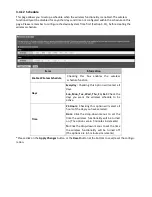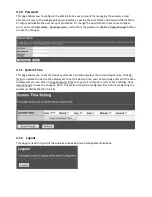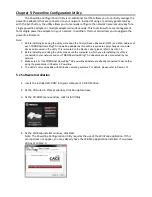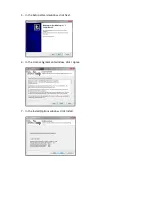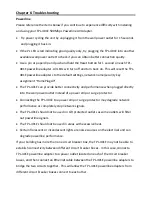
Assuming the two TPL-303E powerline adapters are currently connected to each other and the TPL-
310AP is currently disconnected.
1.
Push and hold the Sync button on the TPL-310AP for 10 seconds and release it. All LEDs will turn off
and turn back on. This will erase the current network name/security key assigned to the additional
TPL-310AP.
2.
Push and hold the Sync button on one of the two TPL-303E powerline adapters that are currently
connected to each other for 2 seconds and release it. The PWR LED will start blinking.
3.
Within 2 minutes (120 sec), push and hold the Sync button on the TPL-310AP for 2 seconds and
release it. The PWR LED will start blinking. This will establish connectivity between the three
powerline adapters by assigning the TPL-310AP network name/security key to match the network
name/security key of the TPL-303E powerline adapters that are currently connected.
4.
To verify connectivity between the three powerline adapters, make sure that the PL LED (P-Link on
TPL-303E/304E) on each powerline adapter is on solid (Green, Amber, Red, Green only – TPL-
303E/304E). Please refer to the LED section 1.4 for details on the LED indicator.
4.5
Overlapping Powerline Networks
It is possible to create multiple powerline networks on the same electrical system separated
and grouped by different network names/security keys. The powerline networks will work and
communicate independently of each other which can provide security between different groups of
powerline adapters. For example, if you have five powerline adapters (Adapter A, Adapter B, Adapter C,
Adapter D, Adapter E), you can group Adapters A,B, and C together on one powerline network and
group Adapters D and E on a different powerline network. Each group will use a different network
name/security key.
Note: It is recommended that only a maximum of up to 4 powerline networks can be created per
electrical system. Any additional powerline networks above the recommended result in significant
degradation in powerline performance.

