


15
SLOW COOK
The slow cook setting gives a very low heat in the
oven. It is particularly useful when you are cooking
soups, stews and casseroles because the long slow
cooking will make cheaper, tougher cuts of meat
more tender. Some foods such as pastry and
biscuits are not suitable for slow cooking because
the temperature is too low. Cover all food during
cooking to prevent it from drying out. You can
uncover food for the last half hour if it is normally
served golden brown.
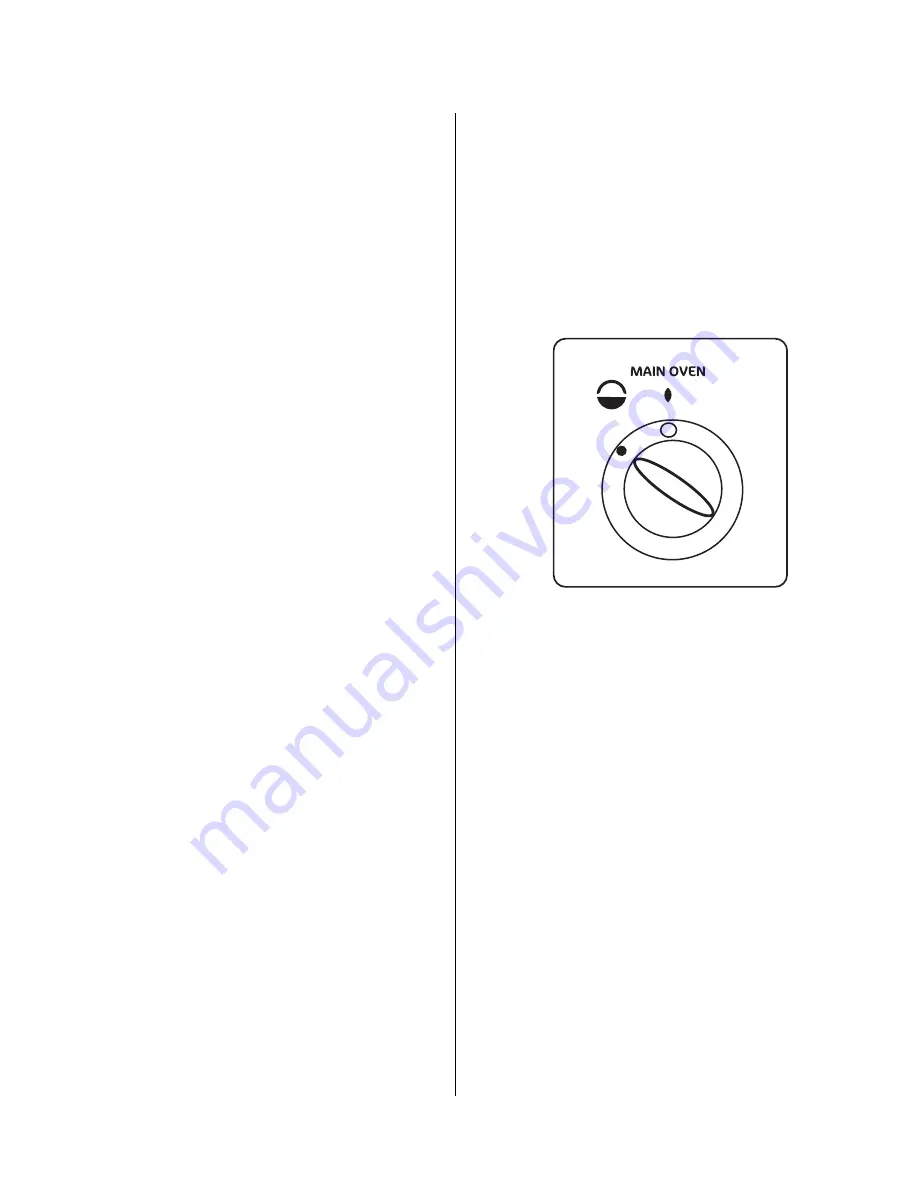
USING SLOW COOK
•
You need to cook food at gas mark 6 for 30
minutes before you turn the oven down to the
slow cook setting. This makes sure that the
temperature of the food gets hot enough to start
the food cooking.
FOOD PREPARATION - SLOW COOKING
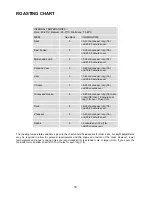
JOINTS OF MEAT AND POULTRY
•
Do not
cook meat joints over 2.7kg (6lb).
•
Do not
cook poultry over 2 kg (4lb 8oz).
•
Cook on the middle shelf of the oven or above.
•
Cook stuffing separately.
•
Cook for at least six hours.
•
Only cook joints of pork if you can make sure, by
using a meat thermometer, that the temperature
inside the joint is at least 88°C.
•
For good air circulation always stand joints on a
rack in a roasting tin or casserole.
•
Thaw all frozen meat and poultry before you
cook it.
•
Prime cuts of meat do not benefit from slow
cooking.
•
Remove excess fat and skin unless it is browned
first.
SOUPS, CASSEROLES AND STEWS
•
Do not
cook casseroles over 2.7 kg (6lb).
•
Bring to the boil on the hotplate then cook on
slow cook.
•
Cook on the middle shelf of the oven or above.
•
Cover food with a tight fitting lid or tin foil.
1
9
S
8 7
9
5
4
3
2


