


3
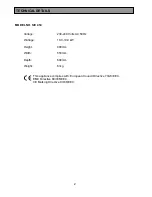
Technical Details
.................................................................................................................................... 2
Contents
.................................................................................................................................................. 3
Preface
..................................................................................................................................................... 5
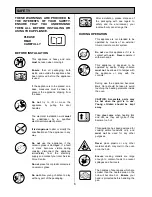
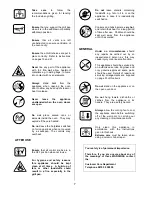
Safety
....................................................................................................................................................... 6
Before Installation ........................................................................................................................... 6
During Operation ............................................................................................................................. 6
After Use ......................................................................................................................................... 7
General ........................................................................................................................................... 7
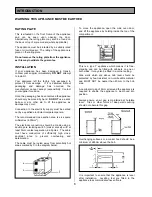
Introduction
............................................................................................................................................. 8
Rating Plate .................................................................................................................................... 8
Installation ....................................................................................................................................... 8
General Notes on Using Your Appliance ........................................................................................ 9
About Condensation and Steam ..................................................................................................... 9
The Cooling Fan for the Controls .................................................................................................... 9
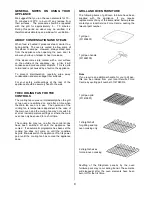
Grill and Oven Furniture ................................................................................................................. 9
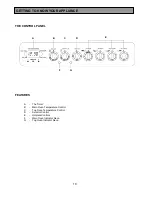
Getting to Know Your Appliance
.......................................................................................................... 10
The Control Panel ........................................................................................................................... 10
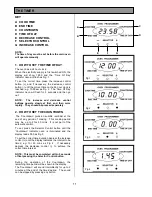
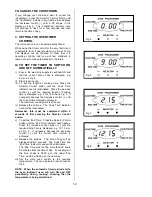
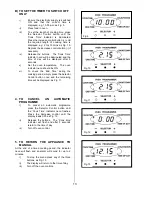
The Timer ........................................................................................................................................ 11
The Ceramic Hob
.................................................................................................................................... 15
Recommended Saucepans ............................................................................................................ 15
Hints and Tips ................................................................................................................................. 15
Deep Fat Frying
...................................................................................................................................... 16
Preserving
............................................................................................................................................... 16
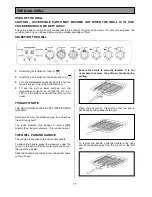
The Dual Grill
.......................................................................................................................................... 17
Uses of the Dual Grill ...................................................................................................................... 17
Selecting the Dual Grill ................................................................................................................... 17
Things to Note ................................................................................................................................. 17
The Grill Pan and Handle ............................................................................................................... 17
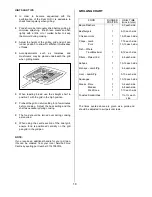
Hints and Tips ................................................................................................................................. 18
Grilling Chart ................................................................................................................................... 18
The Top Oven
.......................................................................................................................................... 19
Uses of the Top Oven ..................................................................................................................... 19
Selecting the Top Oven .................................................................................................................. 19
Things to Note ................................................................................................................................. 19
To Fit the Top Oven Shelf ............................................................................................................... 19
Hints and Tips ................................................................................................................................. 20
The Main Fan Oven
................................................................................................................................. 21
Uses of the Fan Oven ..................................................................................................................... 21
Selecting the Fan Oven .................................................................................................................. 21
Things to Note ................................................................................................................................. 21
To Fit the Main Oven Shelves ........................................................................................................ 21
Hints and Tips ................................................................................................................................. 22
Automatic Cooking .......................................................................................................................... 22
Oven Cooking Chart
............................................................................................................................... 23
Roasting Chart
........................................................................................................................................ 24
CONTENTS


