

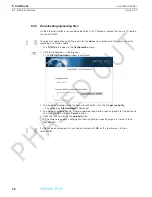

7.3 Configuring buttons in the Home menu
Version 3.0
38
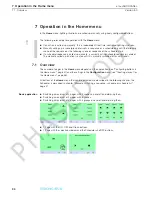
7 Operation in the Home menu
x-touchBOX/PANEL
7.3.1
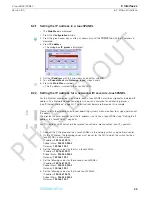
Configuring the Scene button
–
Sequences or schedules are defined.
–
Layout for
Home
menu has been created.
–
The
Home
menu is displayed.
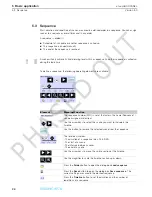
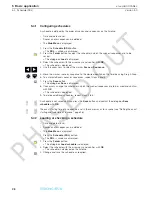
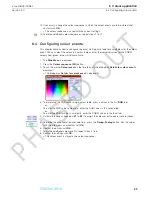
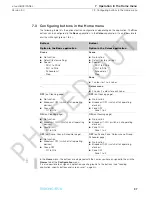
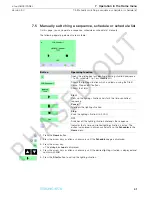
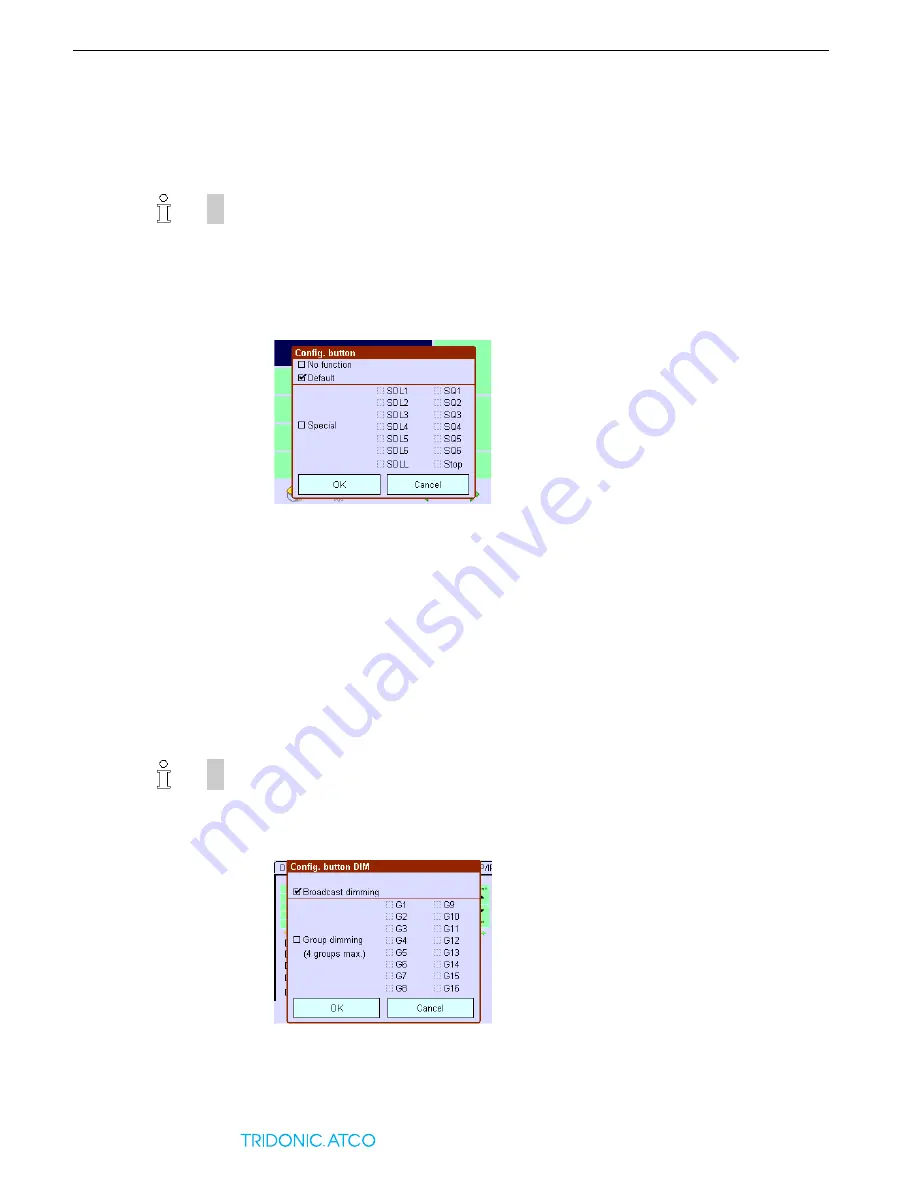
1. To assign a new function to a button press the button (e.g. Scene1) until the dialog box
Config. button
is displayed.
=
2. To remove the function from the button, activate the check box
No function
.
- or -
To assign the factory setting to the button, activate the check box
Default
.
- or -
To assign a lighting situation to the button, activate the check box
Special
and activate then
the check box Schedule list
SDLL
, Schedule
SDL
, Sequence
SQ
or
Stop
.
3. Confirm the entry with
OK
.
= The button is now displayed with the desired function and name in the
Home
menu.
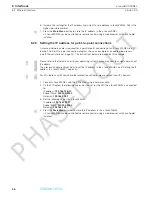
7.3.2
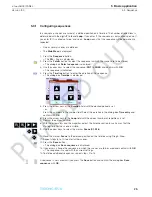
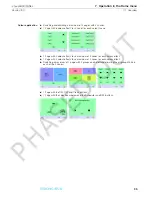
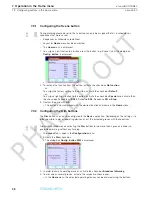
Configuring the Dim buttons
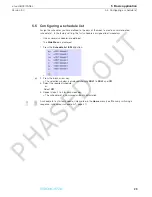
The
Dim
buttons can only be configured in the
Basic
application. Depending on the settings, it is
either possible to dim all operating devices or just the activated groups with these buttons.
–
The
Layout
tab is open in the
Configuration
menu.
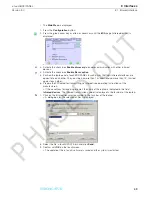
1. Activate the
Dim
check box.
= The dialog box
Config. button DIM
is displayed.
2. In order to dim all operating devices, activate the check box
Broadcast dimming
.
3. To dim one or several groups, activate the respective check boxes.
= In the
Home
menu, the adjusted operating devices can be dimmed using the buttons.
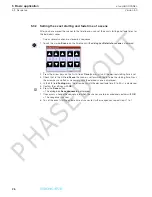
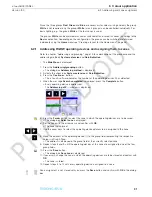
Hint
During planning please observe, that a button can only be assigned the first 6 schedules or
sequences that were saved.
Hint
TridonicAtco recommends activating the
Dim
buttons for no more than 4 groups in order to
guarantee dimming without any time lag.
PHASED
OUT


