45
Version 3.0
8.2 Ethernet interface
x-touchBOX/PANEL
8 Interfaces
8.2.1
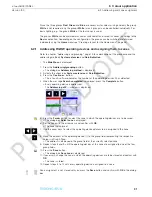
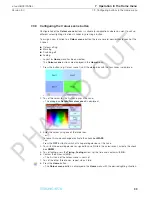
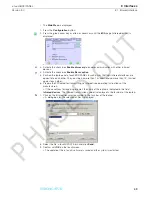
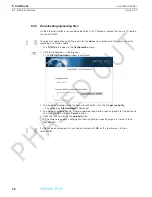
Setting the IP address in x-touchPANEL
–
The
Main Menu
is displayed.
1. Press the
Configuration
button.
2. Press the green arrow key as often as necessary until the
TCP/IP
tab with the IP address is
displayed.
3. Press
IP address
.
= The dialog box
IP picker
is displayed.
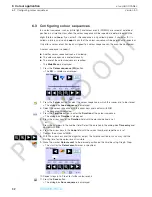
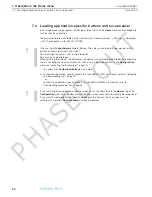
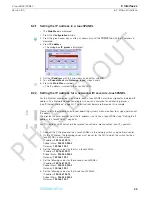
4. Set the
IP address
with the arrow keys and confirm with
OK
.
5. To set
Subnet Mask
and
Gateway
, repeat steps 3 and 4.
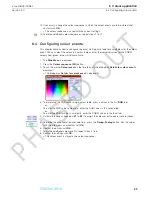
6. Press the
Main Menu
symbol.
= The IP address is stored in the x-touchPANEL.
8.2.2
Setting the IP address for a network with several x-touchPANEL
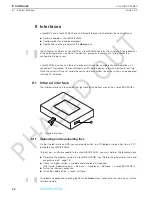
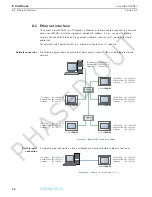
For the Ethernet connection in a network, each x-touchPANEL must be assigned an individual IP
address. The ›Network connection‹ diagram shows an example of an addressing process
(see "Ethernet interface", page 44). The instructions below are based on this example.
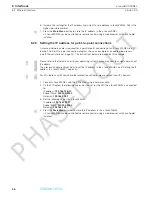
1. Connect the PC/laptop and the x-touchPANEL via the network switch using network cables.
2. On the PC/laptop, the following values must be set for the NIC to which the switch for the x-
touchPANEL is connected:
IP address:
192.168.123.10
Subnet Mask:
255.255.255.0
Gateway:
192.168.123.1
3. Set the following values for the first x-touchPANEL:
IP address:
192.168.123.11
Subnet Mask:
255.255.255.0
Gateway:
192.168.123.1
4. Set the following values for the second x-touchPANEL:
IP address:
192.168.123.12
Subnet Mask:
255.255.255.0
Gateway:
192.168.123.1
5. Set the following values for the third x-touchPANEL:
IP address:
192.168.123.13
Subnet Mask:
255.255.255.0
Gateway:
192.168.123.1
Hint
Please refer to the Help menu or to your operating system's manual on how to assign a permanent
IP address.
The previous chapter explains how the IP address is set in the x-touchPANEL (see "Setting the IP
address in x-touchPANEL", page 45).
Hint
For PCs/laptops with Firewall or other protection software, please contact your IT specialist.
PHASED
OUT

