User's Manual Rev B / February 2021 / M125 Helium Compressor
97-00020-000
18
6.
Make the final turns by hand and then use the wrenches until the fittings bottom out.
7.
Replace the cover and the flex lines. Make sure that the cover is installed so that it depresses the safety interlock
switch. The compressor cannot be started until the switch is depressed.
8.
Make sure the supply pressure gauge reads 190 ± 5 PSIG (13.1 ± .35 Bar). If the pressure is either too high or too
low, follow the instructions in Section 8.4.1
to fill the helium gas to the proper pressure level.
9.
Add 15,000 to the reading of the elapsed time meter and write this number on the decal provided with the
replacement adsorber. This decal can be affixed to the foot of the compressor.
10.
Restart the compressor.
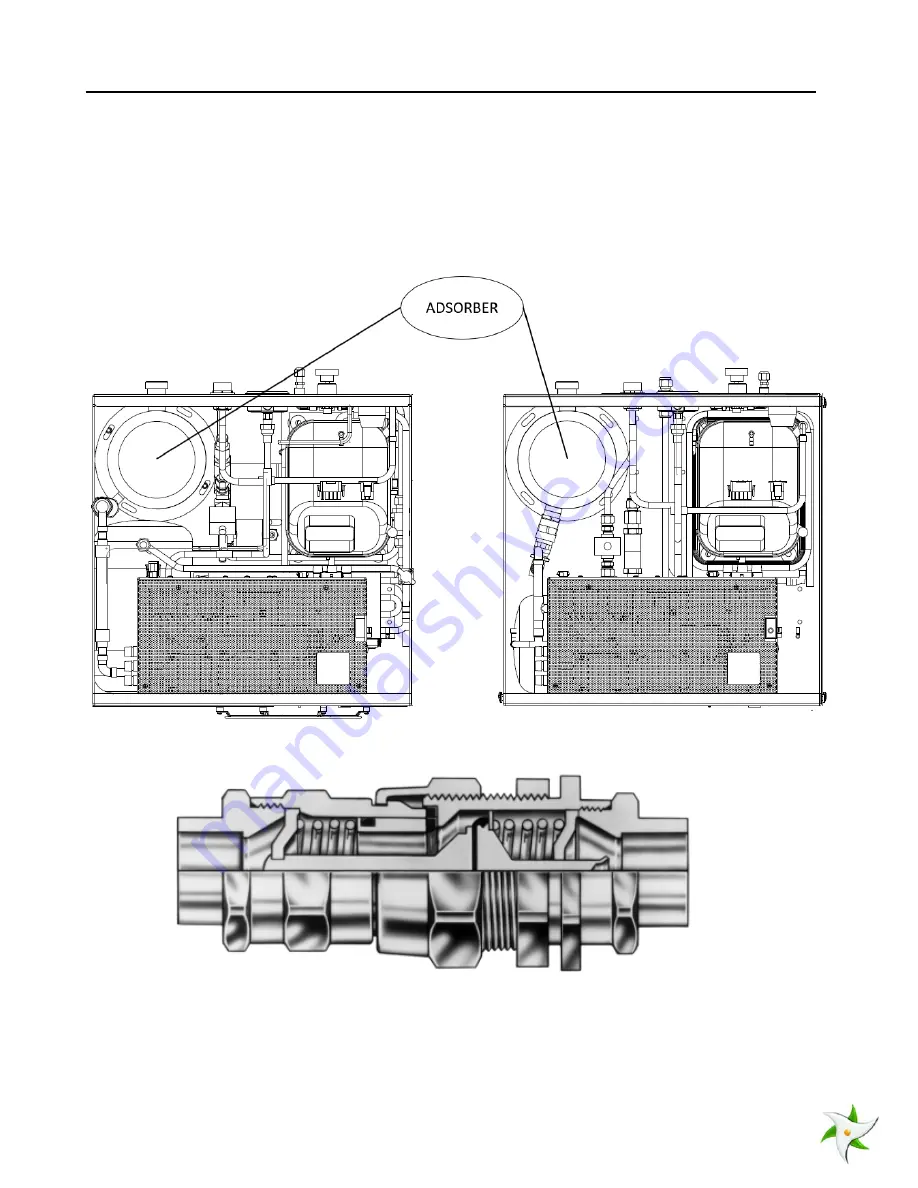
Figure 6 – Location of Adsorber in Model 125 Compressors
Figure 7 – Self Sealing Coupling in Closed Position


