INSERTING THE MATERIAL TO BE CUT
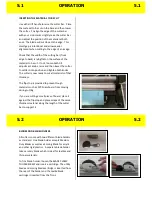
Use either lift handle to raise the cutter bar. Place
the material to be cut on the base and then lower
the cutter. To align the edge of the cutter bar
with your crop marks, slightly raise the cutter bar
and adjust the position of the material at both
ends. The blade will cut close to the edge. This
small gap is intentional and allows easier
alignment when cutting to the edge of an image.
Check that the width of the cutting bar (front
edge to back) is lying flat on the surface of the
material to be cut. If not, loosen both tilt
adjustment knobs, raise and then lower the cutter
to settle it into position and tighten both knobs.
The cutter is now ready to cut all materials of that
thickness.
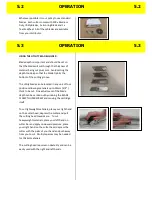
The flip stop is provided to prevent tough
materials such as PVC Foamboard from moving
during cutting.
If you are cutting a small piece of board, place it
against the flip stop and place scraps of the same
thickness material along the length of the cutter
bar to support it.
BLADES AND BLADEHOLDERS
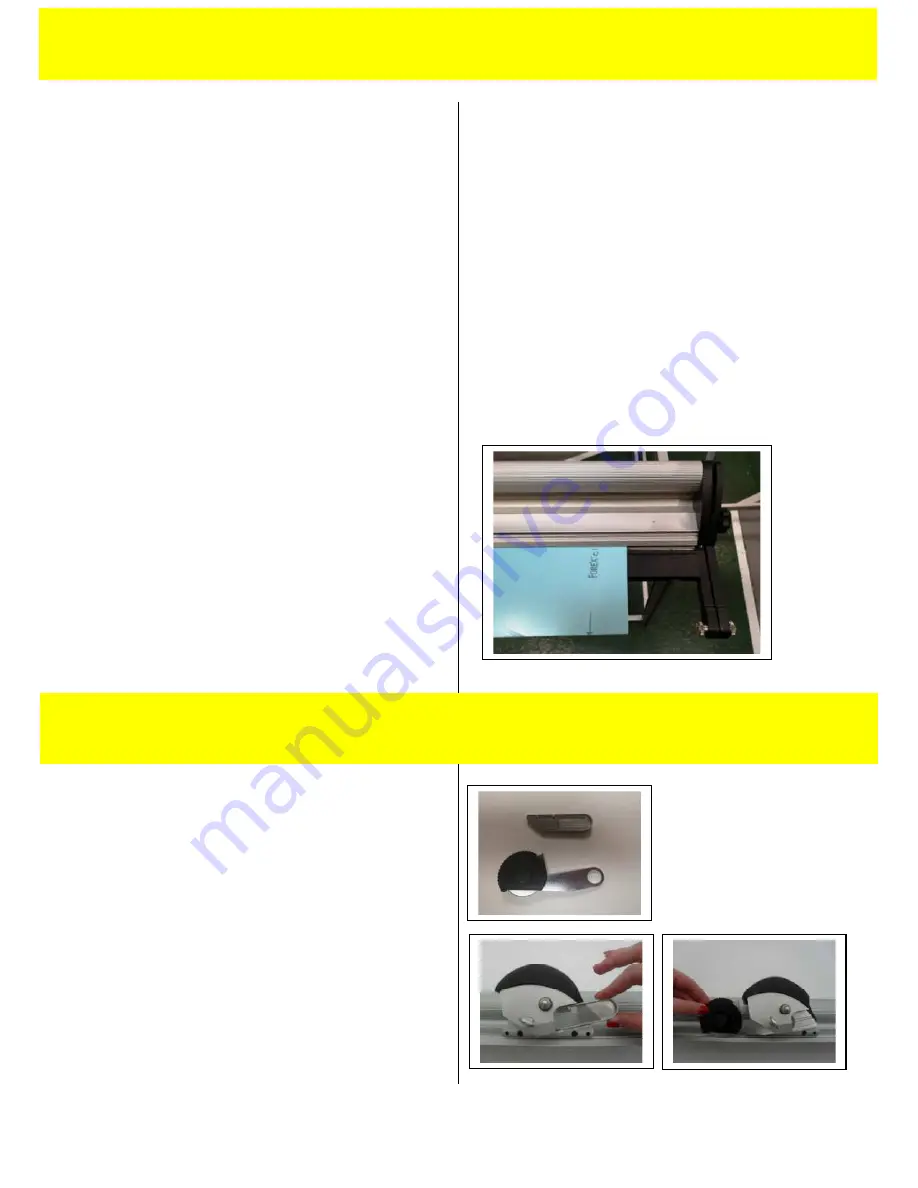
All cutters come with two different blade holders
as standard. One blade holder accepts Medium
Duty Blades as well as a Scoring Blade for acrylic
and other rigid plastics. A separate blade holder
takes a rotary blade which is ideal for textiles and
thinner materials.
To fit a blade holder, loosen the BLADE CLAMP
THUMB SCREW and insert a cartridge. The utility
blade and scoring blade cartridge is inserted from
the rear of the holder and the textile blade
cartridge is inserted from the front.
5.1
OPERATION
5.1
5.2
OPERATION
5.2


