FITTING THE CUTTER ASSEMBLY
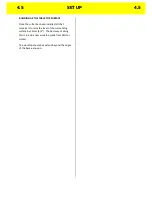
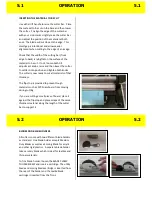
Lift the cutter assembly and place it centrally on
the locating brackets. The larger cutters are
heavy and this will require two people.
Remove the clear stretch wrap and gently
manoeuvre the assembly until it is located
properly on each of the brackets.
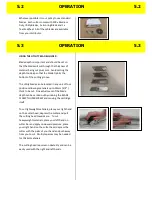
Tighten the grub screws at the back of each
bracket (see 4.1 picture 1) by 8 full turns and then
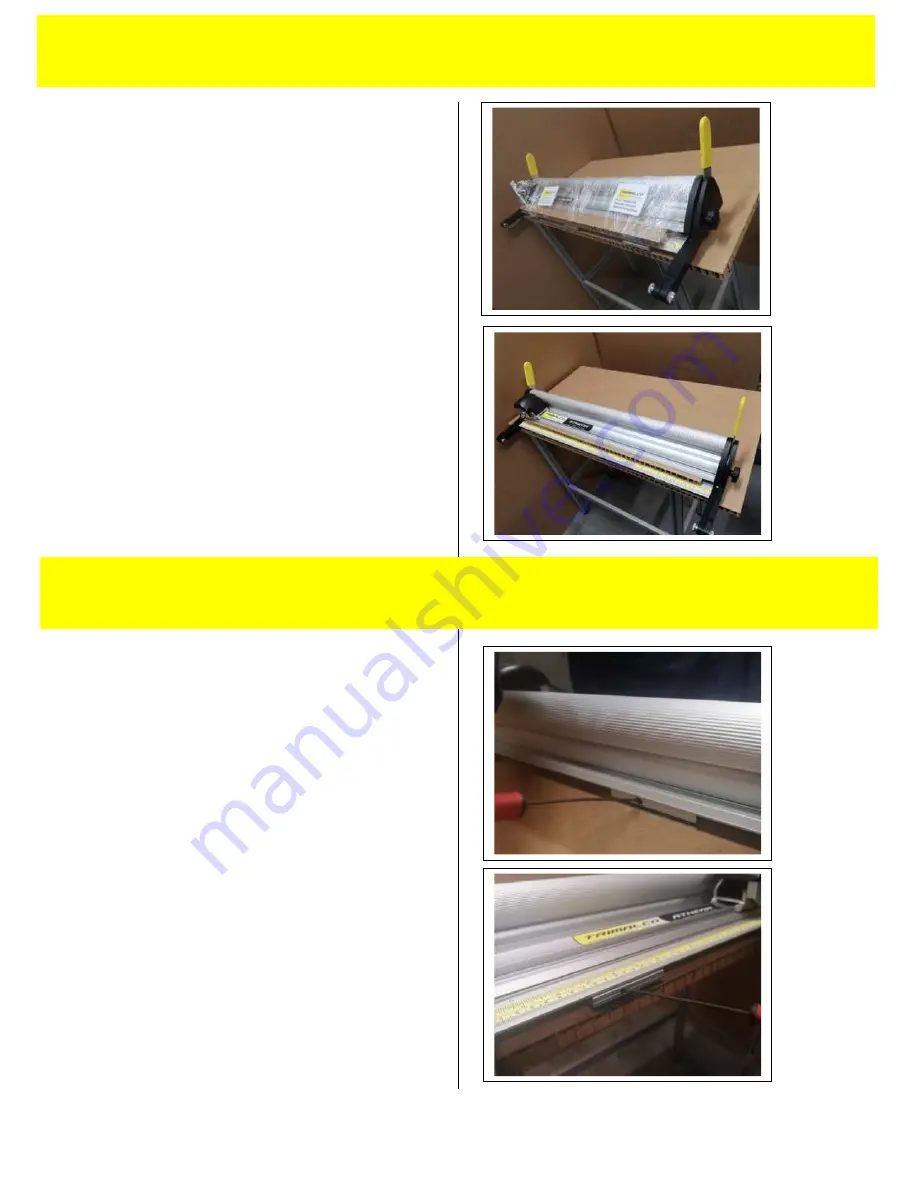
tighten the front grub screws (see 4.1 picture 2)
up fully (approx 7-8 turns).
ADJUSTING THE CUTTING GROOVE ALIGNMENT
The cutter bar is guaranteed to be straight to
within 0.4mm (.016”) along its full length. If you
need to adjust the cutting groove in the base to
match this, the base brackets provide the means
to do so.
Adjust the straightness of the base by adjusting
the front and rear grub screws in the base locating
brackets.
To move the cutting groove towards the back of
the table, loosen the rear grub screw in the
nearest bracket and tighten the front grub screw
until the groove is aligned. Tighten the rear grub
screw. To move the cutting groove towards the
front of the table, loosen the front grub screw and
reverse the sequence above.
3.5
BEFORE SET UP
3.5
4.1
SET UP
4.1


