Page 5 of 14
Part Number 8519184-0000 Rev: B
Installation Sequence:
•
Unpack & Inspect
•
Install Enclosure in Rack (Mount Enclosure) (rack style) / Install Feet (tower style)
•
Install End Caps (Rack Style)
•
Mount Drives in Canisters (Drive Modules)
•
Install Canisters in Enclosure
•
Set Base Addresses for each Host Channel (in)
•
Connect AC Power
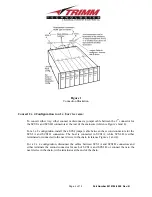
Mount Enclosure into Rack (standard 19” RETMA rack):
The standard enclosure is a fixed mount configuration. Install the Rack-Mount kit supplied with
the enclosure, per the instructions supplied with the kit. Empty the enclosure (remove all canisters
and power supplies), remove the end caps from the front ears (use a screwdriver at the bottom of
the end caps to release the flexible latch), then insert enclosure into the rack and attach the front
ears of the enclosure to the rack. Reinsert power supplies and canisters.
Install Feet
(Tower only)
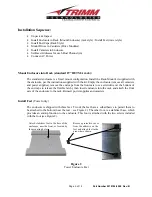
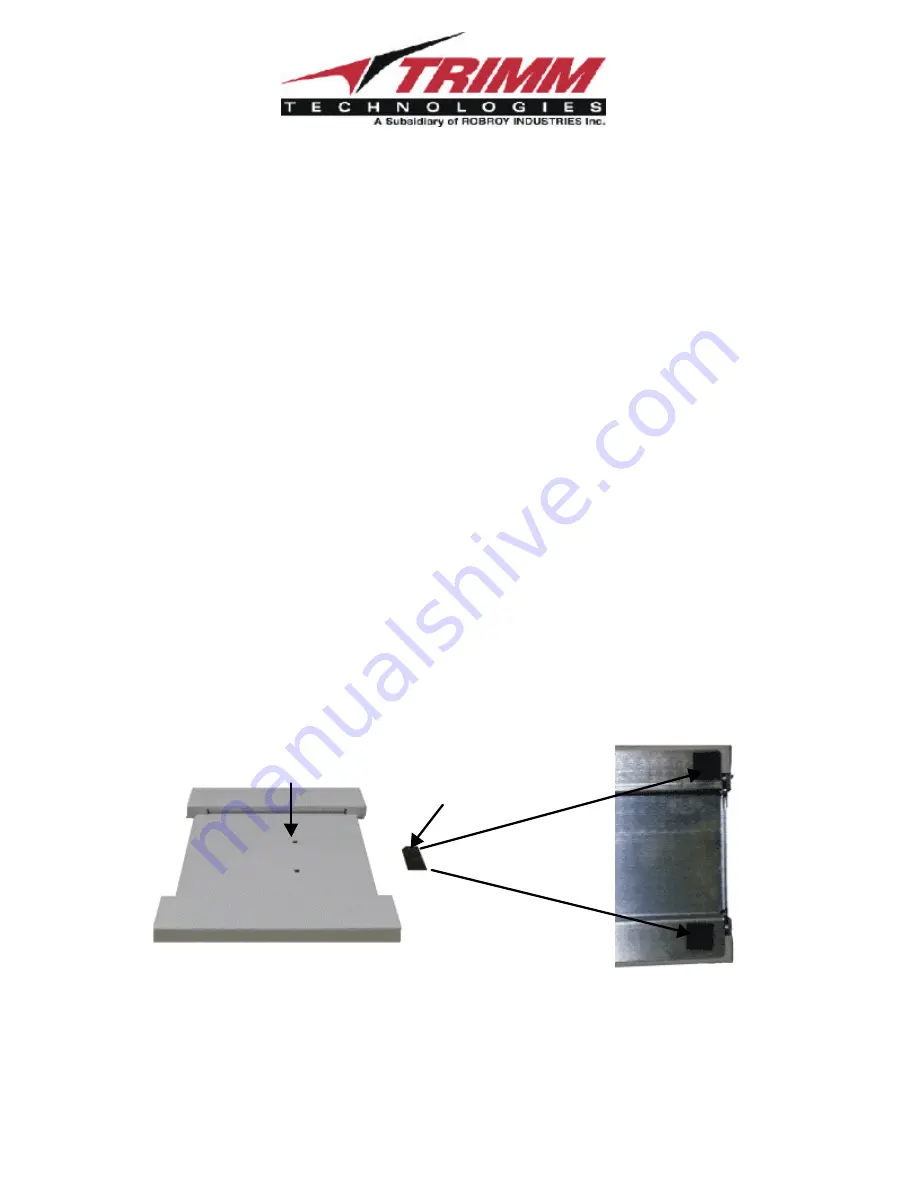
The enclosure is shipped with three feet. Two of the feet have a self-adhesive to permit them to
be attached to the bottom (near the rear – see Figure 2). The other foot, is a stabilizer base, which
provides an anti-tip function to the enclosure. This foot is attached with the two screws included
with the foot (see Figure 2).
Figure 2
Tower Enclosure Feet
Remove protective cover
from the adhesive on the
feet and attach feet in the
area where shown.
Attach stabilizer foot to the base of the
enclosure, near the front, as located by
the mounting holes


