background image

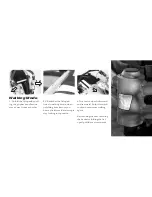
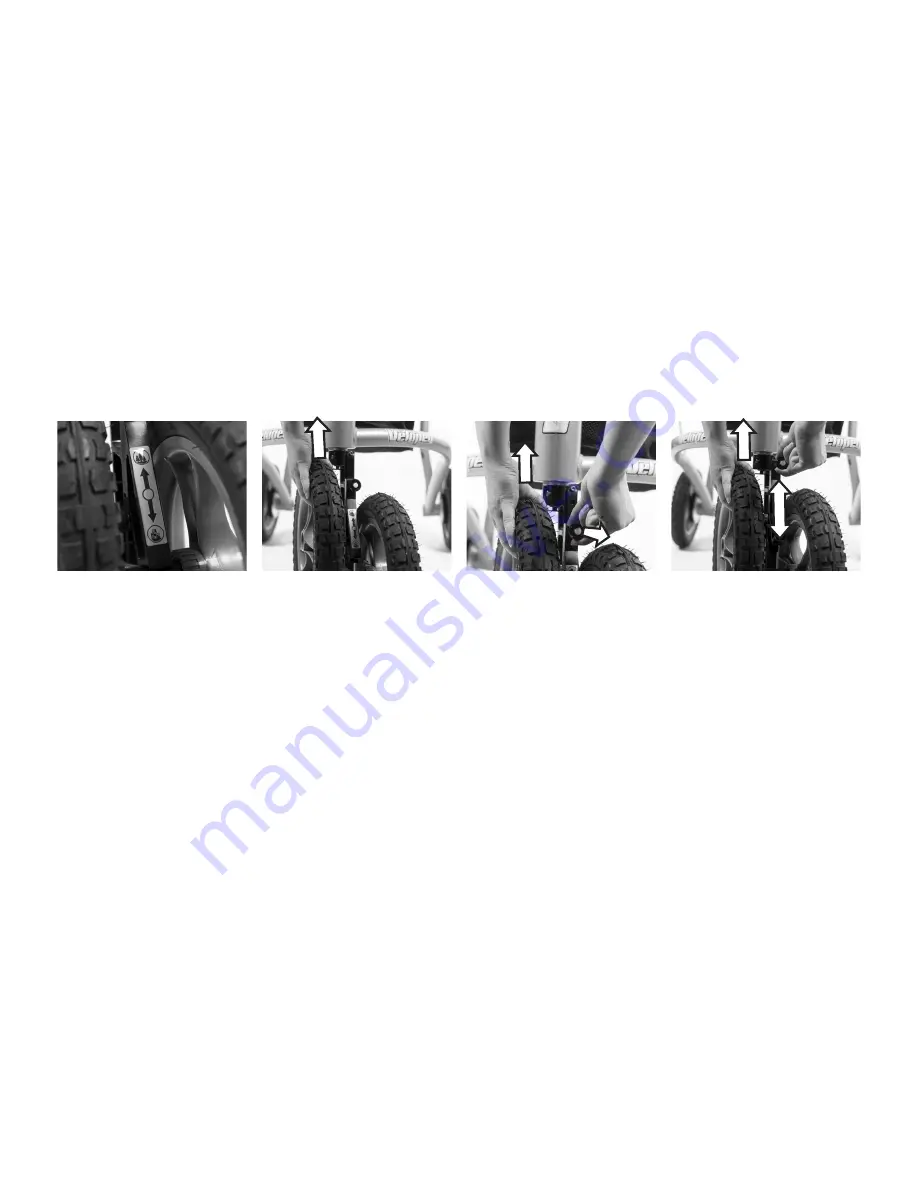
There is an adjustment handle 
on the front wheel, placed in 
the between the wheels, that 
can be shifted between two 
settings.
 

Lower position:

Offers easy turning with 
retained climbing capacity.

Upper position:

Offers increased climb-
ing capacity, suspension on 
uneven surfaces and a higher 
directional stability. 

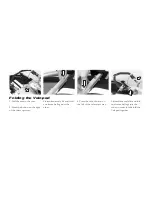
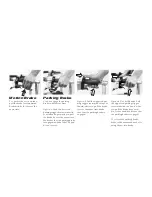
Turn the front wheel 180 
degrees for easier access to the 
adjustment handle.

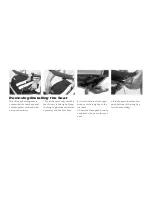
1. Grab the left wheel with 
your left hand and lift the Vel-
oped front end slightly off the 
ground.
2. While holding the Veloped 
lifted with your left hand, grab 
the black knob with the green 
dot with your right hand, and 
pull it outwards (towards you).

Change Front Wheel Setting: 

City mode/Off-road mode

3. Slide the adjustor (right 
hand) either downwards or 
upwards. It is important that 
you slide the adjustor to its 
very bottom or upper end posi-
tion.
4. Release the black knob and 
it will spring back and lock the 
front wheel to your chosen set-
ting.

Summary of Contents for Veloped 12er L

Page 1: ...User Manual English...

Page 2: ...and in the city By choosing a Trionic Veloped you will enjoy a whole range of benefits and it will improve your access to different outdoor environments and hopefully increase your quality of life Pl...

Page 3: ...of a kind Its main characteristic is a dual front wheel with the capacity to overcome obstacles up to 13 cm high The force required to overcome a smaller obstacle is also greatly reduced when compared...

Page 4: ...58 cm 63 cm 60 cm 65 cm Seat width 44 cm 44 cm 44 cm 44 cm Wheel size 12 31 cm 12 31 cm 14 36 cm 14 36cm Size folded L106xW42xH75 cm L106xW42xH82 cm L111xW42xH77 cm L111xW42xH84 cm Size folded w o wh...

Page 5: ...venly in the basket Veloped Seat Basket Seat cover The seat cover is made of water repellent and resistant 600D polyester fabric It is easily mounted on the seat by the use of push buttons Handwash 30...

Page 6: ...them sideways 3 Attach the front wheel sus pension to the front bottom end of the frame in the same manner i e press the black button at the bottom of the First Time Use axle and press the axle into t...

Page 7: ...the Veloped locks in walking mode when unfolding it make sure you hear a click from the telescopic stay locking into position 3 The seat can be slid forward and rearward Push it forward to obtain max...

Page 8: ...on the right of the telescopic stay 3 Simultaneously lift and fold one frame half against the other 4 Press the other button on the left of the telescopic stay 5 Simultaneously lift and fold one frame...

Page 9: ...rake is engaged and that the Veloped does not move Motion Brake Parking Brake Option 2 Pull the upper red par king trigger rearwards with your thumb while you pull the brake lever at the same time Mak...

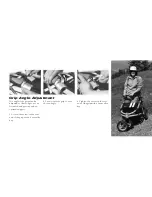
Page 10: ...st way to adjust the gripbar is when sit ting on the seat this way you can see the height indication marks clearly thus simplifying height adjustment Gripbar Adjustment 3 Lock both quick release lever...

Page 11: ...com fortable hand position and an optimal support 1 Loosen the screw on the rear end of the grip with a 4 mm allen key 2 Turn rotate the grip to your chosen angle 3 Tighten the screw on the rear end...

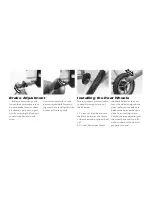
Page 12: ...nto the axle hole Release the button when the wheel is in its end position 3 Hold the tire and push pull the wheel back and forth lat erally to check if the wheel is properly secured 1 If the brakes w...

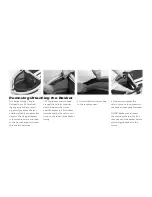
Page 13: ...the front wheel suspension lift the front end of the frame press the black button and push the wheel axle into the axle hole placed under the frame Release the black push button Check that the front...

Page 14: ...he adjustment handle 1 Grab the left wheel with your left hand and lift the Vel oped front end slightly off the ground 2 While holding the Veloped lifted with your left hand grab the black knob with t...

Page 15: ...ear velcro flaps around the rails from under neath between the frame and the basket rail Fold them inwards and fix the velcro sec tions on the inner of the basket lining 2 Attach the front velcro flap...

Page 16: ...xt Trionic to the right Wrap the long flap between the teles copic stay and the seat base 2 Attach the three front push buttons of the long flap to the seat base 3 Press the three push buttons on the...

Page 17: ...recommended to ensure its function either by your dealer or service representative authorized by Trionic Do not use a defect Veloped Service Instructions In order to maintain function and safety make...

Page 18: ...____________________ Date Stamp Signature CE Trionic Sverige AB ensures that the above mentioned pro duct meets the relevant legislation requirements 1993 584 con cerning medical products as well as t...

Page 19: ...ember of REPA PRO Europe Die Gr ne punkt and fully implements the European Directive on Packaging and Packaging Waste dated December 20 1994 Problem The seat is sagging too low Possible cause The rear...

Page 20: ...Trionic Sverige AB Seminariegatan 29 C SE 752 28 Uppsala SWEDEN www trionic biz info trionic se Telephone 46 8 522 100 50 Fax 46 8 522 100 59 Corp ID 556698 1527 VAT Reg No SE556698152701...

Reviews: