background image

2

D04-067en202111 Quick Guide Wiper W55 V2

TriOS Mess- und Datentechnik GmbH · Bürgermeister-Brötje-Str. 25 · D-26180 Rastede · Germany 
fon: +49 (0) 4402 69670 - 0 · fax: +49 (0) 4402 69670 - 20 · info@trios.de · www.trios.de

Wiper W55 V2 

//


Quick Guide

Quick Guide

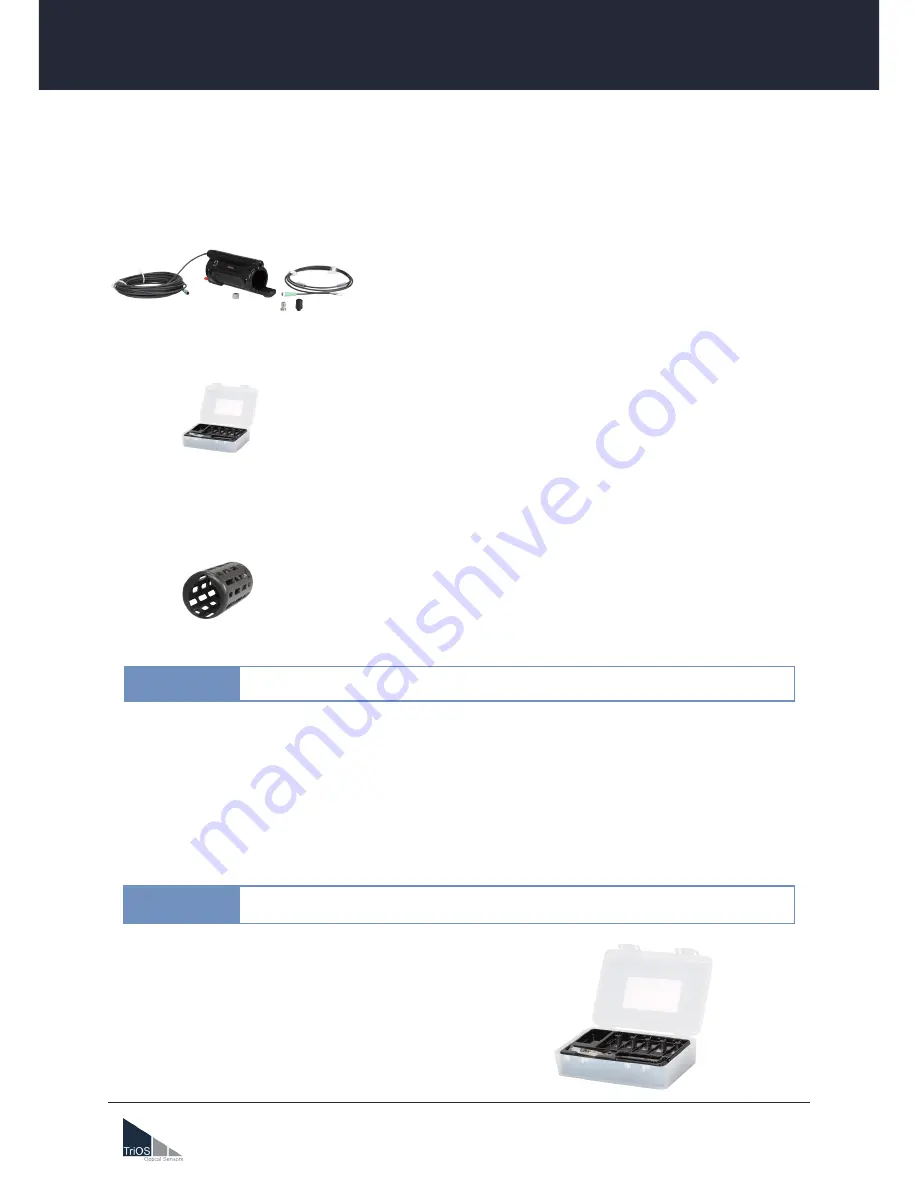
1 Scope of Delivery

02A100008

1x Wiper

1x M8 open end cable
1x adjustment screw with o-ring
1x compressed air fitting incl. sealing plug
1x magnet

02A100X18

5x wiper blades 2, 5 or 10 mm path
1x axis for 2, 5 or 10 mm path
1x grease

Optional (recommended)

1x protective cage
1x hexagonal offset screwdriver 5 mm

00P100010

The wiper blades and the axis are not included in the scope of delivery of the wiper housing, as these must 
be selected depending on the path length of the sensor. A set of wiper blades contains five wiper blades and 
an axis of the appropriate size incl. grease.

Item number

02A100008 Wiper W55 V2

02A100218 Set with wiper blades for 2 mm path

02A100518 Set with wiper blades for 5 mm path

02A100618 Set with wiper blades for 10 mm path

2 Inserting / changing the wiper blade

If there are larger particles or objects in the sample water, you should always use 

a protective cage to avoid damaging the wiper gear (see p. 9 for installation).

NOTICE

We recommend replacing the wiper blades every 4-5 weeks. The axis should be 

changed every 5-6 months (new box).

NOTICE

Summary of Contents for 02A100 8 Series

Page 1: ...2 6 W in operation max 0 75 W in standby Maintenance effort 0 5 h month typical Maintenance interval depending on application Warranty 1 year EU USA 2 years Max Pressure 1 bar Protection Type IP68 In...

Page 2: ...0 The wiper blades and the axis are not included in the scope of delivery of the wiper housing as these must be selected depending on the path length of the sensor A set of wiper blades contains five...

Page 3: ...spring in the wiper housing The axis groove is magnetically tightened and must be inserted as far as it will go and if necessary turned slightly until the correct position engages Wiper blades and ax...

Page 4: ...the wiper housing The axis groove is magnetically tightened and must be inserted as far as it will go and if necessary turned slightly until the correct position engages 3 Change housing seal O ring...

Page 5: ...r an alternative connection where power supply and cleaning control triggering are separate the open end of the M8 line can be disconnected see option 2 Remove the twin ferrules and equip the individu...

Page 6: ...nd unscrewing the four screws under neath 2 Place the wiper cable through the cable guide of the TriBox mini and tighten the cable guide 3 Connect the blue black wire of the wiper cable to the CON2 co...

Page 7: ...ng the screws underneath TriBox3 Wiper Open End Cable 2 Place the wiper cable through the TriBox3 cable guide and tighten the cable guide on the wider part of the cable 3 Connect the blue black wire o...

Page 8: ...ed magnet and five full rotations in both directions are performed This adjusts the home position and lubricates the planetary gear in all directions It is recommended to remove the upper wiper housin...

Page 9: ...per protective cage 00P100010 Size L x 220 mm x 88 mm Weight 0 5 kg Material POM Technical Specifications The sturdy plastic POM protective cage has been designed to keep coarse dirt and larger object...

Page 10: ...of the protective cage on the sensor 1 The wiper must be correctly installed before mounting the cage on the sensor see page 2 to 4 2 Push the protective cage with the opening in the direction of the...

Page 11: ...urge on the wiper 1 The adjustment screw needs to be fixed to the lower housing for mounting the compressed air purge Spare part no 10P000000 2 Moreover the compressed air fitting needs to be inserted...

Reviews: