background image

2

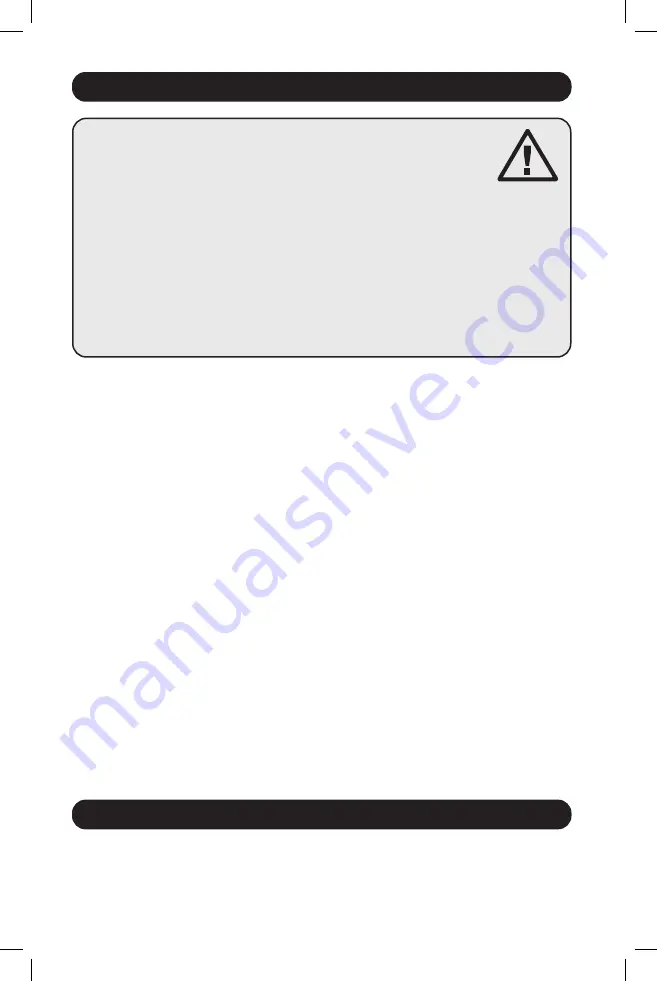
SAVE THESE INSTRUCTIONS

This manual contains instructions and warnings that should be followed  

during the installation, operation, and storage of this product. Failure to  

heed these instructions and warnings will void the product warranty.

CAUTION

 Only those who are properly trained or qualified to use this device should  

do so. Anyone who is not trained or qualified should not use this device unless it is 

under the supervision of someone who is properly trained or qualified to do so.
Children must be supervised to ensure that they do not use the device as a toy.
Never use the device if the cord and plug are damaged; if it is not working properly,  

or if it has been dropped or damaged, take it to an authorized service center for 

inspection and repair.
If the power cord is damaged, it must be replaced by the manufacturer, its authorized 

service agent, or by qualified personnel in order to avoid a danger.

Important Safety Instructions

Monitored Rack PDU Features

•  The PDU provides the convenience of multiple outlets, but DOES NOT provide surge or line 

noise protection for connected equipment.

•  The PDU is designed for indoor use only, in a controlled environment, away from excess 

moisture, temperature extremes, conductive contaminants, dust or direct sunlight.

•  Keep indoor ambient temperature between 32°F and 122°F (0°C and 50°C). 
•  The PDU must be installed by a qualified technician only.
•  Do not attempt to mount the PDU to an insecure or unstable surface.
•  Install in accordance with National Electrical Code standards. Be sure to use the proper 

overcurrent protection for the installation, in accordance with the plug/equipment rating.

•  Connect the PDU to an outlet that is in accordance with your local building codes and that is 

adequately protected against excess currents, short circuits and earth faults.

•  The electrical outlets supplying power to the equipment should be installed near the 

equipment and easily accessible.

•  Do not connect the PDU to an ungrounded outlet or to extension cords or adapters that 

eliminate the connection to ground.

•  Be sure to provide a local disconnect device on any models that are permanently installed 

without a plug that is easily accessible.

•  Never attempt to install electrical equipment during a thunderstorm.
•  Individual equipment connected to the PDU should not draw more current than the individual 

PDU’s outlet’s rating.

•  The total load connected to the PDU must not exceed the maximum load rating for the PDU.
•  Do not attempt to modify the PDU, input plugs or power cables.
•  Do not drill into or attempt to open any part of the PDU housing. There are no user-

serviceable parts inside.

•  Do not attempt to use the PDU if any part of it becomes damaged.
•  Use of this equipment in life support applications where failure of this equipment can 

reasonably be expected to cause the failure of the life support equipment or to significantly 
affect its safety or effectiveness is not recommended.

•  Network interface enables remote power monitoring and event notification.
•  Digital amp meter for on-site load monitoring.
•  Optional EnviroSense2 modules (E2MT, E2MTDO, E2MTDI, E2MTHDI) allow for a variety of 

environmental monitoring and control options.

•  Toolless button-mount installation in Tripp Lite SmartRack

®

 and many third-party enclosures.

21-03-416-933666.indb   2

21-03-416-933666.indb   2

4/7/2021   12:21:27 PM

4/7/2021   12:21:27 PM

Summary of Contents for AG-0008

Page 1: ...NT Register your product for quicker service and ultimate peace of mind You could also win an ISOBAR6ULTRA surge protector a 100 value www tripplite com warranty 1111 W 35th Street Chicago IL 60609 US...

Page 2: ...e installation in accordance with the plug equipment rating Connect the PDU to an outlet that is in accordance with your local building codes and that is adequately protected against excess currents s...

Page 3: ...ufacturer or their exact equivalent 6 32 flat head If installing the PDU in a rack that has button mount slots you only need to perform step 1 1 If your rack enclosure does not have button mount slots...

Page 4: ...t lock input plug to a straight blade input plug Attach the input plug adapter A to the input plug B if you wish to plug the PDU into a compatible straight blade outlet 2 3 Connect the input plug to a...

Page 5: ...oE Power over Ethernet applications The interface will attempt to obtain an IP address via DHCP This may take as long as several minutes depending on your network environment 3 2 Determine IP Address...

Page 6: ...d to be entered 4 2 Configure Terminal Emulation Program Set your terminal emulation program to use the COM port with its corresponding USB port 4 3 Select Option 3 IPv4 setting or Option 4 IPv6 setti...

Page 7: ...ill display The default user name is localadmin and the password is localadmin After you enter the user name and password the PowerAlert Device Manager Overview page will appear in the browser window...

Page 8: ...for two seconds to rotate the LED display for ease of reading in vertical installations with the input cord at the top or bottom of the PDU 30 amp models feature a Select Rotate Switch C and a dedica...

Page 9: ...iple outlet banks have a circuit breaker for each bank Circuit breakers are only used to protect output load banks Cord Retention Bracket Provides secure attachment points for connected equipment cord...

Page 10: ...e on the faceplate above the RJ45 Configuration Port Press once to reset the Network Interface Press and hold for 15 seconds to reset the Network Interface to factory default settings Note PDU loads w...

Page 11: ...o not contact or return the product to the dealer Instead visit www tripplite com support 3 If the problem requires service visit www tripplite com support and click the Product Returns link From here...

Page 12: ...y specific application PRODUCT REGISTRATION Visit www tripplite com warranty today to register your new Tripp Lite product You ll be automatically entered into a drawing for a chance to win a FREE Tri...

Page 13: ...cter sticas de la PDU monitoreada para Rack 14 Caracter sticas alternas de la PDU para Rack 15 Instalaci n 15 Caracter sticas 20 Configuraci n y operaci n 23 Servicio t cnico 23 Garant a 24 English 1...

Page 14: ...pecificaci n de la clavija o del equipo Conecte el PDU a un tomacorriente que est de acuerdo a los c digos locales de construcci n y que est correctamente protegido contra corrientes excesivas cortoci...

Page 15: ...n un rack equipado con ranuras de montaje de bot n inserte los botones de montaje en la parte trasera de la PDU dentro de las ranuras de montaje de bot n sobre el rack y deslice la PDU hacia abajo has...

Page 16: ...ue convierte la clavija de entrada de media vuelta a una clavija de entrada de pala recta Conecte el adaptador de la clavija de entrada A a la clavija de entrada B si desea enchufar el PDU a una toma...

Page 17: ...et al puerto de Ethernet RJ45 en la Interfaz de Red del PDU Nota Este puerto no admite aplicaciones de PoE Energ a sobre la Ethernet La interfaz intentar obtener una direcci n IP mediante DHCP Esto pu...

Page 18: ...resar 4 2 Configure el Programa de Emulaci n de Terminal Configure su programa de emulaci n de terminal para utilizar el puerto COM con su puerto USB correspondiente 4 3 Seleccione Opci n 3 Par metro...

Page 19: ...rAlert El nombre de usuario Predeterminado es localadmin y la contrase a es localadmin Despu s de introducir el nombre de usuario y la contrase a la p gina Visi n General del Administrador de disposit...

Page 20: ...PDU dos caracteres por vez Oprima por dos segundos para girar la pantalla LCD para facilitar la lectura en instalaciones verticales con el cable de alimentaci n en la parte superior o inferior del PDU...

Page 21: ...iples tomacorrientes tienen un interruptor de circuito para cada banco Los interruptores de circuito se usan solamente para proteger los bancos de carga de salida Soportes para Retenci n de Cable Prop...

Page 22: ...de Configuraci n RJ45 Oprima una vez para restaurar la Interfaz de Red Oprima y sostenga por 15 segundos para restaurar la Interfaz de Red a la configuraci n predeterminada de f brica Nota Las cargas...

Page 23: ...ue ni devuelva el producto al mayorista En cambio visite www tripplite com support 3 Si el problema exige servicio t cnico visite www tripplite com support y haga clic en el enlace Devoluciones de pro...

Page 24: ...n limitaciones sobre la duraci n de una garant a impl cita y algunos estados no permiten la exclusi n o limitaci n de da os incidentales o consecuentes de modo que las limitaciones o exclusiones menci...

Page 25: ...t de distribution d alimentation PDU en baie command e par interrupteur Format barrette de connexion 0U Vertical 1111 W 35th Street Chicago IL 60609 USA www tripplite com support Copyright 2016 Tripp...

Page 26: ...PDU dans une prise non mise la masse ou des rallonges lectriques ou des adaptateurs qui liminent la connexion la masse S assurer de fournir un dispositif de d connexion local pour tous les mod les qui...

Page 27: ...l unit sont incluses N utilisez que les vis fournies par le fabricant ou leur quivalent exact 6 32 de 1 4 po t te plate Si la PDU est install e dans un b ti comportant des fentes pour boutons de mont...

Page 28: ...s disposent d un adaptateur de fiche d entr e qui convertit la fiche d entr e verrouillage rotatif en fiche d entr e lames droites Brancher l adaptateur de fiche d entr e A la fiche d entr e B si vous...

Page 29: ...45 sur l interface r seau de la PDU Remarque Ce port ne prend pas en charge les applications d alimentation par Ethernet PoE L interfaceva tenter d obtenir une adresse IP via DHCP Cela peut prendre pl...

Page 30: ...e terminal configurer le programme d mulation de terminal pour utiliser le port COM avec son port USB correspondant 4 3 S lectionner l option 3 IPv4 setting param tre IPv4 ou l option 4 IPv6 settings...

Page 31: ...d faut est localadmin et le mot de passe est localadmin Apr s avoir saisi le nom d utilisateur et le mot de passe la page d tat de Aper u du gestionnaire de p riph riques PowerAlert va s afficher dans...

Page 32: ...entr e 3 p les IEC 309 Disponible uniquement sur certains mod les Prises Varient selon les mod les Lors d un fonctionnement normal les prises distribuent du courant CA l quipement connect Certains mod...

Page 33: ...e la barre 2 allum la charge sur la barre de charge est affich e Pressez le commutateur Select Rotate S lection Rotation pendant deux secondes pour pivoter l affichage DEL pour en faciliter la lecture...

Page 34: ...J45 Appuyer une fois pour r initialiser l interface r seau Appuyer sur le bouton et le maintenir enfonc pendant 15 secondes pour r tablir l interface r seau de la PDU sa configuration d usine par d fa...

Page 35: ...s 2 Si le probl me persiste ne pas communiquer ou renvoyer le produit au vendeur la place visitez www tripplite com support 3 Si le probl me n cessite une r paration visitez www tripplite com support...

Page 36: ...U CONS CUTIFS Certains tats ne permettent pas la limitation de la dur e d une garantie implicite et certains tats ne permettent pas la limitation ou l exclusion de dommages accessoires ou cons cutifs...

Reviews: