


13
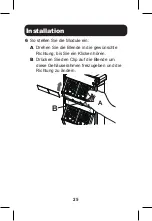
Installation
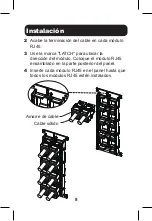
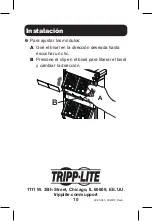
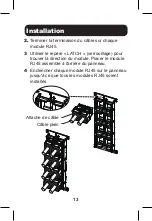
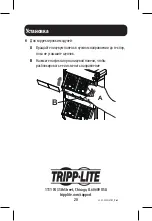
2.
Terminer la terminaison du câble sur chaque
module RJ45.
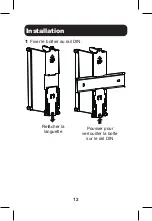
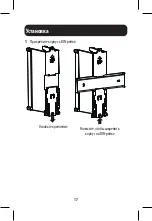
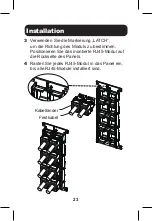
3
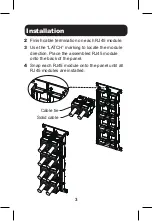
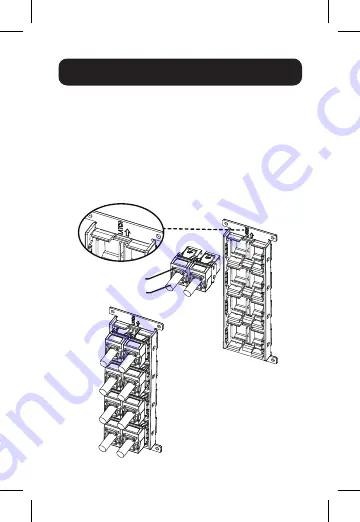
Utiliser le repère « LATCH » (verrouillage) pour
trouver la direction du module. Placer le module
RJ45 assemblé à l'arrière du panneau.
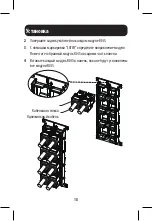
4
Enclencher chaque module RJ45 sur le panneau
jusqu'à ce que tous les modules RJ45 soient
installés.
Attache de câble
Câble plein


