


Setup
SeaKing & SeaPrince Imaging Sonars
0374-SOM-00001, Issue: 08
15
© Tritech International Ltd.
For Sonars using Ethernet communications, changing the IP Address of the Sonar will not
require a change in test cable - but it will need the computer and Sonar to be on the same
domain in order to establish communications.
4.3. Changing Configuration for Ethernet
Note
Currently only the SeaKing V7 supports Ethernet communications, with the label
showing this option instead of ARCNET.
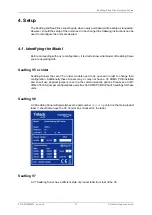
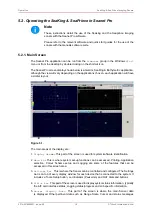
To change the setup of an Ethernet enabled sonar the following steps should be undertaken:
1. Place the unit on a short test lead directly into the Ethernet port of the controlling computer
2. Change the IP address of the controlling computer to the same domain as the Sonar -
typically in the
192.168.2.xxx
range
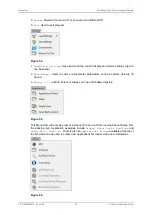
3. Using the
Applications - Setup
ensure that you can see the Node of the Sonar - typically
Node 2
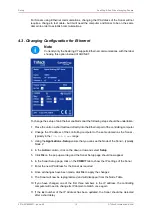
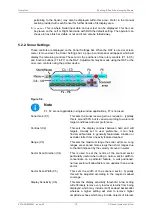
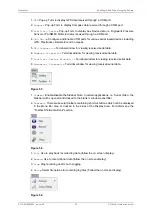
4. In the
Action
column, click on the down arrow and select
Setup
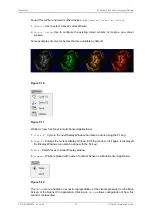
5. Click
Ok
on the pop up warning and the Sonar Setup page should now appear
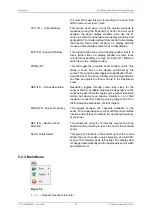
6. In the Sonar Setup page, click on the
COMV7
tab to show the IP settings of the Sonar
7. Enter the new IP Address for the Sonar as required
8. Once all changes have been made, click
Ok
to apply the changes
9. The Sonar will now be reprogrammed and will disappear from the Node Table
10. If you have changed one of the first three numbers in the IP address, the controlling
computer will need to change its IP domain to match once again
11. If the last number of the IP Address has been updated, the Sonar should be detected
after a short delay


