Tritex Multigauge 5700 Datalogger Ultrasonic Thickness Gauge www.tritexndt.com
Page 9
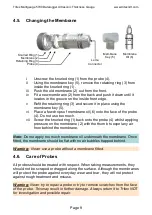
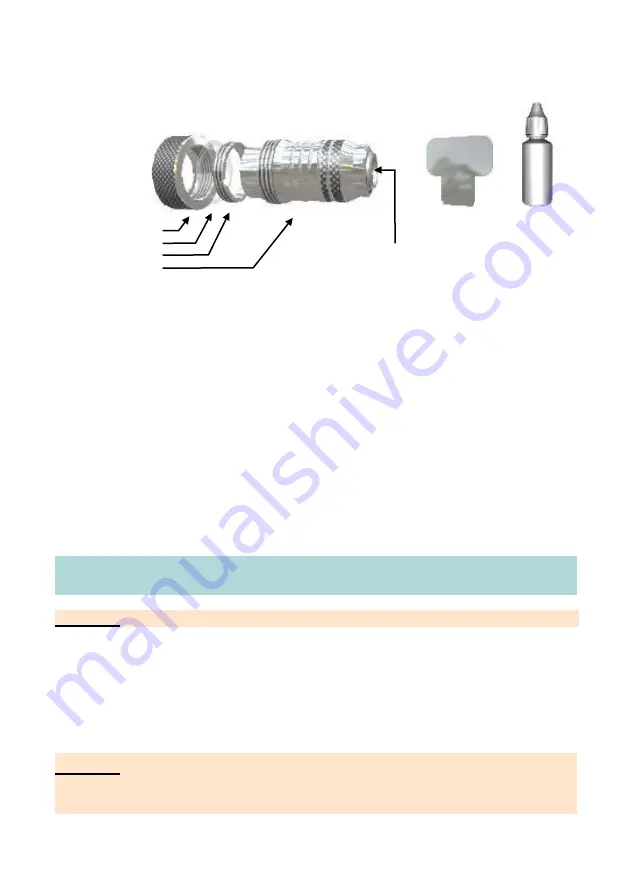
Knurled Ring (1)
Membrane (2)
Retaining Ring (3)
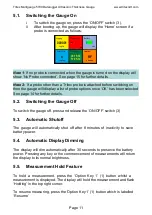
Probe (4)
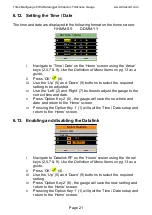
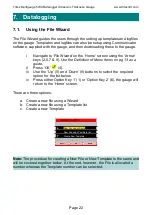
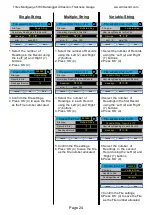
Lemo
Connector
Membrane
Key (5)
Membrane
Oil (6)
Membrane
Oil
www.tritexndt.com
4.5.
Changing the Membrane
i
Unscrew the knurled ring (1) from the probe (4).
ii
Using the membrane key (5), remove the retaining ring (3) from
inside the knurled ring (1).
iii
Push the old membrane (2) out from the front.
iv
Fit a new membrane (2) from the back and push it down until it
locates in the groove on the inside front edge.
v
Refit the retaining ring (3) and secure it in place using the
membrane key (5).
vi
Place a few drops of membrane oil (6) onto the face of the probe
(4). Do not use too much.
vii
Screw the knurled ring (1) back onto the probe (4) whilst applying
pressure on the membrane (2) with the thumb to expel any air
from behind the membrane.
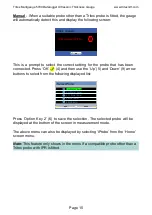
Note:
Do not apply too much membrane oil underneath the membrane. Once
fitted, the membrane should be flat with no air bubbles trapped behind.
Warning:
Never use a probe without a membrane fitted.
4.6.
Care of Probes
All probes should be treated with respect. When taking measurements, they
should not be scraped or dragged along the surface. Although the membranes
will protect the probe against everyday wear and tear, they will not protect
against rough treatment and misuse.
Warning:
Never try to repair a probe or try to remove scratches from the face
of the probe. This may result in further damage. Always return it to Tritex NDT
for investigation and possible repair.


