41
ARGO U
SER
M
ANUAL
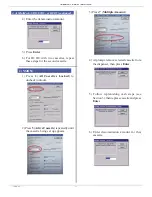
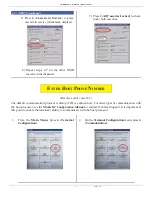
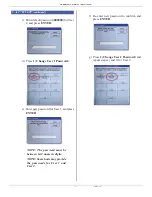
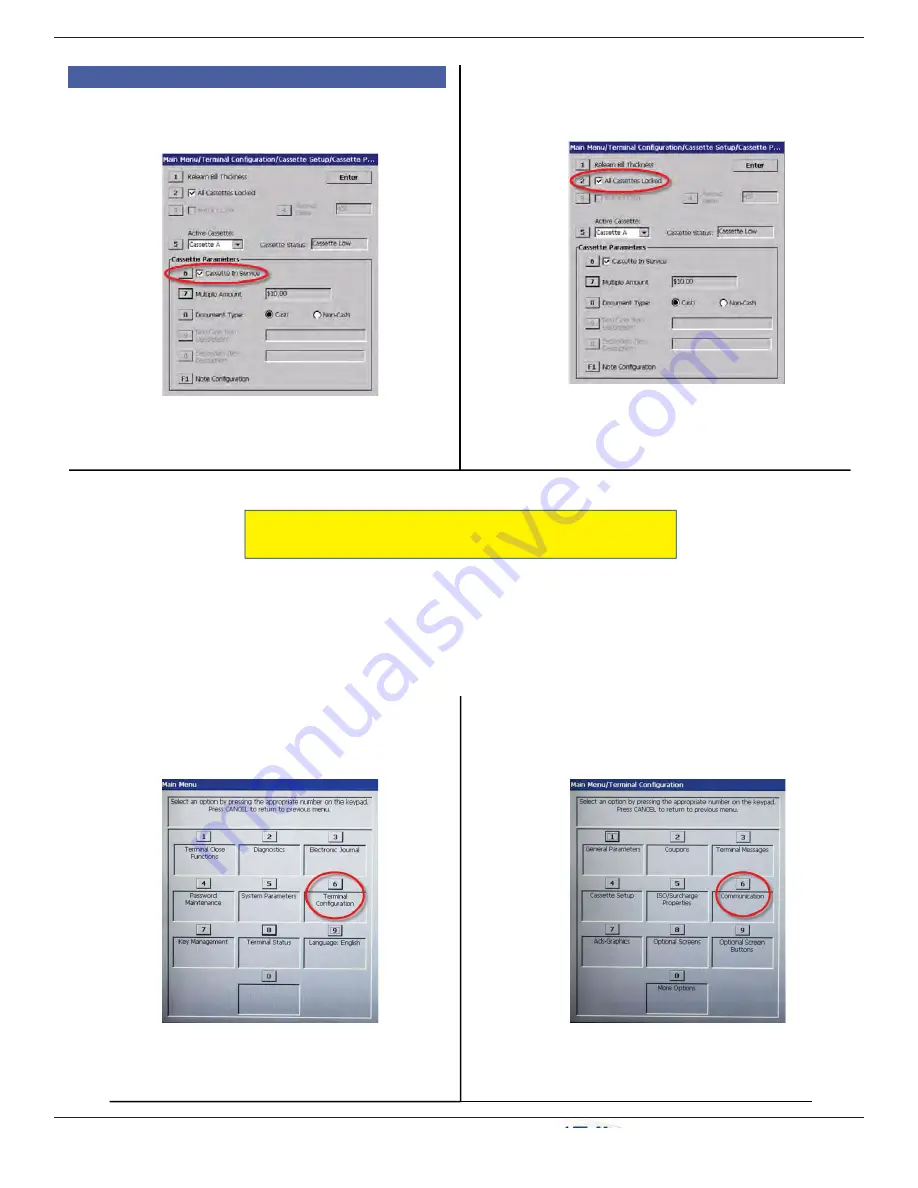
9) Press
2
(
All Cassettes Locked
) to check
(lock) both cassettes.
C
7) Press
6
(
Cassette in Service
) to place
cassette in service (checkmark displays).
8) Repeat steps 2-7 for the other NMD
cassette in the dispenser.
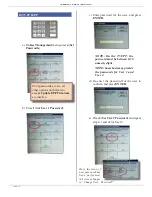
4. C) NMD50 (continued)
E
NTER
H
OST
P
HONE
N
UMBER
(Resolves error code 185.)
The default communication protocol is dialup (TDL) as shown here. For other types of communication with
the host processor, see the
XScale/X2 Con
fi
guration Manual
or contact Technical Support. It is important at
this point to enable the terminal’s ability to communicate with the host processor.
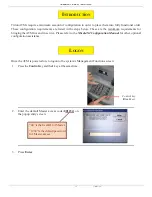
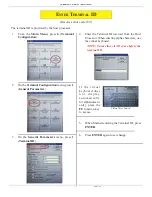
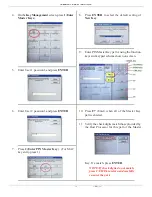
1. From the
Main Menu
, press
6
(
Terminal
Con
fi
guration
).
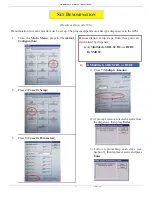
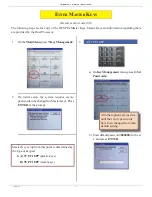
2. On the
Terminal Con
fi
guration
menu, press
6
(
Communication
).
Summary of Contents for ARGO RL1713
Page 5: ...SECTION 1 INTRODUCTION ...
Page 11: ...SECTION 2 BASIC OPERATION ...
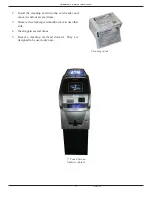
Page 20: ...16 ARGO USER MANUAL 7 ARGO with printer and topper ...
Page 21: ...SCDU HCDU MiniMech SDD NMD50 SECTION 3 CASSETTE CLOSE CASH REPLENISHMENT ...
Page 33: ...ARGO USER MANUAL 29 12 1 ARGO Deep cabinet ...
Page 34: ...12 1 ARGO with topper SECTION 4 GENERAL MAINTENANCE ...
Page 40: ...12 1 ARGO with printer No topper SECTION 5 SETUP BASICS ...
Page 54: ... 33 1 62 7 5 16 5 0 17 203 1 0 66 21 67 7 0 176 ...
Page 58: ... 33 1 55 17 6 59 67 7 0 17 ...
Page 65: ... 33 1 7 6 3 17 17 21 7 1 ...
Page 66: ... 33 1 7521 2 6 1 77 5 675 7 2 7 6 1 2 7 ...
Page 72: ... 33 1 0 1 2 6 ...
Page 74: ...SUPPLEMENT A T5 AND T7 PCI EPP BATTERY REPLACEMENT PROCEDURES SA 1 ...
Page 77: ...SA 4 THIS PAGE INTENTIONALLY LEFT BLANK ...
Page 78: ...SUPPLEMENT B KEY MANAGEMENT PROCEDURES T5 PCI EPP T7 PCI EPP ...

