7
GB
OPERATION
• Use the small washer with
13mm (
1
⁄
2
") sanding sleeve
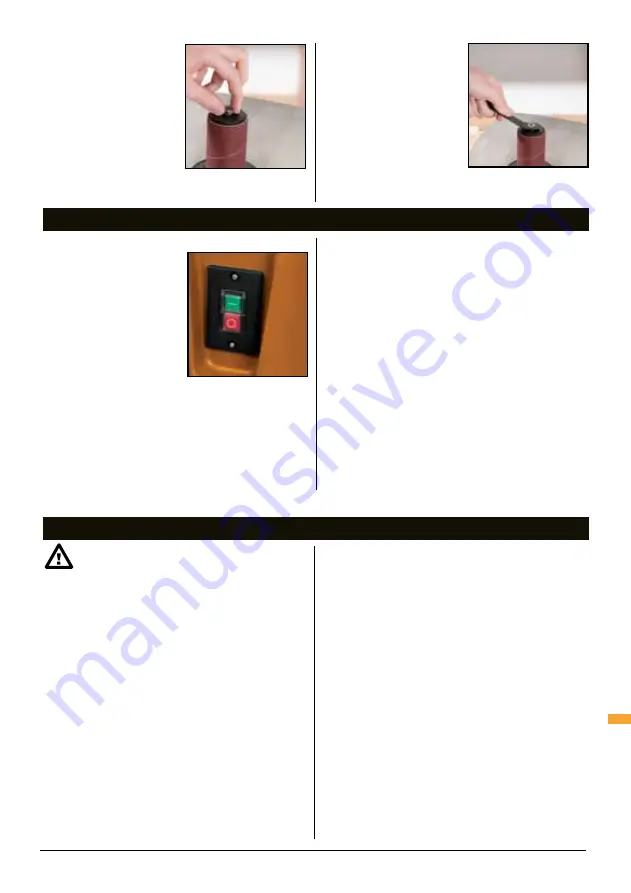
8. Fit the Spindle Lock Nut (6)
on the Spindle (5). Tighten
the nut just enough to
expand the Rubber Drum
(12) against the Sanding
Sleeve (11). Do not over-
tighten
To maximise the service life
of the sanding sleeve, turn
it upside down to use any
remaining serviceable grit.
Do not use a sanding sleeve
that is too worn. This can lead
to excessive heat build up
and damage the rubber drum.
Damaged rubber drums due to
worn sanding sleeves will not
be covered under warranty.
Assembly / Operation / Service & Maintenance
WARNING!
Ensure the tool is switched off and
the plug is removed from the power point before
making any adjustments or carrying out maintenance.
• Any damage to this tool should be repaired and
carefully inspected before use, by qualified repair
technician.
• Have your power tool serviced by a qualified repair
technician using only identical replacement parts.
This will ensure that the safety of the power tool is
maintained.
GENERAL INSPECTION
Regularly check that all the fixing screws are tight. They
may vibrate loose over time.
POWER CORD MAINTENANCE
If the supply cord needs replacing, the task must be
carried out by the manufacturer, the manufacturer’s
agent, or an authorised service centre in order to avoid a
safety hazard.
CLEANING
1. Remove dust and dirt regularly. Frequently blow or
vacuum dust away from all sander parts and the motor
housing.
2. Periodically remove the table insert and lower washer
from the spindle and remove any dust accumulation in
the table insert area.
3. Re-lubricate all moving parts at regular intervals.
4. Never use caustic agents to clean plastic parts.
Do not use cleaning agents to clean the plastic parts
of the tool. A mild detergent on a damp cloth is
recommended. Water must never come into contact with
the tool.
SERVICE & MAINTENANCE
SWITCHING ON AND OFF
• The On/Off Switch (2) is
located on the front of the
spindle sander
• To turn the spindle sander
ON: Press the green button
marked (-)
• To turn the spindle sander
OFF: Press the red button
marked (O)
SANDING
•
WARNING
: Do not sand metal with this sander.
Sanding metal will cause sparks that may ignite wood
and dust particles on the sander or in the workshop
•
NOTE
: The spindle rotates in an anti-clockwise
direction
1. Check the machine is mounted securely on the
workbench and the Spindle Lock Nut (6) is fastened
correctly with appropriate sanding sleeve and table
insert, in accordance with guidance in ‘Assembly’
2. Wear appropriate safety equipment, including face
mask and safety glasses, then switch on the dust
extraction system (if available)
3. Turn the sander ON and allow the motor to reach full
speed
WARNING
: Feed the workpiece gradually, AGAINST the
direction of rotation, onto the sanding sleeve. Failure
to do this could force the workpiece away from the
sanding sleeve with risk of injury. Do not force the
workpiece or apply excessive pressure
4. On completion of task, turn off the machine and
disconnect from mains power.


