5.3 Cleaning the Printer
5-9
8
88
8
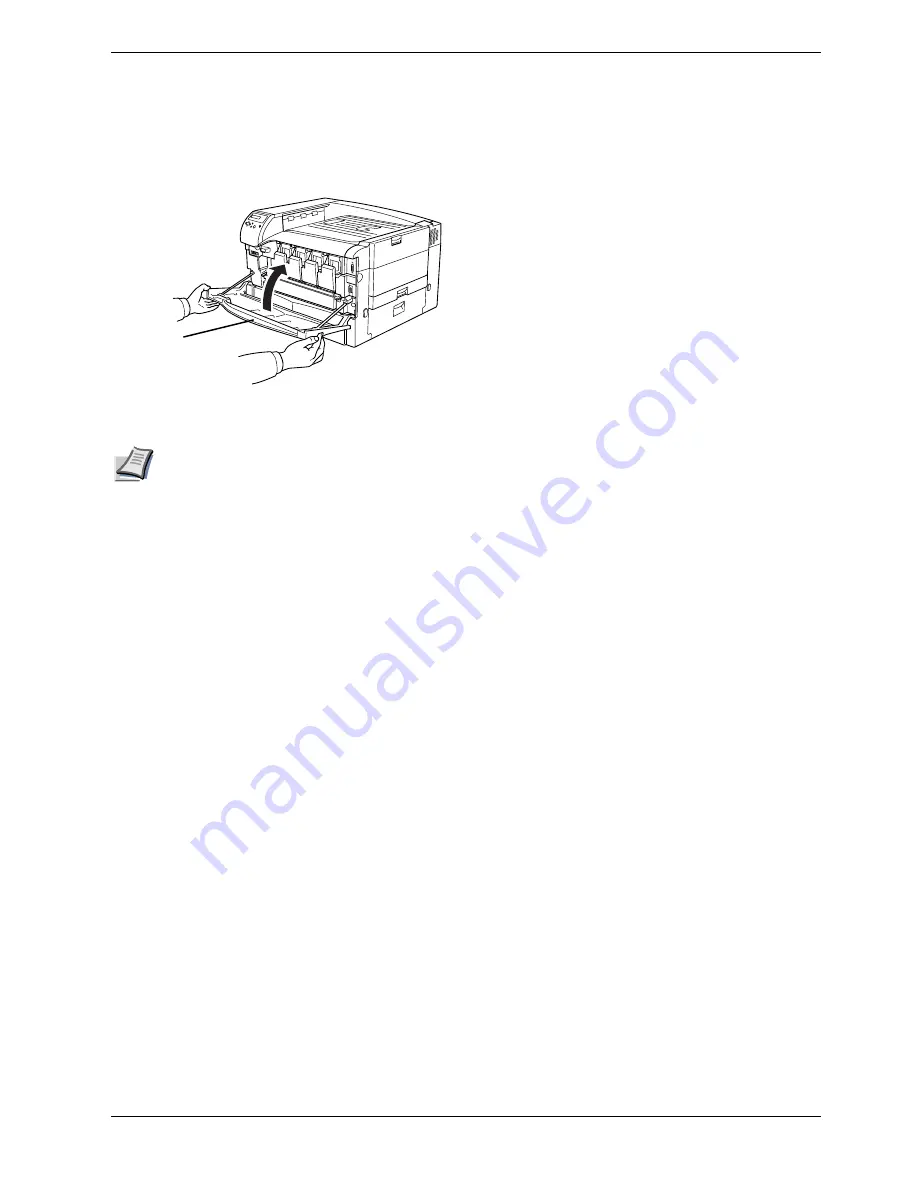
After cleaning the charger wire and grid, check to
make sure that the charger unit is back in its original
position, and then close the toner container cover and
front cover.
Figure 5-21
Note
If the front cover does not fully close, although
the printer shows
Ready
, open the front cover
and push the main charger unit until it is fully
inserted in the printer.
Front cover
Summary of Contents for CLP 4526
Page 1: ...Instruction Handbook CLP 4526 Colour Printer ...
Page 16: ...xv ...
Page 20: ...Contents xix ...
Page 40: ...2 4 Special Paper 2 12 ...
Page 56: ...3 3 Menu Map and Status Pages 3 16 Figure 3 3 MENU MAP ...
Page 126: ...4 4 Clearing Paper Jams 4 18 ...
Page 136: ...5 3 Cleaning the Printer 5 10 ...
Page 156: ...UTAX GmbH Ohechaussee 235 22848 Norderstedt Germany ...


