3.5 Changing the Interface Parameters
3-31
6
66
6
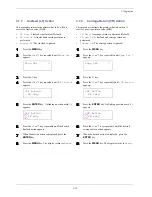
Press the
U
or
V
key to move to
Subnet Mask
.
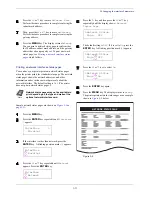
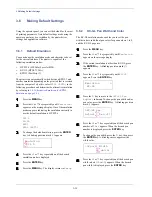
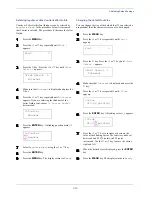
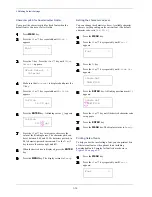
Perform the same procedure to complete entering the
subnet mask address.
7
77
7
Then, press the
U
or
V
key to move to
Gateway
.
Perform the same procedure to complete entering the
gateway address.
8
88
8
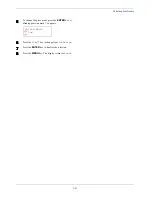
Press the
MENU
key. The display returns to
Ready
.
You can print a network status page to confirm that
the IP address, subnet mask address, and the gateway
address have been properly set. To print a network
status page, see
Printing a network interface status
pages
which follows.
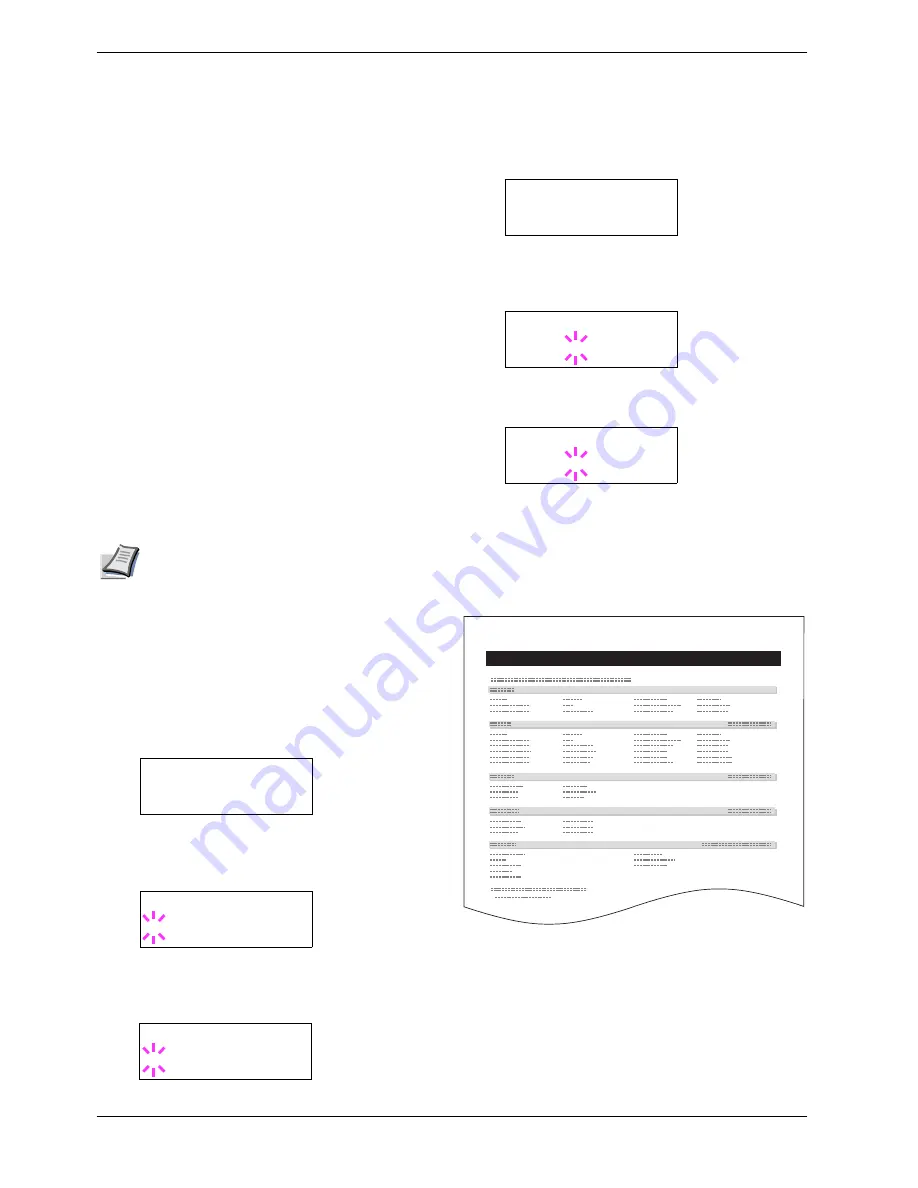
Printing a network interface status pages
You can have your printer print out network status pages
when the printer prints the standard status page. The network
status pages shows the network addresses, and other
information under various network protocols about the
network interface. The default setting is
Off
(The printer
does not print network status pages.).
Note
Network status pages may not be available to
print depending on the type and make of the
optional network interface card.
Sample network status pages are shown on
Figure 3-9 on
page 3-31
.
1
11
1
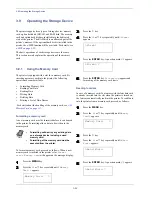
Press the
MENU
key.
2
22
2
Press the
ENTER
key repeatedly until
Interface
>
appears.
3
33
3
If the interface is other than network, press the
ENTER
key. A blinking question mark (
?
) appears.
4
44
4
Press the
U
or
V
key repeatedly until
Network
appears. Press the
ENTER
key.
5
55
5
Press the
Z
key and then press the
U
or
V
key
repeatedly until the display shows
>Network
Status Page
.
6
66
6
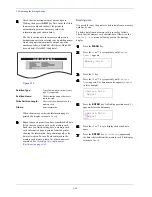
The default setting is
Off
. If it is set to
On
, press the
ENTER
key. A blinking question mark (
?
) appears.
7
77
7
Press the
U
or
V
key to select
On
.
8
88
8
Press the
ENTER
key again.
9
99
9
Press the
MENU
key. The display returns to
Ready
.
The printer prints network status pages as an example
shown in
Figure 3-9
below.
Figure 3-9
Interface >
Parallel
Interface
? Parallel
Interface
? Network
>Network Status
Page Off
>Network Status
Page ? Off
>Network Status
Page ? On
NETWORK STATUS PAGE
Summary of Contents for CLP 4526
Page 1: ...Instruction Handbook CLP 4526 Colour Printer ...
Page 16: ...xv ...
Page 20: ...Contents xix ...
Page 40: ...2 4 Special Paper 2 12 ...
Page 56: ...3 3 Menu Map and Status Pages 3 16 Figure 3 3 MENU MAP ...
Page 126: ...4 4 Clearing Paper Jams 4 18 ...
Page 136: ...5 3 Cleaning the Printer 5 10 ...
Page 156: ...UTAX GmbH Ohechaussee 235 22848 Norderstedt Germany ...


