3.6 Making Default Settings
3-32
3.6
Making Default Settings
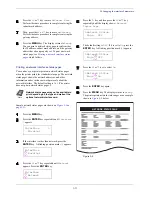
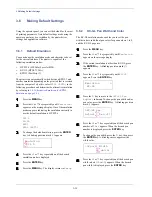
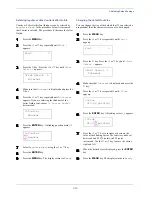
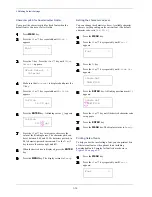
Using the operator panel, you can set the default for the most
of printing parameters. Note default settings made using the
operator panel may be overridden by the printer driver
settings and application software.
3.6.1
Default Emulation
You can change the emulation mode and character code set
for the current interface. The printer is capable of the
following emulation modes:
•
HP PCL 6 (HP Color LaserJet 8550)
•
KC-GL (HPGL 7550A)
•
KPDL3 (PostScript 3)
The printer can automatically switch between KPDL 3 and
another emulation depending on the print job that is received
from the computer. To do this, select
KPDL (AUTO)
in the
following procedure and determine the alternative emulation
by referring to
3.6.3 Alternative Emulation for KPDL
Emulation on page 3-33
.
1
11
1
Press the
MENU
key.
2
22
2
Press the
U
or
V
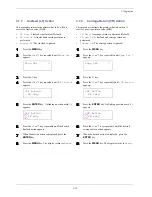
key repeatedly until
Emulation
>
appears on the message display. One of the emulation
modes appears, indicating the emulation currently in
use the default emulation is HP PCL 6.
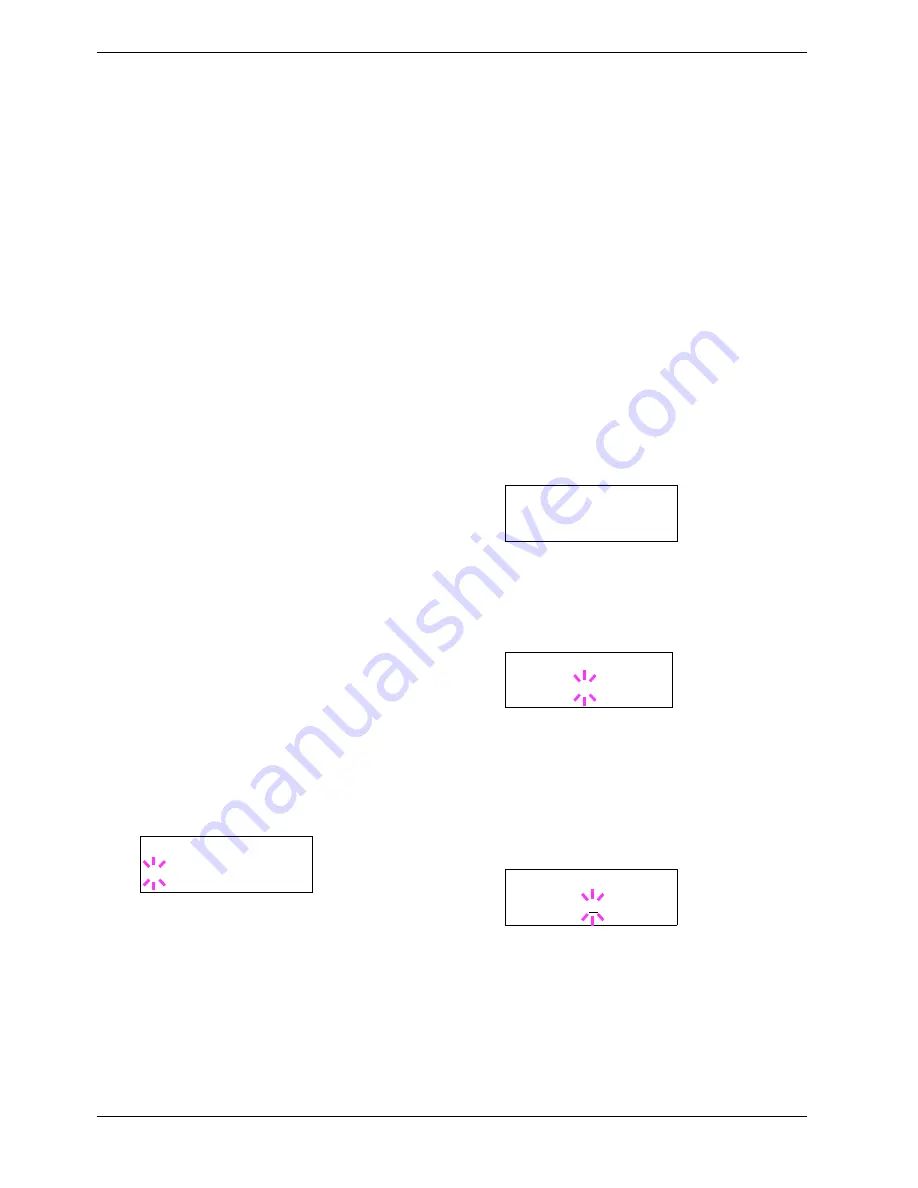
PCL 6
KC-GL
KPDL
KPDL (AUTO)
3
33
3
To change the default emulation, press the
ENTER
key. A blinking question mark (
?
) appears.
4
44
4
Press the
U
or
V
key repeatedly until the desired
emulation mode is displayed.
5
55
5
Press the
ENTER
key.
6
66
6
Press the
MENU
key. The display returns to
Ready
.
3.6.2
KC-GL Pen Width and Color
The KC-GL emulation mode enables you to set the pen
widths in dots, individual pen colors for pen numbers 1 to 8,
and the KC-GL page size.
1
11
1
Press the
MENU
key.
2
22
2
Press the
U
or
V
key repeatedly until
Emulation
appears on the message display.
3
33
3
If the current emulation is other than KC-GL, press
the
ENTER
key. A blinking question mark (
?
)
appears.
4
44
4
Press the
U
or
V
key repeatedly until
KC-GL
appears. Press the
ENTER
key.
5
55
5
Press the
Z
key to move to the >
KC-GL Pen
Adjust>
submenu. To change the pen width and/or
pen color, press the
ENTER
key. A blinking question
mark (
?
) appears.
6
66
6
Press the
U
or
V
key repeatedly until the desired pen
number of
1
to
8
appears. When the desired pen
number is displayed, press the
ENTER
key.
7
77
7
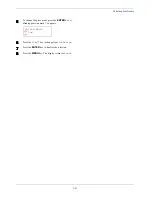
To change the pen width, press the
Z
key, then press
the
ENTER
key. A blinking cursor appears at the
width value.
8
88
8
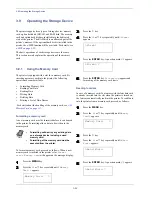
Press the
U
or
V
key repeatedly until the desired pen
width in dots (
00
to
99
) appears. When the desired
pen width is displayed, press the
ENTER
key.
Emulation
?PCL 6
Emulation >
KC-GL
>KC-GL Pen
Adjust ? Pen (1)
>>Pen(1) Width
02 dot(s)
Summary of Contents for CLP 4526
Page 1: ...Instruction Handbook CLP 4526 Colour Printer ...
Page 16: ...xv ...
Page 20: ...Contents xix ...
Page 40: ...2 4 Special Paper 2 12 ...
Page 56: ...3 3 Menu Map and Status Pages 3 16 Figure 3 3 MENU MAP ...
Page 126: ...4 4 Clearing Paper Jams 4 18 ...
Page 136: ...5 3 Cleaning the Printer 5 10 ...
Page 156: ...UTAX GmbH Ohechaussee 235 22848 Norderstedt Germany ...


