2HJ/2HK
1-5-16
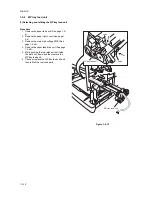
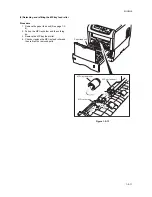
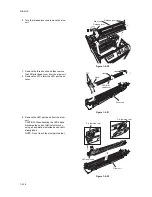
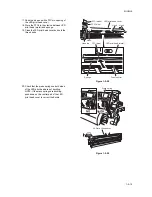
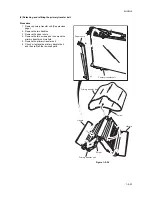
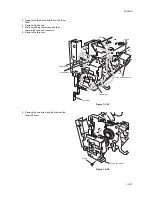
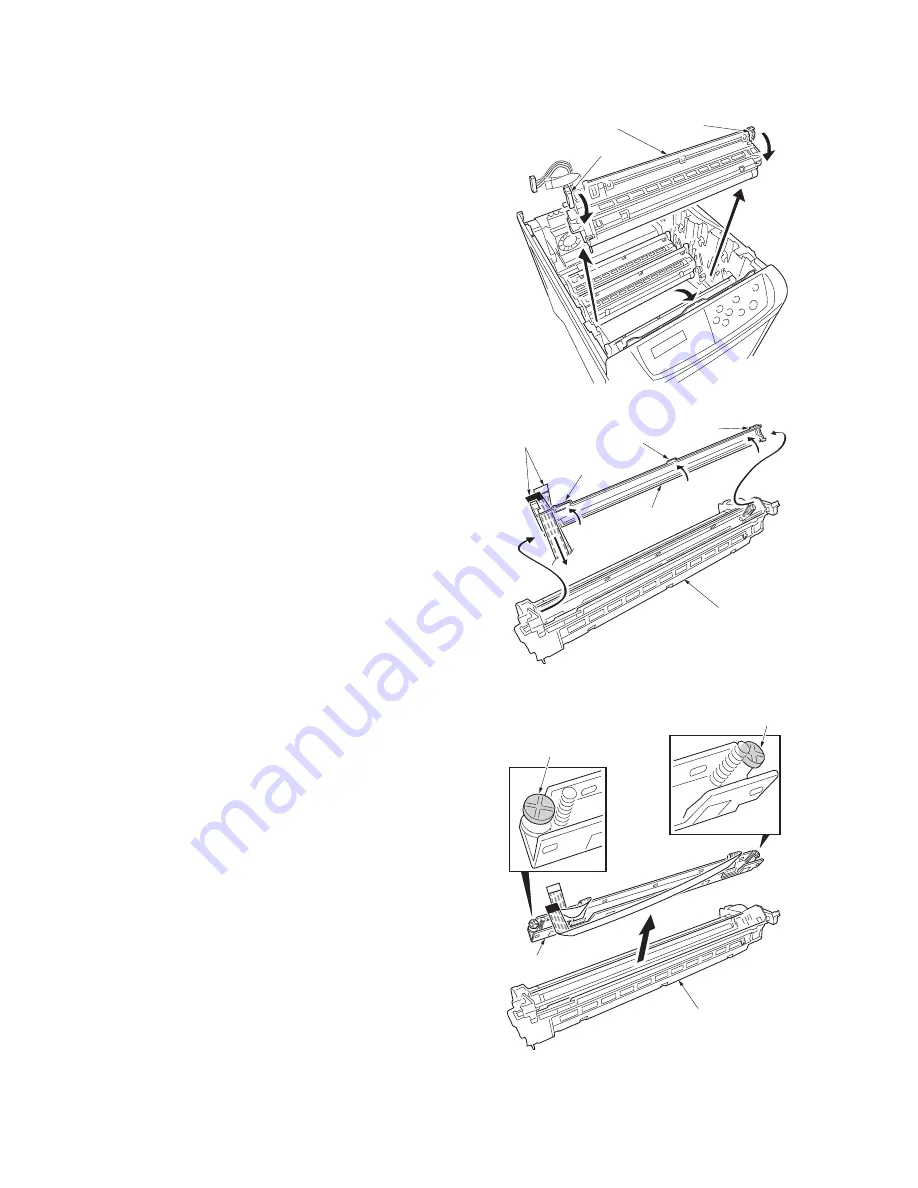
6. Turn the release lever and remove the drum
unit.
Figure 1-5-20
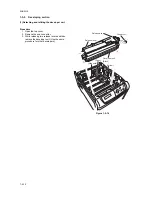
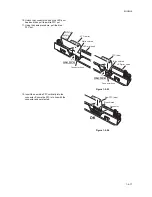
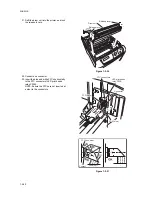
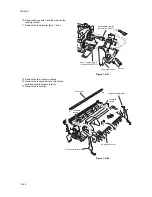
7. Remove the three hooks and then remove
the LED print head cover from the drum unit.
8. Remove the FFCs form the LED print head
cover.
Figure 1-5-21
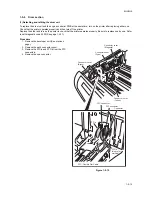
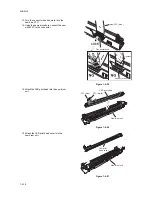
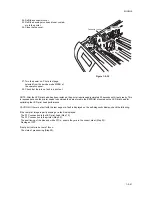
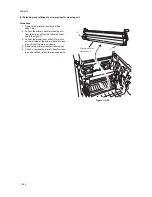
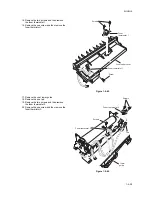
9. Remove the LED print head from the drum
unit.
CAUTION: When handling the LED heads,
discharge the body of static electricity by
using an anti-static wrist strap band or anti-
static globes.
NOTE: Do not touch the pins (painted red).
Figure 1-5-22
Drum unit
Release lever
Release lever
FFC
Hook
Hook
Hook
Drum unit
LED print
head cover
LED print head
Drum unit
Pin (painted red)
Pin (painted red)
Summary of Contents for CLP3316
Page 1: ...Service Manual Color Printer CLP 3316 CLP 3520 X First Edition Date 24 10 2006 2HKSM060 ...
Page 2: ...Service Manual Color Printer CLP 4316 CLP 4520 X First Edition Date 24 10 2006 2HKSM060 ...
Page 6: ...This page is intentionally left blank ...
Page 12: ...This page is intentionally left blank ...
Page 20: ...2HJ 2HK 1 1 8 This page is intentionally left blank ...
Page 32: ...2HJ 2HK 1 2 12 This page is intentionally left blank ...
Page 138: ...2HJ 2HK 1 6 4 This page is intentionally left blank ...
Page 168: ...2HJ 2HK 2 1 30 This page is intentionally left blank ...
Page 172: ...2HJ 2HK 2 2 4 This page is intentionally left blank ...
Page 188: ...2HJ 2HK 2 4 6 This page is intentionally left blank ...

