4-17
Printing from PC > Configuration Tool
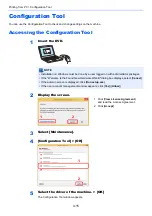
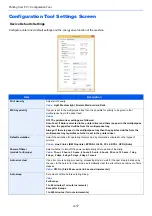
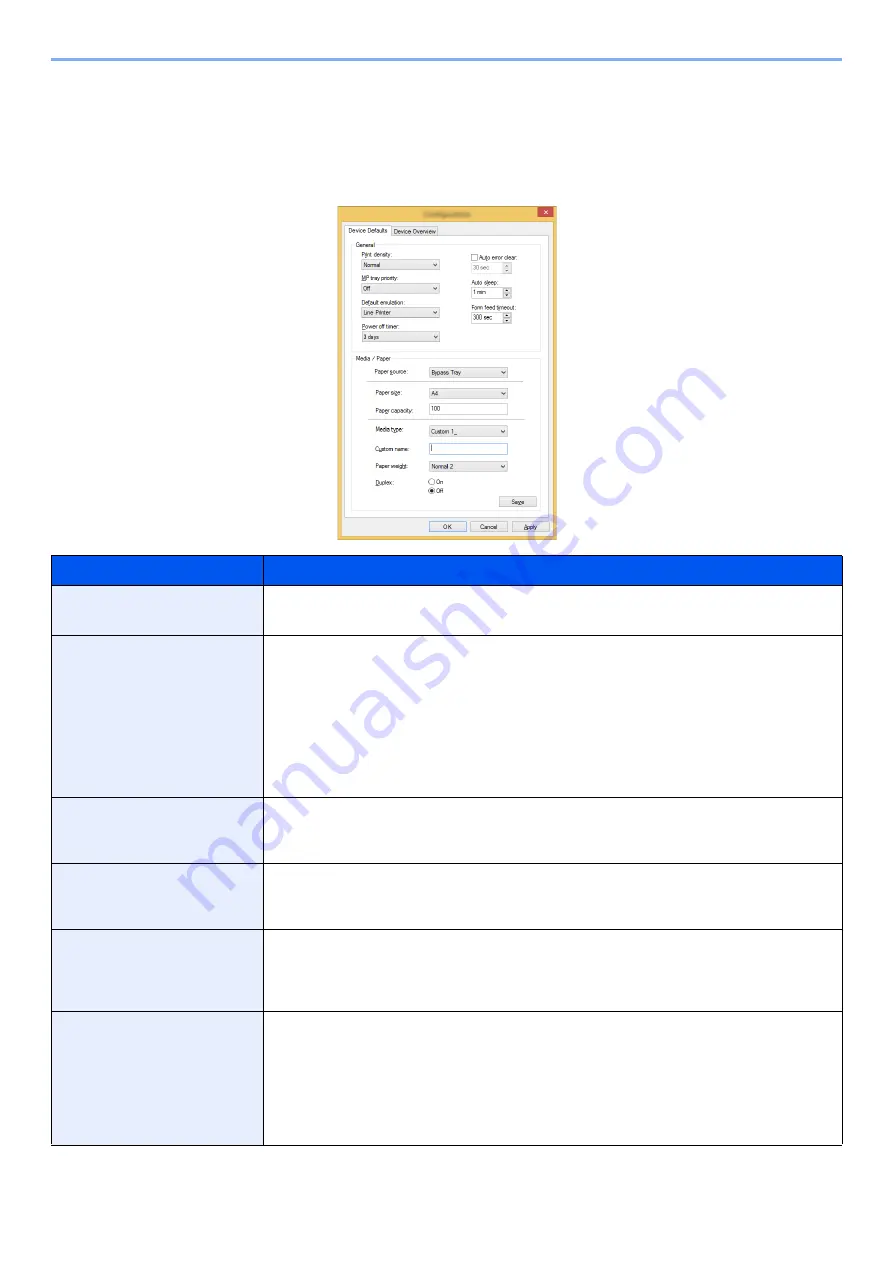
Configuration Tool Settings Screen
Device Defaults Settings
Configure printer driver default settings and the energy save function of the machine.
Item
Description
Print density
Adjust print density.
Value
: Light, Medium light, Normal, Medium dark, Dark
MP tray priority
If paper is set in the multipurpose tray then it is possible for priority to be given to that
multipurpose tray in the paper feed.
Values
Off: The printer driver settings are followed.
Auto Feed: If Auto is selected in the printer driver and there is paper in the multipurpose
tray then the paper feed will be from the multipurpose tray.
Always: If there is paper in the multipurpose tray then the paper feed will be from the
multipurpose tray regardless of what is set in the printer driver.
Default emulation
Select the emulation for operating this machine by commands oriented to other types of
printers.
Values
: Line Printer, IBM Proprinter, EPSON LQ-850, PCL 6, KPDL, KPDL(Auto)
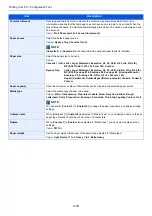
Power off timer
(models for Europe)
Select whether to turn off the power automatically after a period of inactivity.
Value
: 1 hour, 2 hours, 3 hours, 4 hours, 5 hours, 6 hours, 9 hours, 12 hours, 1 day,
2 days, 3 days, 4 days, 5 days, 6 days, 1 week
Auto error clear
If an error occurs during processing, processing stops to wait for the next step to be taken by
the user. In the Auto Error Clear mode, automatically clear the error after a set amount of time
elapses.
Value
: Off, On (5 to 495 seconds (in 5 second increments))
Auto sleep
Set amount of time before entering Sleep.
Value
For Europe
1 to 60 minutes (1 minute increments)
Except for Europe
1 to 240 minutes (1 minute increments)
Summary of Contents for P-3522DW
Page 1: ...Operation Guide P 3522DW ...
Page 128: ...6 27 Troubleshooting Indicator pattern when an error occurs Example F 5 2 6 ...
Page 132: ...6 31 Troubleshooting Clearing Paper Jams 4 Open the front cover 5 Close the front cover ...
Page 134: ...6 33 Troubleshooting Clearing Paper Jams 4 Open the front cover 5 Close the front cover ...
Page 136: ...6 35 Troubleshooting Clearing Paper Jams 4 Open the front cover 5 Close the front cover ...
Page 140: ...6 39 Troubleshooting Clearing Paper Jams 12Close the front cover ...
Page 145: ...6 44 Troubleshooting Clearing Paper Jams 14Close the front cover ...
Page 149: ...7 4 Appendix Optional Equipment 4 Replace the covers ...
Page 168: ......


