Preparation before Use
2-8
Windows Vista, the user account management window appears.
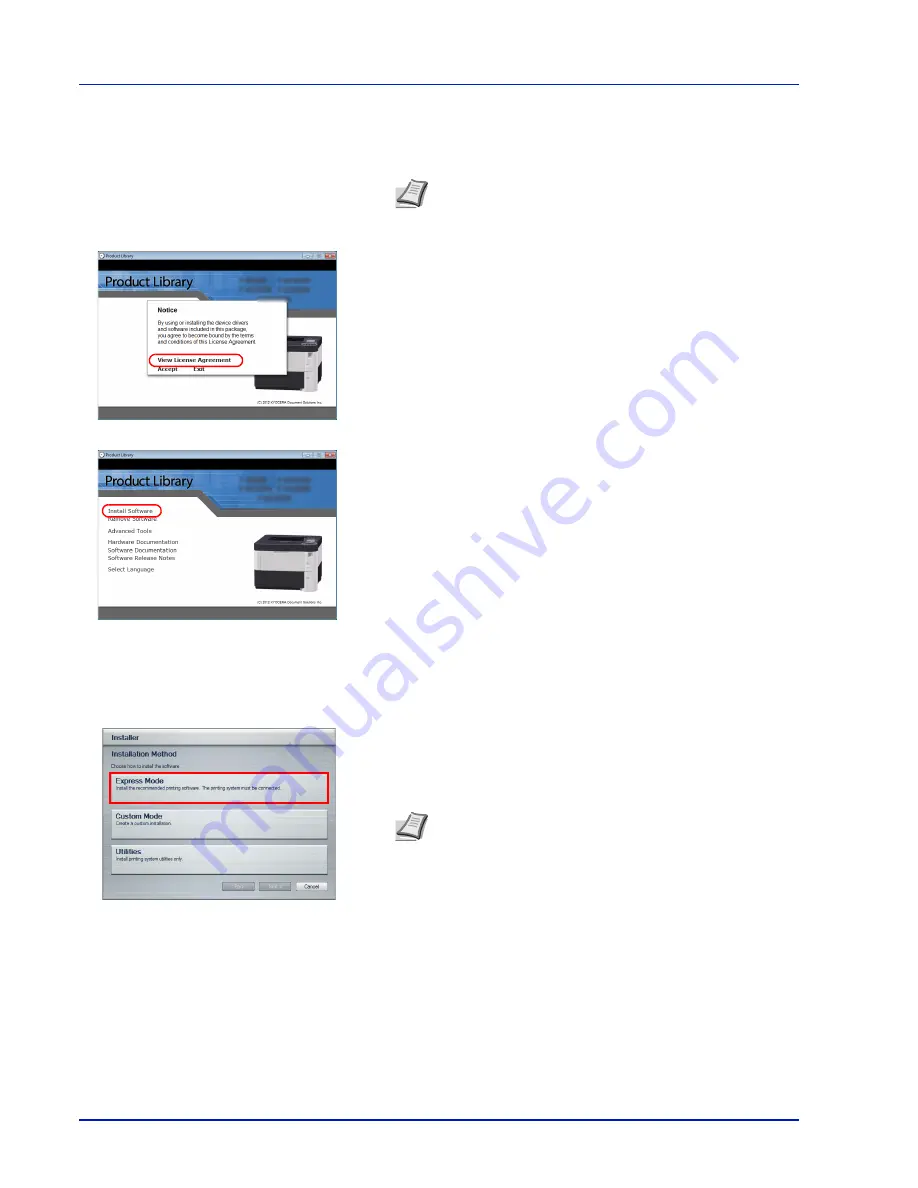
Click
Yes
.
The installation program launches.
3
Click
View License Agreement
and read the License Agreement.
Click
Accept
.
4
Click
Install software
.
The software install wizard starts up.
From this point, the procedure differs depending on your version of
Windows and your connection method. Proceed to the correct
procedure for your connection type.
• Express Mode
• Custom Mode
Express Mode
In Express Mode, the installer automatically detects the printer when it is turned on. Use Express Mode for standard
connection methods.
1
In the installation method selection window, select
Express Mode
.
The print system detection window appears and the installer detects
the connected printers. If the installer does not detect a print system,
check that the print system is connected via USB or a network and
that it is turned on. Then return to the print system detection window.
Note
If the software install wizard does not launch
automatically, open the
Product Library
disc window in
Windows Explorer and double-click
Setup.exe
.
Note
While the information shown in Windows 7 and
Windows Vista/Windows XP installation dialog boxes differs
slightly, the installation procedure is the same.
Network connection is only on network compatible models.
Summary of Contents for P-4030D
Page 22: ...Machine Parts 1 6 ...
Page 60: ...Printing 3 8 ...
Page 71: ...4 11 Operation Panel Menu Map Sample Menu Map Printer Firmware version ...
Page 163: ...4 103 Operation Panel 5 Press or to select whether Thin Print is enabled ...
Page 194: ...Operation Panel 4 134 ...
Page 232: ...Document Box 5 38 ...
Page 238: ...Status Menu 6 6 ...
Page 272: ...Troubleshooting 8 24 ...
Page 311: ......


