3NB/3ND/3N0/3NK-2
1-4-21
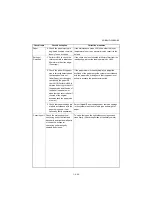
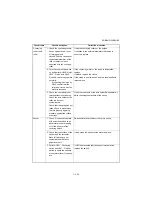
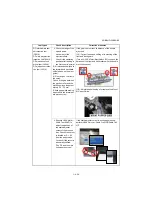
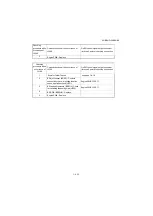
Conveying
guide,
approaching
guide, feed-
shift guide
1. Check that the foreign
objects including scrips,
paper clips, etc., do not exist
in the paper conveying paths.
If foreign objects such as scrips, etc., remain in the
paper conveying path, remove.
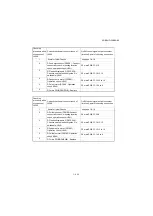
2. Check that the paper
conveying guide and the
separation needles are not
contaminated with toner,
paper dusts, etc.
If dirty, clean the guide, ribs (by a cloth), and the
separation needles (by a cleaning brush).If the ribs of
the conveying guides were broken or deposited with
toner, replace.
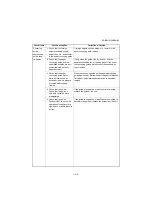
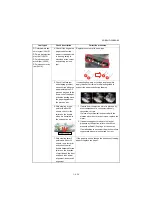
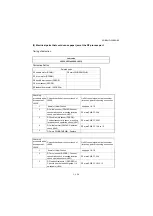
3. Check that the paper
conveying guide has no
barrs, deformations, or
abrasions; and it is properly
mounted without being
floated.
Clean the conveying guide or the paper approaching
guide.Remove any protrusions including barrs.If floated,
fix it properly.If deformation or abrasion is observed,
replace.
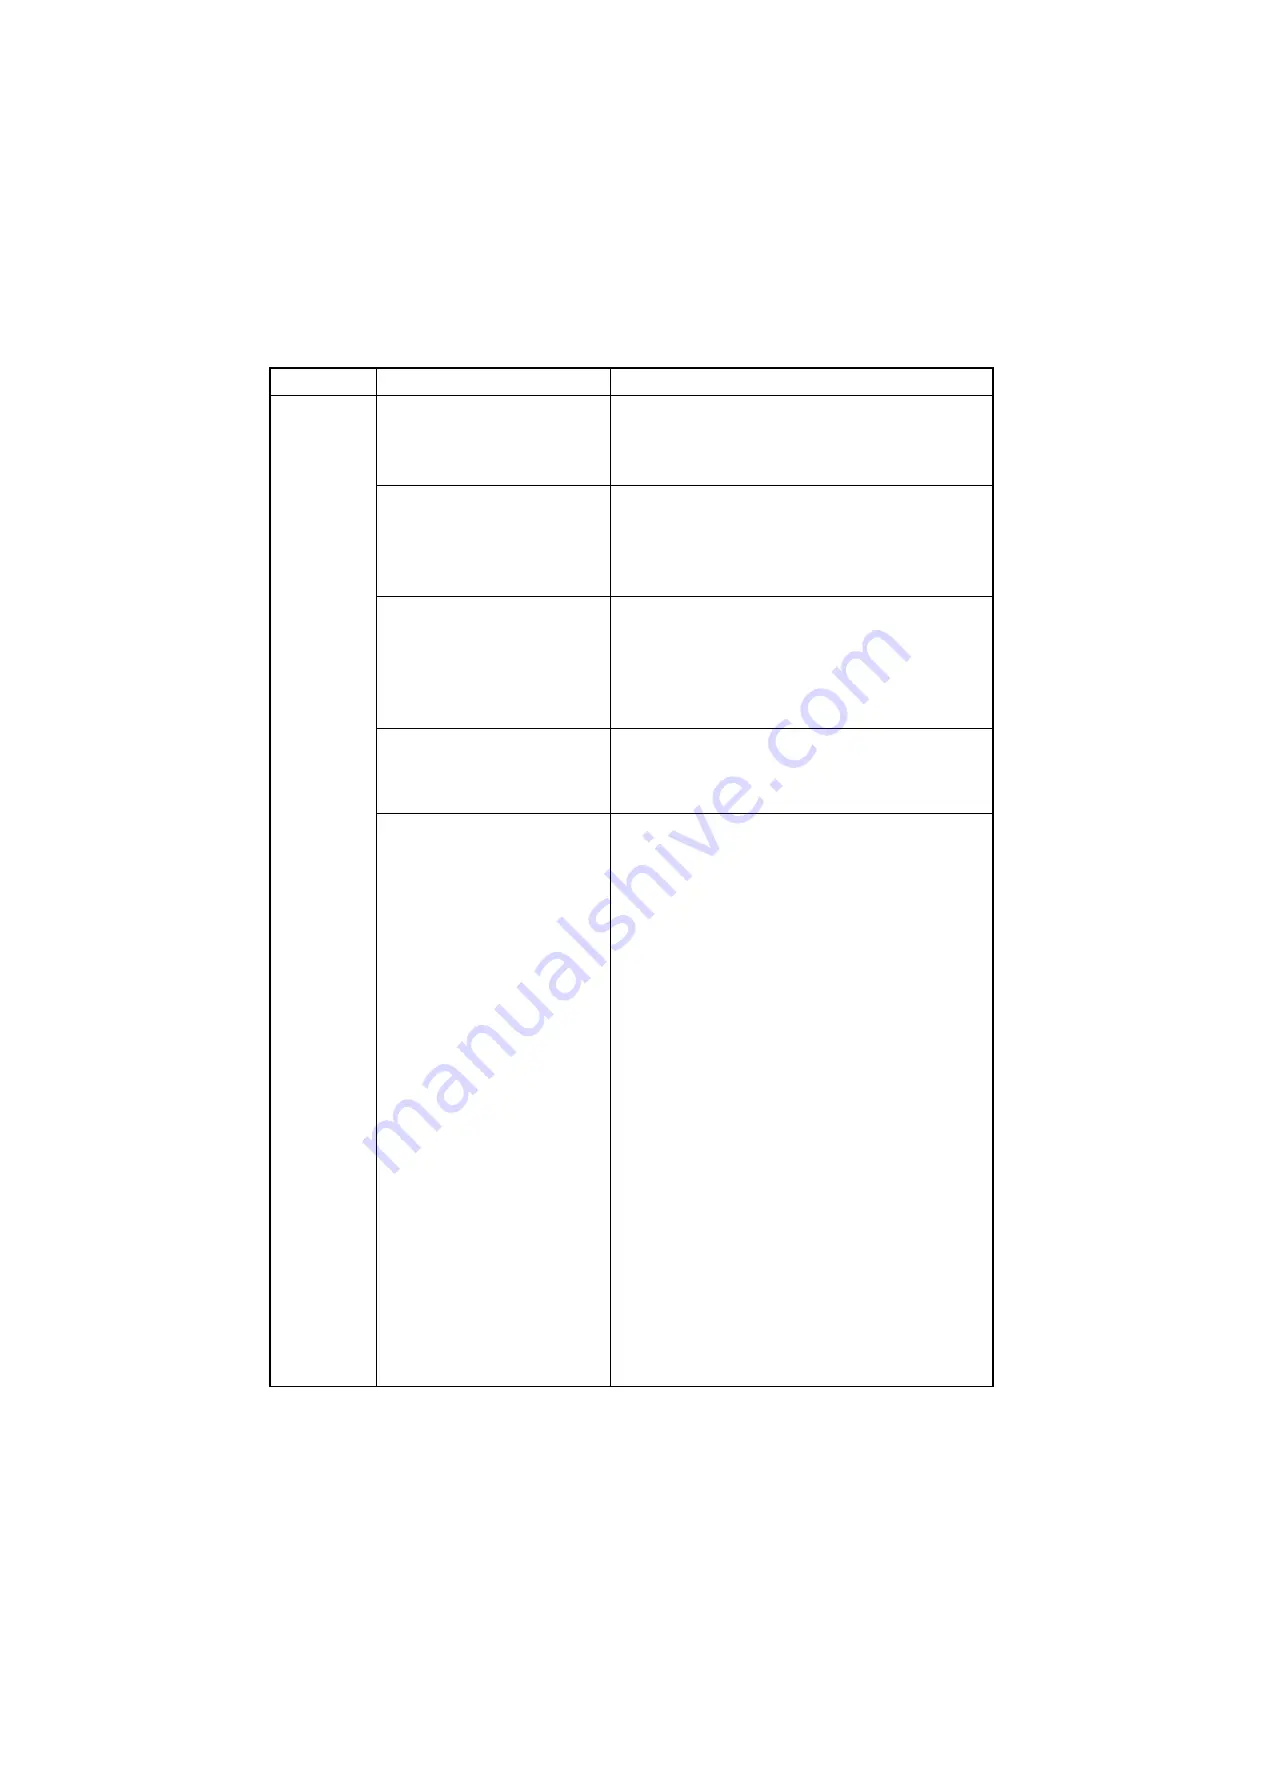
4. Check that the guide.
Check that the guide is
smoothly operative when
manipulated.
If the guide is inoperative or won't operate smoothly,
replace the guide or the unit.
5. Check that the guide.
Perform U033 to check the
operation of the solenoid to
sight-check or audio-check its
action.
If the guide is inoperative or won't operate smoothly, re-
assemble the guide or replace the solenoid or the unit.
Check items
Check description
Corrective measures
Summary of Contents for UTAX AK 730
Page 5: ...This page is intentionally left blank ...
Page 11: ...This page is intentionally left blank ...
Page 15: ...3NB 3ND 3N0 3NK This page is intentionally left blank ...
Page 25: ...3NB 3ND 3N0 3NK 1 1 10 This page is intentionally left blank ...
Page 43: ...3NB 3ND 3N0 3NK 1 2 18 3 Remove tape and pad Figure 1 2 23 Tape Pad ...
Page 45: ...3NB 3ND 3N0 3NK 1 2 20 This page is intentionally left blank ...
Page 81: ...3NB 3ND 3N0 3NK 1 3 36 This page is intentionally left blank ...
Page 157: ...3NB 3ND 3N0 3NK 1 4 76 This page is intentionally left blank ...
Page 169: ...3NB 3ND 3N0 3NK 1 5 12 This page is intentionally left blank ...
Page 206: ...3NB 3ND 3N0 3NK 2 2 11 This page is intentionally left blank ...
Page 246: ...1 1 INSTALLATION GUIDE INSTALLATION GUIDE FOR 4000 SHEETS FINISHER ...
Page 269: ...INSTALLATION GUIDE FOR FINISHER ATTACHMENT KIT MFP A ...
Page 283: ...INSTALLATION GUIDE FOR FINISHER ATTACHMENT KIT MFP B ...
Page 284: ...E F A H G I J B D C ...
Page 291: ...INSTALLATION GUIDE FOR FINISHER ATTACHMENT KIT PRINTER ...
Page 295: ...INSTALLATION GUIDE FOR CENTER FOLDING UNIT ...
Page 312: ...INSTALLATION GUIDE FOR MULTI TRAY ...
Page 326: ...INSTALLATION GUIDE FOR MULTI TRAY ATTACHMENT KIT PRINTER ...
Page 330: ...INSTALLATION GUIDE FOR PUNCH UNIT ...

