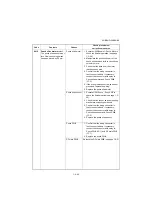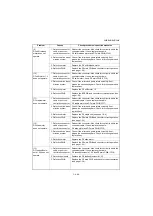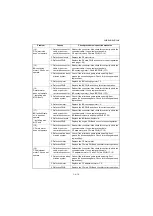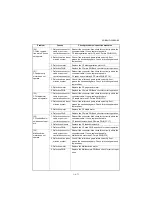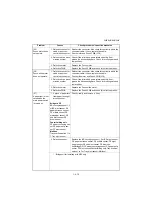
3NB/3ND/3N0/3NK-2
1-4-64
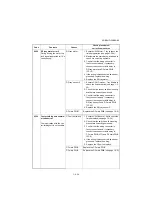
8430
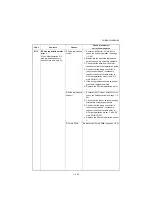
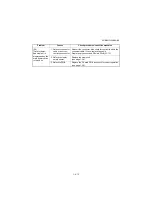
Punch unit communication
error
Communication with the
punch unit is not possible.
Punch PWB
1. Confirm that the wiring connector is
firmly connected and, if necessary,
connect the connector all the way in.
Punch PWB (YC1) and DF main PWB
(YC7)
2. If the wiring is disconnected, shorted or
grounded, replace the wiring.
3. Replace the Punch PWB.
DF main PWB
Replace the DF main PWB (see page 1-5-2)
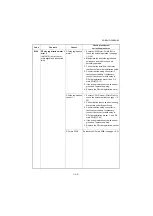
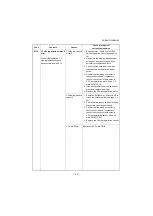
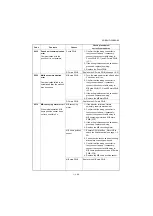
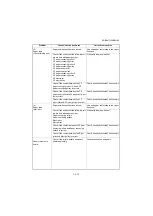
8500
Mailbox communication
error
Communication failed to be
established after the mailbox
was hooked up.
MB main PWB
1. Turn the main power switch off and after
5 seconds, turn it on.
2. Confirm that the wiring connector is
firmly connected and, if necessary,
connect the connector all the way in.
MB main PWB (YC3) and DF main PWB
(YC6)
3. If the wiring is disconnected, shorted or
grounded, replace the wiring.
4. Replace the MB main PWB
DF main PWB
Replace the DF main PWB
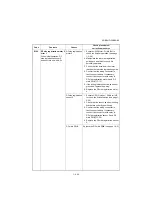
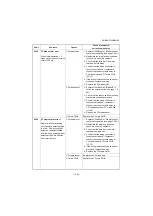
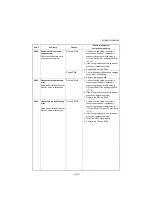
8510
MB conveying motor error 1
When initial operation, MB
home position sensor does
not turn on within 5 s.
MB conveying
motor
1. If the transfer roller won’t rotate
smoothly, repair its mechanism.
2. Confirm that the wiring connector is
firmly connected and, if necessary,
connect the connector all the way in.
MB conveying motor and MB main
PWB (YC5)
3. If the wiring is disconnected, shorted or
grounded, replace the wiring.
4. Replace the MB conveying motor.
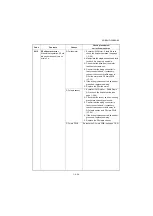
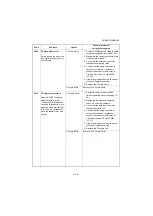
MB home position
sensor
1. Execute U241 Mail Box - Motor HP to
check the finisher switch (see page 1-3-
26).
2. Check that the sensor and its mounting
bracket are correctly positioned.
3. Confirm that the wiring connector is
firmly connected and, if necessary,
connect the connector all the way in.
MB home position sensor and MB main
PWB (YC2)
4. Replace the MB home position sensor.
MB main PWB
Replace the MB main PWB
Code
Contents
Causes
Check procedures/
corrective measures
Summary of Contents for UTAX AK 730
Page 5: ...This page is intentionally left blank ...
Page 11: ...This page is intentionally left blank ...
Page 15: ...3NB 3ND 3N0 3NK This page is intentionally left blank ...
Page 25: ...3NB 3ND 3N0 3NK 1 1 10 This page is intentionally left blank ...
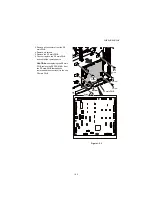
Page 43: ...3NB 3ND 3N0 3NK 1 2 18 3 Remove tape and pad Figure 1 2 23 Tape Pad ...
Page 45: ...3NB 3ND 3N0 3NK 1 2 20 This page is intentionally left blank ...
Page 81: ...3NB 3ND 3N0 3NK 1 3 36 This page is intentionally left blank ...
Page 157: ...3NB 3ND 3N0 3NK 1 4 76 This page is intentionally left blank ...
Page 169: ...3NB 3ND 3N0 3NK 1 5 12 This page is intentionally left blank ...
Page 206: ...3NB 3ND 3N0 3NK 2 2 11 This page is intentionally left blank ...
Page 246: ...1 1 INSTALLATION GUIDE INSTALLATION GUIDE FOR 4000 SHEETS FINISHER ...
Page 269: ...INSTALLATION GUIDE FOR FINISHER ATTACHMENT KIT MFP A ...
Page 283: ...INSTALLATION GUIDE FOR FINISHER ATTACHMENT KIT MFP B ...
Page 284: ...E F A H G I J B D C ...
Page 291: ...INSTALLATION GUIDE FOR FINISHER ATTACHMENT KIT PRINTER ...
Page 295: ...INSTALLATION GUIDE FOR CENTER FOLDING UNIT ...
Page 312: ...INSTALLATION GUIDE FOR MULTI TRAY ...
Page 326: ...INSTALLATION GUIDE FOR MULTI TRAY ATTACHMENT KIT PRINTER ...
Page 330: ...INSTALLATION GUIDE FOR PUNCH UNIT ...

