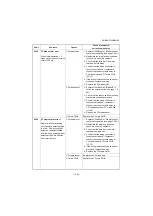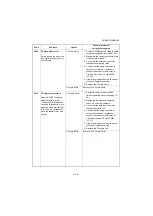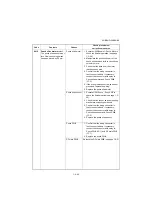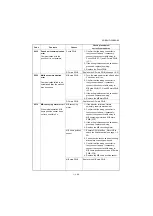
3NB/3ND/3N0/3NK
1-4-72
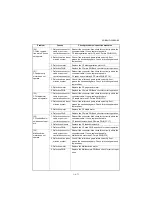
(25)
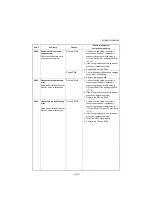
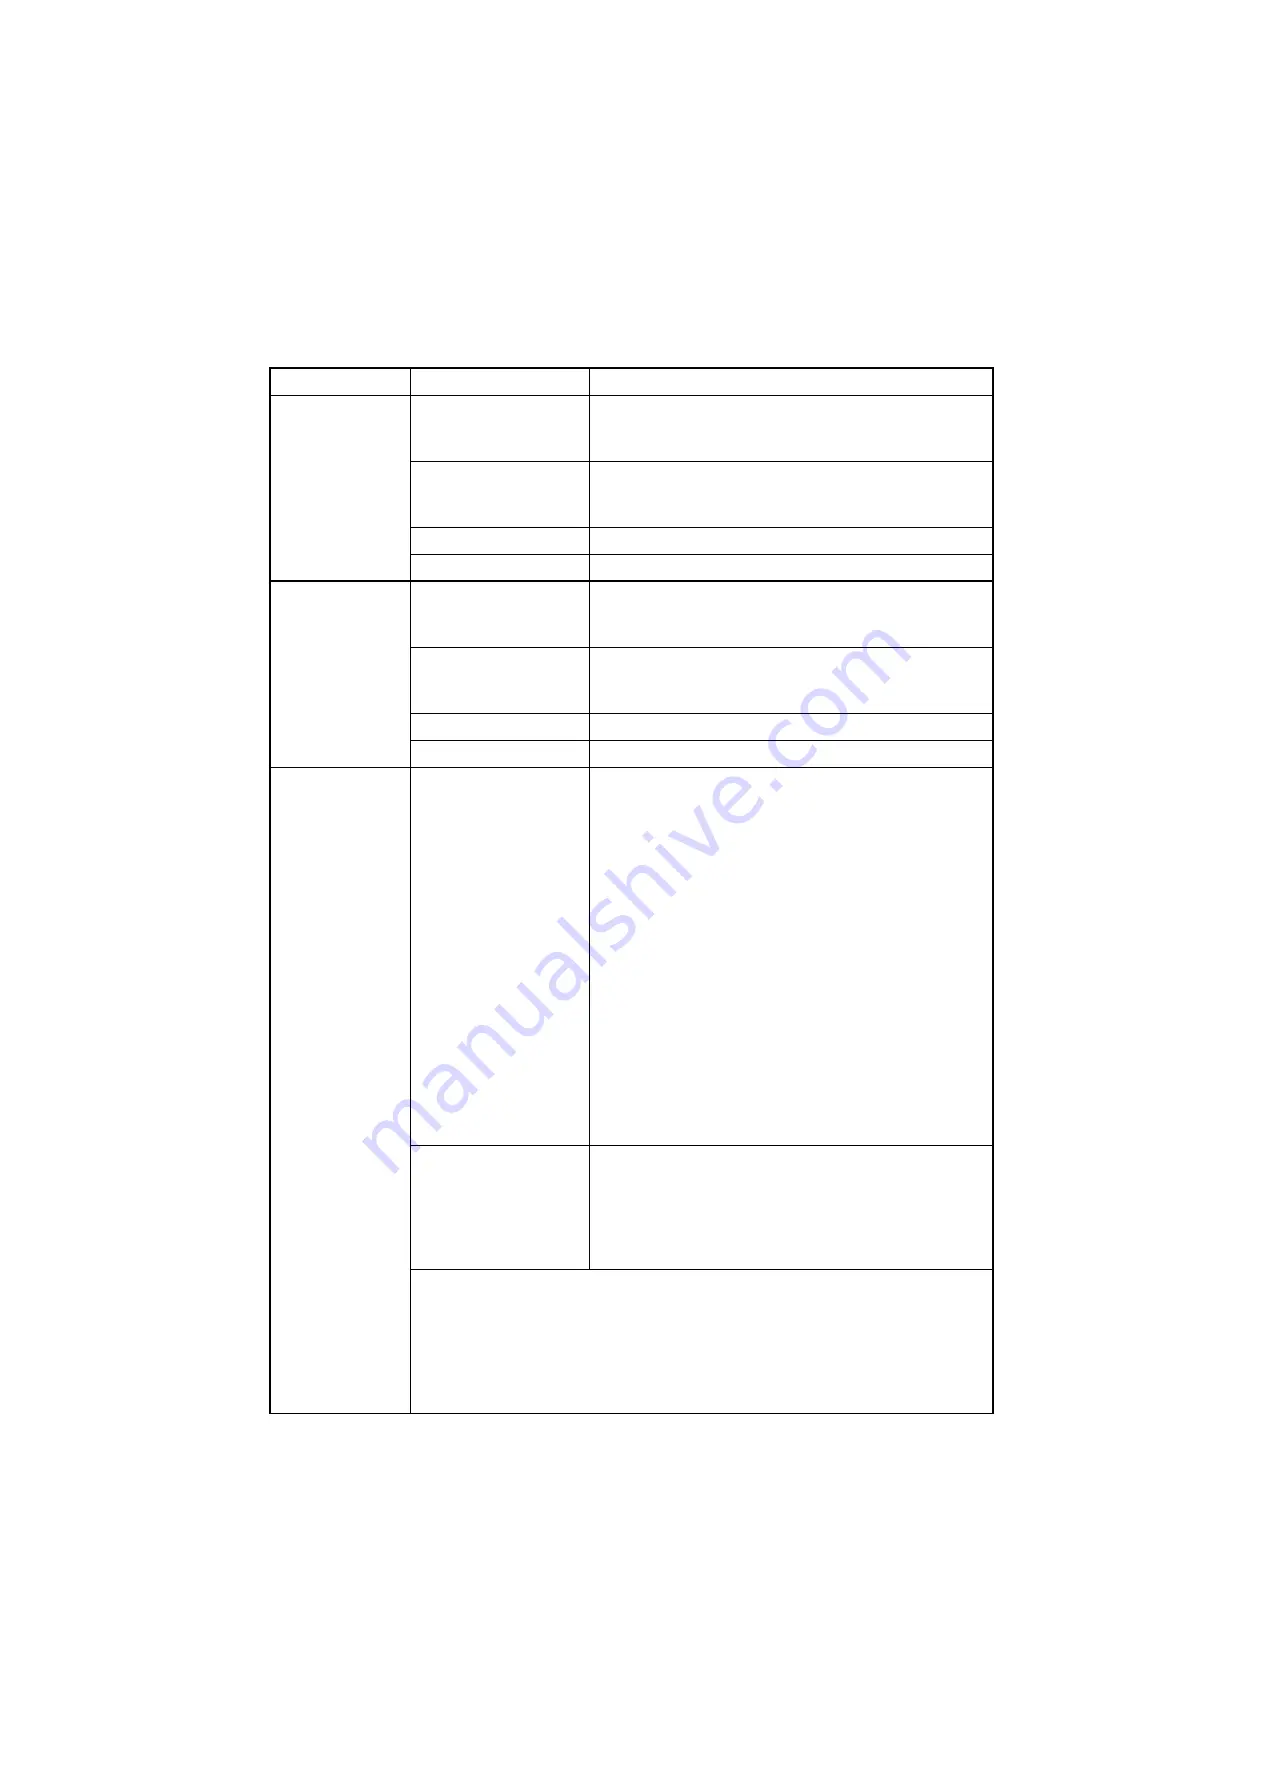
Punch motor does
not operate.
1. Defective connector
cable or poor con-
tact in the connector.
Reinsert the connector. Also check for continuity within the
connector cable. If none, replace the cable.
Punch motor and Punch PWB (YC4)
2. Defective drive trans-
mission system.
Check if the rollers and gears rotate smoothly. If not,
grease the bushes and gears. Check for broken gears and
replace if any.
3. Defective motor.
Replace the Punch motor.
4. Defective PWB.
Replace the Punch PWB and check for correct operation.
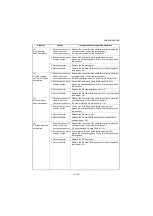
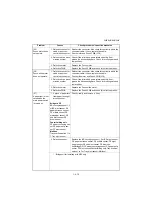
(26)
Punch slide motor
does not operate.
1. Defective connector
cable or poor con-
tact in the connector.
Reinsert the connector. Also check for continuity within the
connector cable. If none, replace the cable.
Punch slide motor and Punch PWB (YC3)
2. Defective drive trans-
mission system.
Check if the rollers and gears rotate smoothly. If not,
grease the bushes and gears. Check for broken gears and
replace if any.
3. Defective motor.
Replace the Punch slide motor.
4. Defective PWB.
Replace the Punch PWB and check for correct operation.
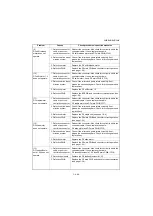
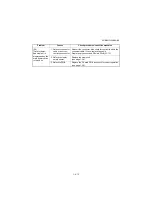
(27)
A paper jam is indi-
cated when the
main power switch
is turned on.
1. A piece of paper torn
from paper is caught
around sensor.
Bridge to DF
BR conveying sensor 1,2
or BR eject sensor ,DF
paper entrance sensor,
DF middle sensor, DF
eject paper sensor, DF
sub eject sensor, DF
drum sensor
Center-folding unit
CF paper conveying sen-
sor,CF paper entry sen-
sor CF eject sensor
Mail box
Tray overflow switch 1 to
7,Tray eject sensor
Check visually and remove it, if any.
2. Defective sensor.
Replace the BR conveying sensor 1,2 or BR eject sensor
,DF paper entrance sensor, DF middle sensor, DF eject
paper sensor, DF sub eject sensor, DF drum sen-
sor(Bridge,DF),CF paper conveying sensor,CF paper entry
sensor CF eject sensor(Center-folding unit),Tray overflow
switch 1 to 7 or Tray eject sensor(Mail box).
* : Bridge unit for installing with MFP only
Problem
Causes
Check procedures/corrective measures
Summary of Contents for UTAX AK 730
Page 5: ...This page is intentionally left blank ...
Page 11: ...This page is intentionally left blank ...
Page 15: ...3NB 3ND 3N0 3NK This page is intentionally left blank ...
Page 25: ...3NB 3ND 3N0 3NK 1 1 10 This page is intentionally left blank ...
Page 43: ...3NB 3ND 3N0 3NK 1 2 18 3 Remove tape and pad Figure 1 2 23 Tape Pad ...
Page 45: ...3NB 3ND 3N0 3NK 1 2 20 This page is intentionally left blank ...
Page 81: ...3NB 3ND 3N0 3NK 1 3 36 This page is intentionally left blank ...
Page 157: ...3NB 3ND 3N0 3NK 1 4 76 This page is intentionally left blank ...
Page 169: ...3NB 3ND 3N0 3NK 1 5 12 This page is intentionally left blank ...
Page 206: ...3NB 3ND 3N0 3NK 2 2 11 This page is intentionally left blank ...
Page 246: ...1 1 INSTALLATION GUIDE INSTALLATION GUIDE FOR 4000 SHEETS FINISHER ...
Page 269: ...INSTALLATION GUIDE FOR FINISHER ATTACHMENT KIT MFP A ...
Page 283: ...INSTALLATION GUIDE FOR FINISHER ATTACHMENT KIT MFP B ...
Page 284: ...E F A H G I J B D C ...
Page 291: ...INSTALLATION GUIDE FOR FINISHER ATTACHMENT KIT PRINTER ...
Page 295: ...INSTALLATION GUIDE FOR CENTER FOLDING UNIT ...
Page 312: ...INSTALLATION GUIDE FOR MULTI TRAY ...
Page 326: ...INSTALLATION GUIDE FOR MULTI TRAY ATTACHMENT KIT PRINTER ...
Page 330: ...INSTALLATION GUIDE FOR PUNCH UNIT ...


