3NB/3ND/3N0/3NK
1-4-74
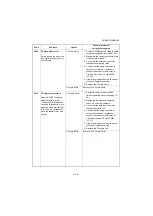
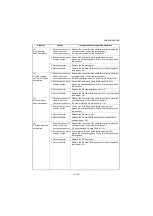
1-4-7 Mechanical problems
If the part causing the problem was not supplied, use the unit including the part for replacement.
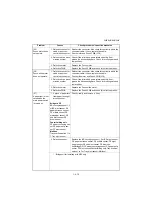
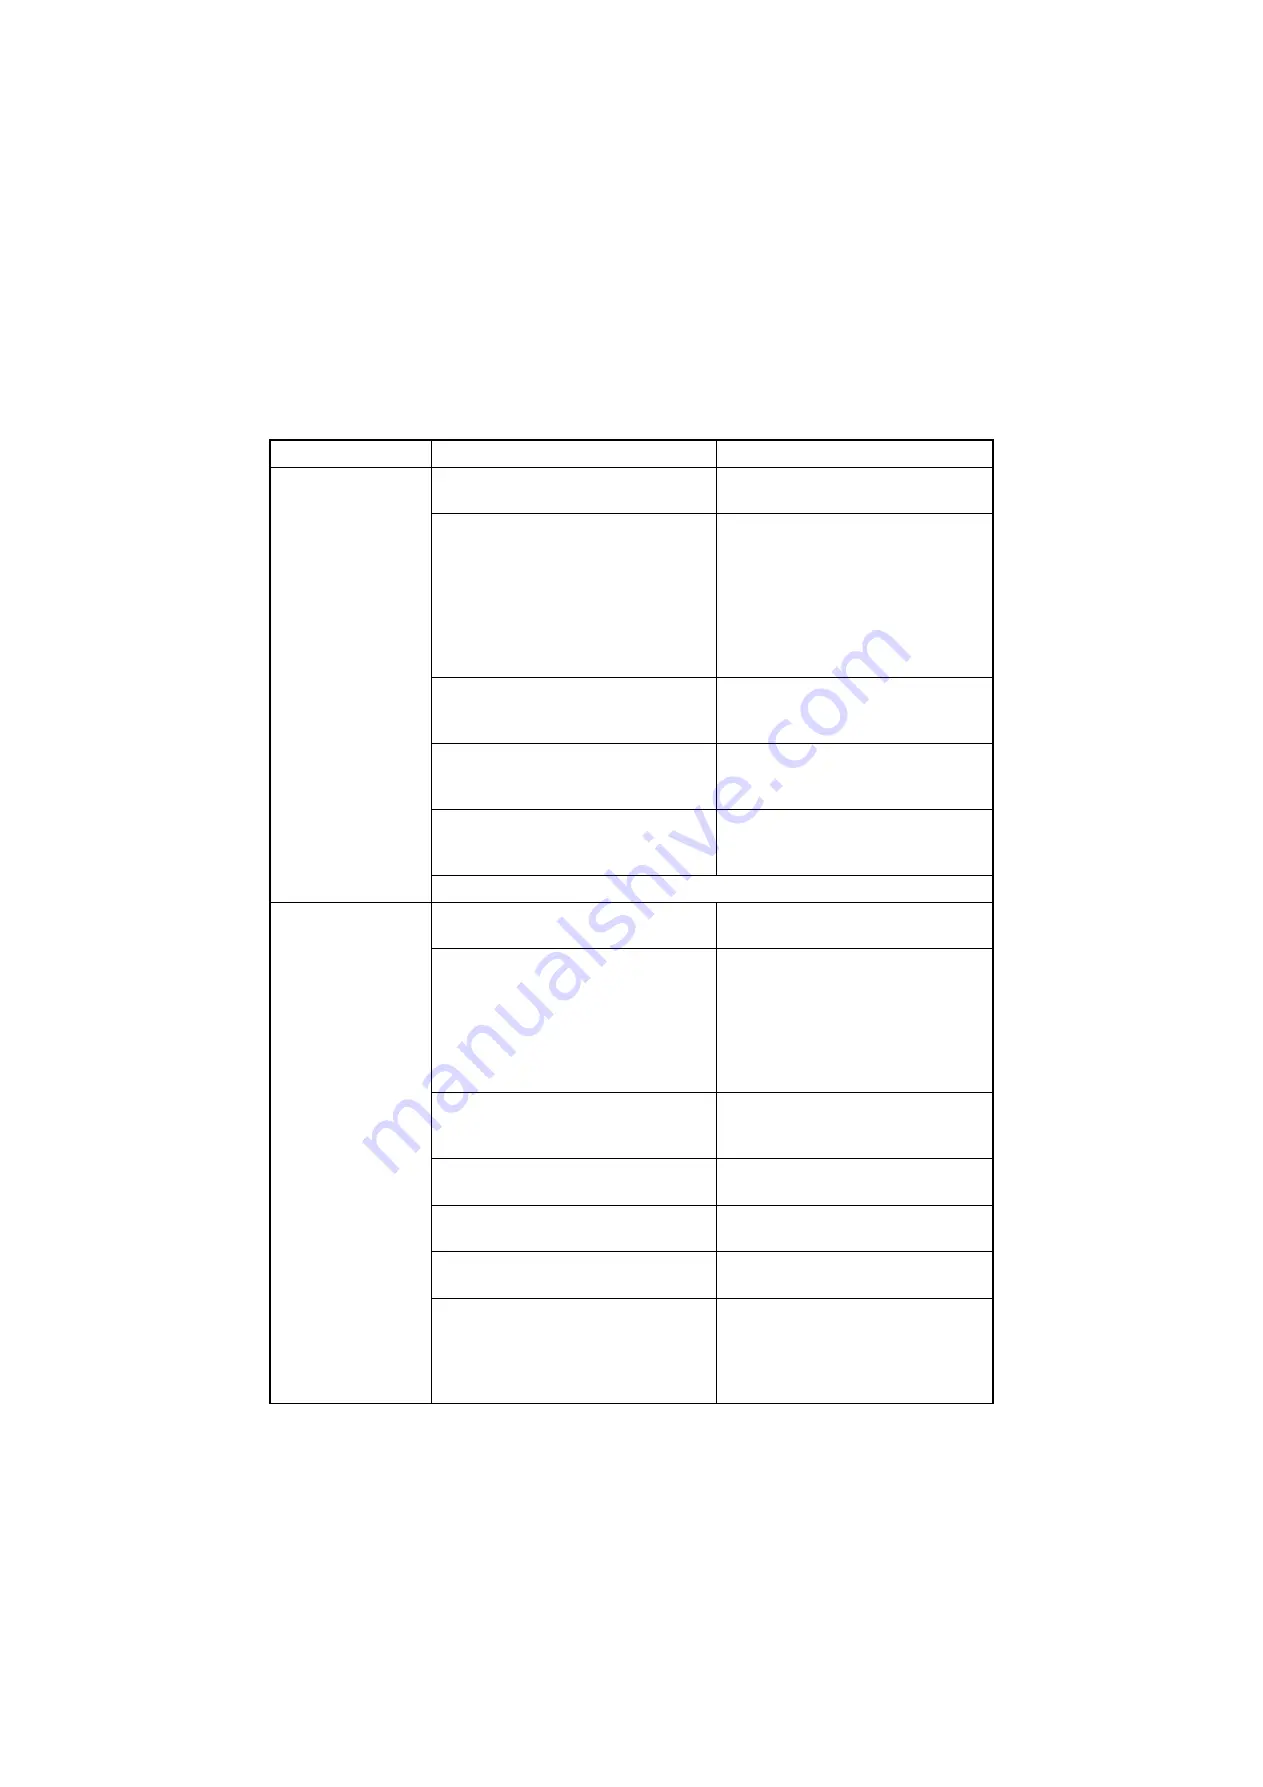
Problem
Causes/check procedures
Corrective measures
(1)
Paper jams.
(Bridge unit)
Paper outside specifications is used.
Use only paper conforming to the speci-
fications.
Check if the surfaces of the following roll-
ers are dirty with paper powder.
BR conveying roller
BR conveying pulley
BR feedshift roller*
BR feedshift pulley*
BR eject roller 1,2
BR eject pulley 1,2*
Clean with isopropyl alcohol.
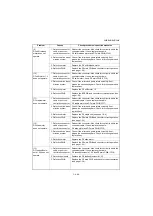
Check if the contact between the BR
conveying roller and BR conveying pulley
is correct.
Check visually and remedy if necessary.
Check if the contact between the BR
feedshift roller* and BR feedshift pulley*
is correct.
Check visually and remedy if necessary.
Check if the contact between the BR
eject roller 1,2* and BR eject pulley 1,2*
is correct.
Check visually and remedy if necessary.
* : Bridge unit for installing with MFP only
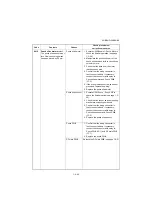
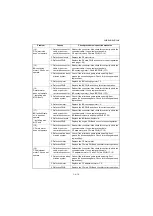
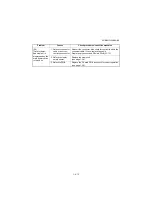
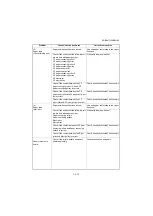
(2)
Paper jams.
(Finisher)
Paper outside specifications is used.
Use only paper conforming to the speci-
fications.
Check if the surfaces of the following roll-
ers are dirty with paper powder.
Paper entry roller,Paper entry pulley
Middle roller,Middle pulley
Main tray eject roller ,Eject pulley
Left sub tray feed roller,Feed pulley
Left sub tray eject roller,Eject pulley
Clean with isopropyl alcohol.
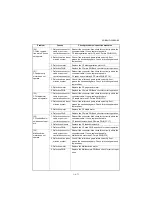
Check if the contact between the paper
entry roller and paper entry pulley is cor-
rect.
Check visually and remedy if necessary.
Check if the contact between the middle
roller and middle pulley is correct.
Check visually and remedy if necessary.
Check if the contact between the Main
tray eject roller and eject pulley is correct.
Check visually and remedy if necessary.
Check if the contact between the left sub
tray feed roller and feed pulley is correct.
Check visually and remedy if necessary.
Check if the contact between the Left sub
tray eject roller and eject pulley is correct.
Check visually and remedy if necessary.
Summary of Contents for UTAX AK 730
Page 5: ...This page is intentionally left blank ...
Page 11: ...This page is intentionally left blank ...
Page 15: ...3NB 3ND 3N0 3NK This page is intentionally left blank ...
Page 25: ...3NB 3ND 3N0 3NK 1 1 10 This page is intentionally left blank ...
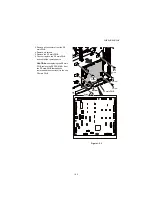
Page 43: ...3NB 3ND 3N0 3NK 1 2 18 3 Remove tape and pad Figure 1 2 23 Tape Pad ...
Page 45: ...3NB 3ND 3N0 3NK 1 2 20 This page is intentionally left blank ...
Page 81: ...3NB 3ND 3N0 3NK 1 3 36 This page is intentionally left blank ...
Page 157: ...3NB 3ND 3N0 3NK 1 4 76 This page is intentionally left blank ...
Page 169: ...3NB 3ND 3N0 3NK 1 5 12 This page is intentionally left blank ...
Page 206: ...3NB 3ND 3N0 3NK 2 2 11 This page is intentionally left blank ...
Page 246: ...1 1 INSTALLATION GUIDE INSTALLATION GUIDE FOR 4000 SHEETS FINISHER ...
Page 269: ...INSTALLATION GUIDE FOR FINISHER ATTACHMENT KIT MFP A ...
Page 283: ...INSTALLATION GUIDE FOR FINISHER ATTACHMENT KIT MFP B ...
Page 284: ...E F A H G I J B D C ...
Page 291: ...INSTALLATION GUIDE FOR FINISHER ATTACHMENT KIT PRINTER ...
Page 295: ...INSTALLATION GUIDE FOR CENTER FOLDING UNIT ...
Page 312: ...INSTALLATION GUIDE FOR MULTI TRAY ...
Page 326: ...INSTALLATION GUIDE FOR MULTI TRAY ATTACHMENT KIT PRINTER ...
Page 330: ...INSTALLATION GUIDE FOR PUNCH UNIT ...


