3PC
1-4-8
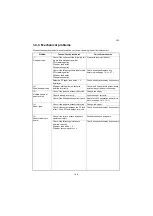
1-4-4 Mechanical problems
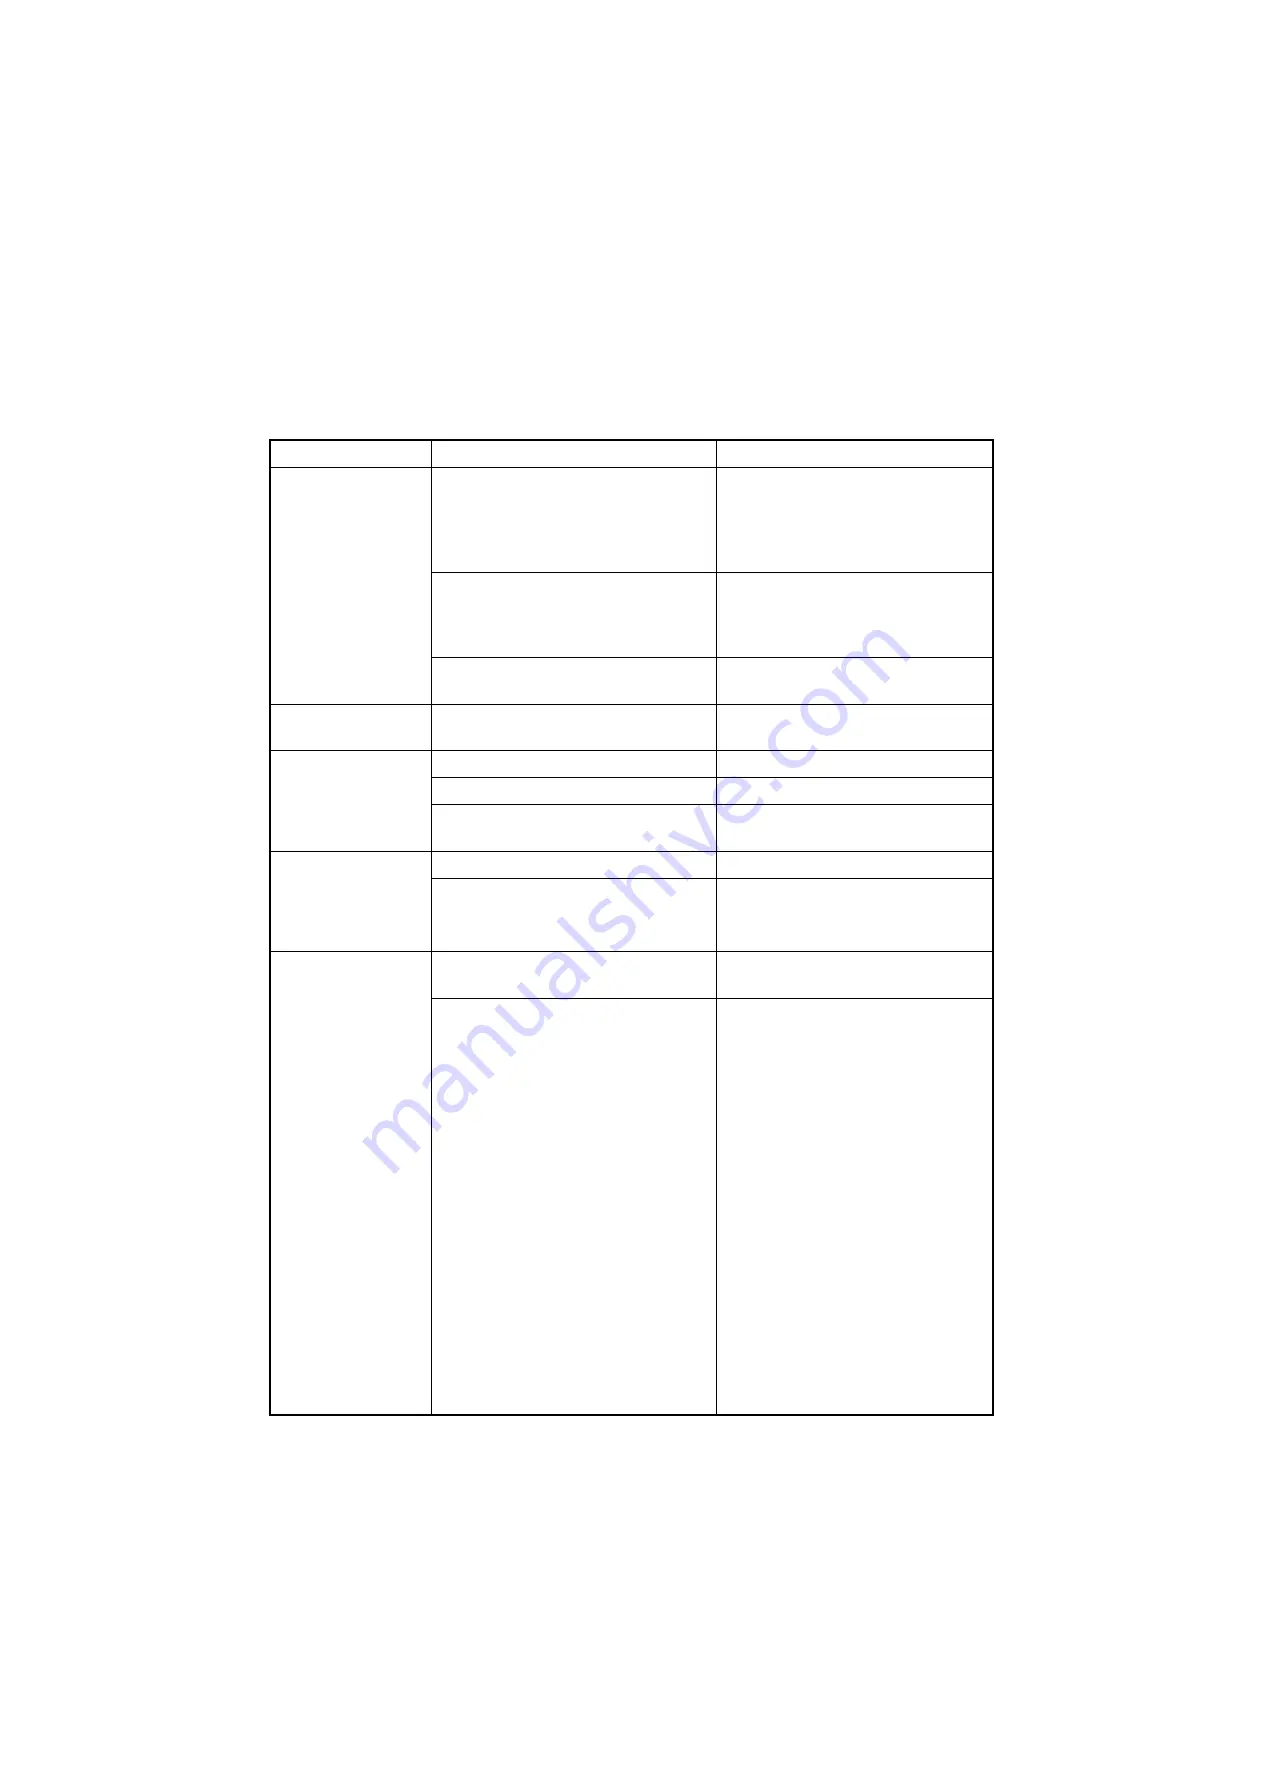
If the part causing the problem was not supplied, use the unit including the part for replacement.
Problem
Causes/check procedures
Corrective measures
(1)
No paper feed.
Check if the surfaces of the following roll-
ers are dirty with paper powder.
PF forwarding pulley
PF paper feed pulley
PF separation pulley
Clean with isopropyl alcohol.
Check if the following rollers is deformed.
PF forwarding pulley
PF paper feed pulley
PF separation pulley
Check visually and replace any
deformed (see page 1-5-2,1-5-7).
Defective PF paper feed clutch 1, 2
installation.
Check visually and remedy if necessary.
(2)
Skewed paper feed.
PF paper width guide in a cassette
installed incorrectly.
Check the PF paper width guide visually
and remedy or replace if necessary.
(3)
Multiple sheets of
paper are fed.
Check if the paper is excessively curled.
Change the paper.
Paper is loaded incorrectly.
Load the paper correctly.
Check if the PF separation pulley is worn. Replace the PF separation pulley if it is
(4)
Paper jams.
Check if the paper is excessively curled.
Change the paper.
Check if the contact between the PF feed
roller 1,2 and PF feed pulleys is correct.
Check visually and remedy if necessary.
(5)
Abnormal noise is
heard.
Check if the rollers, pulleys and gears
operate smoothly.
Grease the bushes and gears.
Check if the following clutches are
installed correctly.
PF paper feed clutch 1, 2
PF paper conveying clutch 1,2
Check visually and remedy if necessary.
Summary of Contents for Utax PF 810
Page 1: ...Service Manual Paper Feeder PF 810 Rev 2 0 Date 28 07 2014 3PCSM062 ...
Page 2: ...Service Manual Paper Feeder PF 810 Rev 2 0 Date 28 07 2014 3PCSM062 ...
Page 5: ...This page is intentionally left blank ...
Page 11: ...This page is intentionally left blank ...
Page 16: ...3PC 1 1 3 1 1 3 Machine cross section Figure 1 1 2 Paper path ...
Page 17: ...3PC 1 1 4 This page is intentionally left blank ...
Page 27: ...3PC 1 2 10 This page is intentionally left blank ...
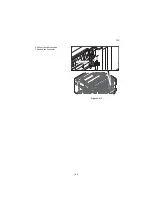
Page 62: ...3PC 1 5 3 4 Pull out the right cassette 5 Remove the connector Figure 1 5 3 Connector ...
Page 73: ...3PC 1 5 14 This page is intentionally left blank ...
Page 75: ...3PC 1 6 2 This page is intentionally left blank ...
Page 85: ...3PC 2 2 4 This page is intentionally left blank ...
Page 91: ...3PC 2 3 6 This page is intentionally left blank ...

