3PC
1-5-8
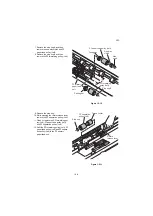
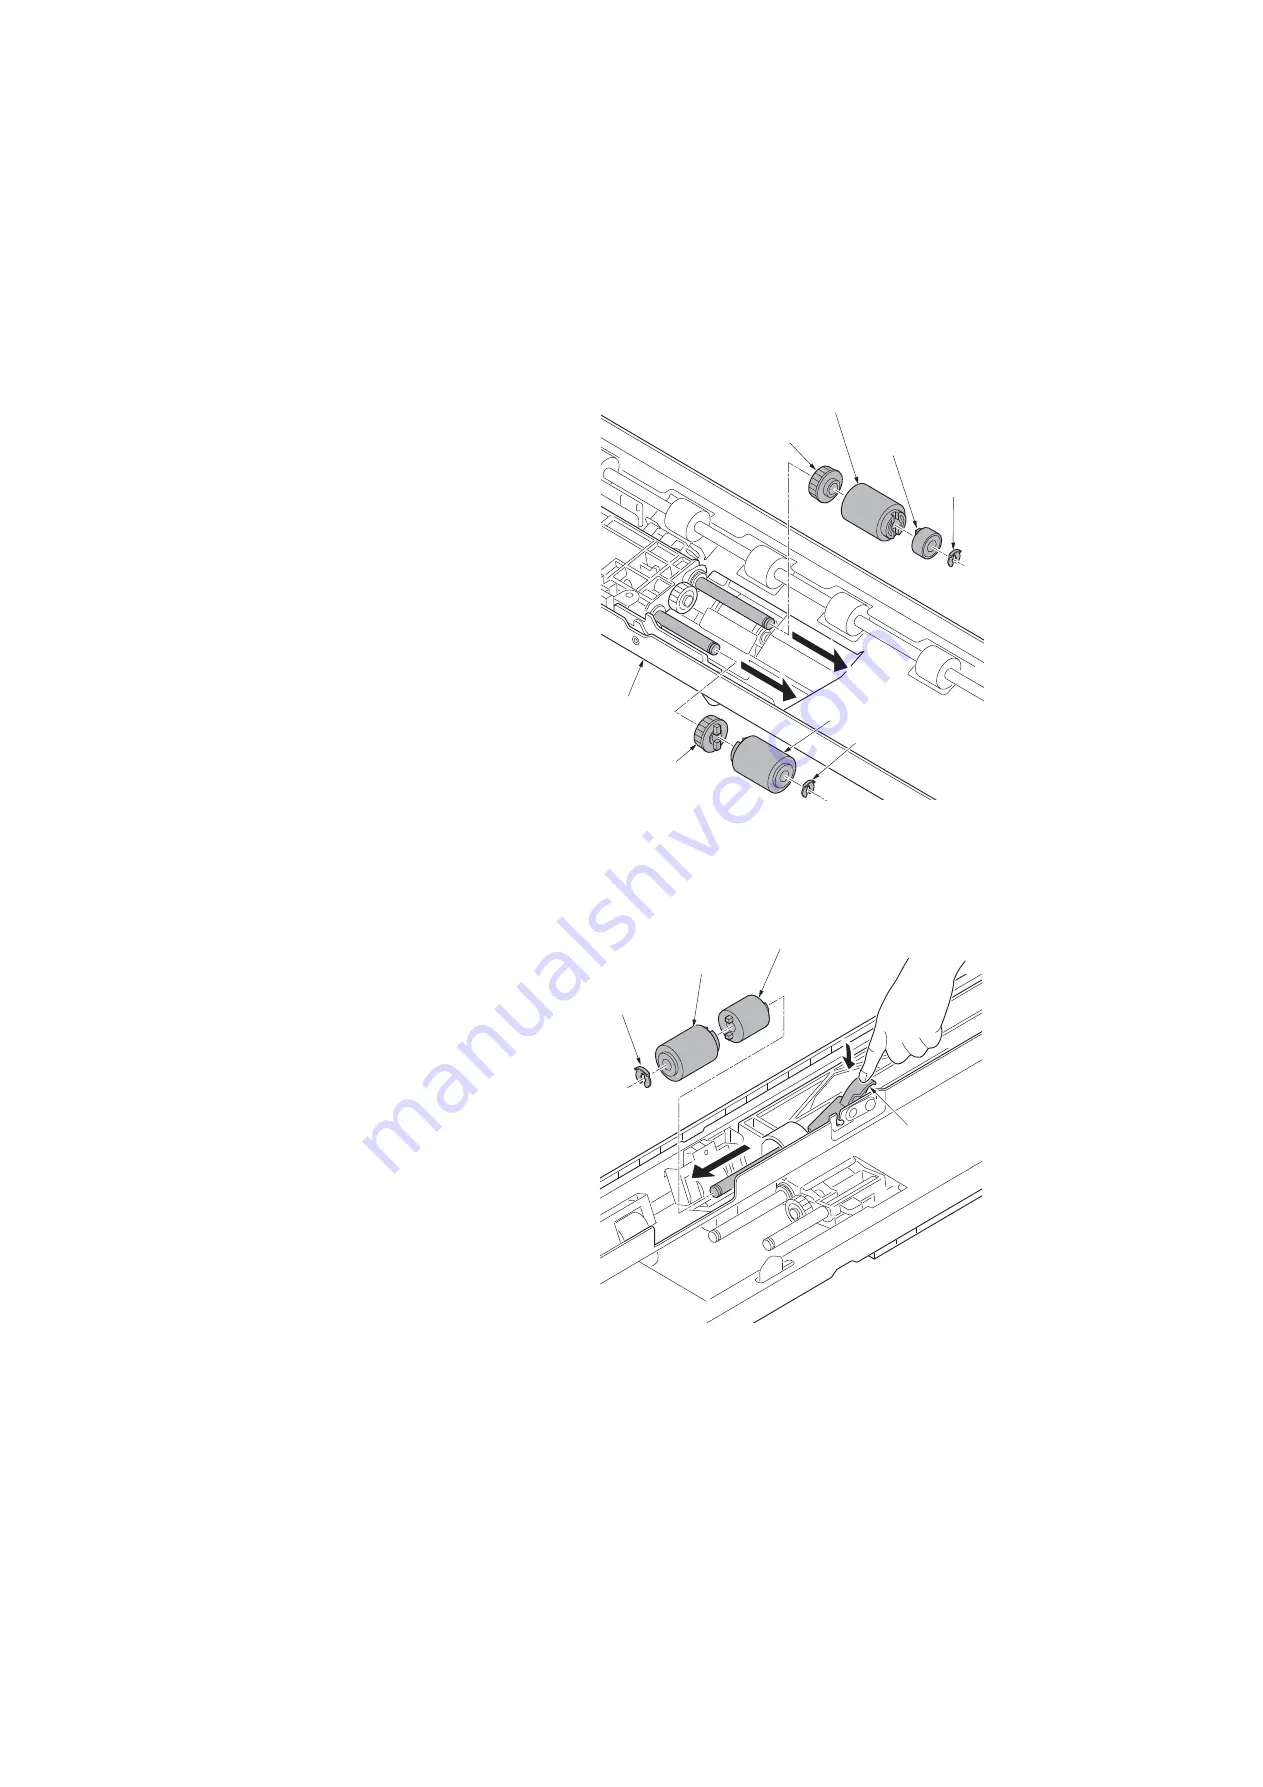
7. Remove the stop ring A and then
remove the one way clutch and PF
paper feed pulley (Left).
8. Remove the stop ring B and then
remove the PF forwarding pulley (Left).
Figure 1-5-10
9. Remove the stop ring.
10. While pressing the retard release lever,
remove the PF separation pulley (Left).
11. Clean or replace the PF forwarding pul-
ley (Left), PF paper feed pulley (Left)
and PF separation pulley (Left).
12. Refit the PF forwarding pulley (Left), PF
paper feed pulley (Left) and PF separa-
tion pulley (Left) to the PF primary
paper feed unit.
Figure 1-5-11
One way
clutch
Stop
ring A
PF paper feed pulley (Left)
Feed gear
Pickup gear
PF primary
paper feed
unit
PF forwarding
pulley (Left)
Stop ring B
Retard
release lever
Stop ring
Torque limiter
PF separation
pulley (Left)
Summary of Contents for Utax PF 810
Page 1: ...Service Manual Paper Feeder PF 810 Rev 2 0 Date 28 07 2014 3PCSM062 ...
Page 2: ...Service Manual Paper Feeder PF 810 Rev 2 0 Date 28 07 2014 3PCSM062 ...
Page 5: ...This page is intentionally left blank ...
Page 11: ...This page is intentionally left blank ...
Page 16: ...3PC 1 1 3 1 1 3 Machine cross section Figure 1 1 2 Paper path ...
Page 17: ...3PC 1 1 4 This page is intentionally left blank ...
Page 27: ...3PC 1 2 10 This page is intentionally left blank ...
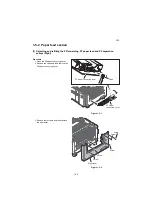
Page 62: ...3PC 1 5 3 4 Pull out the right cassette 5 Remove the connector Figure 1 5 3 Connector ...
Page 73: ...3PC 1 5 14 This page is intentionally left blank ...
Page 75: ...3PC 1 6 2 This page is intentionally left blank ...
Page 85: ...3PC 2 2 4 This page is intentionally left blank ...
Page 91: ...3PC 2 3 6 This page is intentionally left blank ...


