


T3-OPX installation
Page | 60
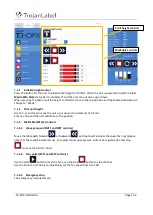
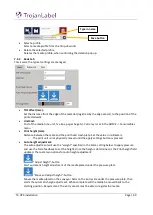
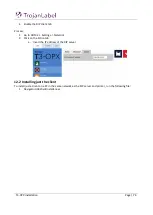
•
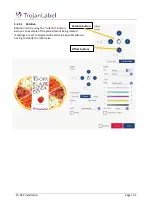
Select a profile
Select a media profile from the drop-down list
•
Delete the selected profile
Deletes the media profile, when confirming the deletion pop up.
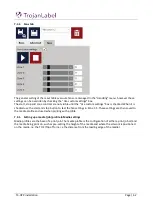
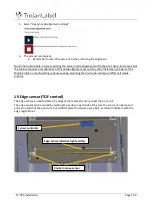
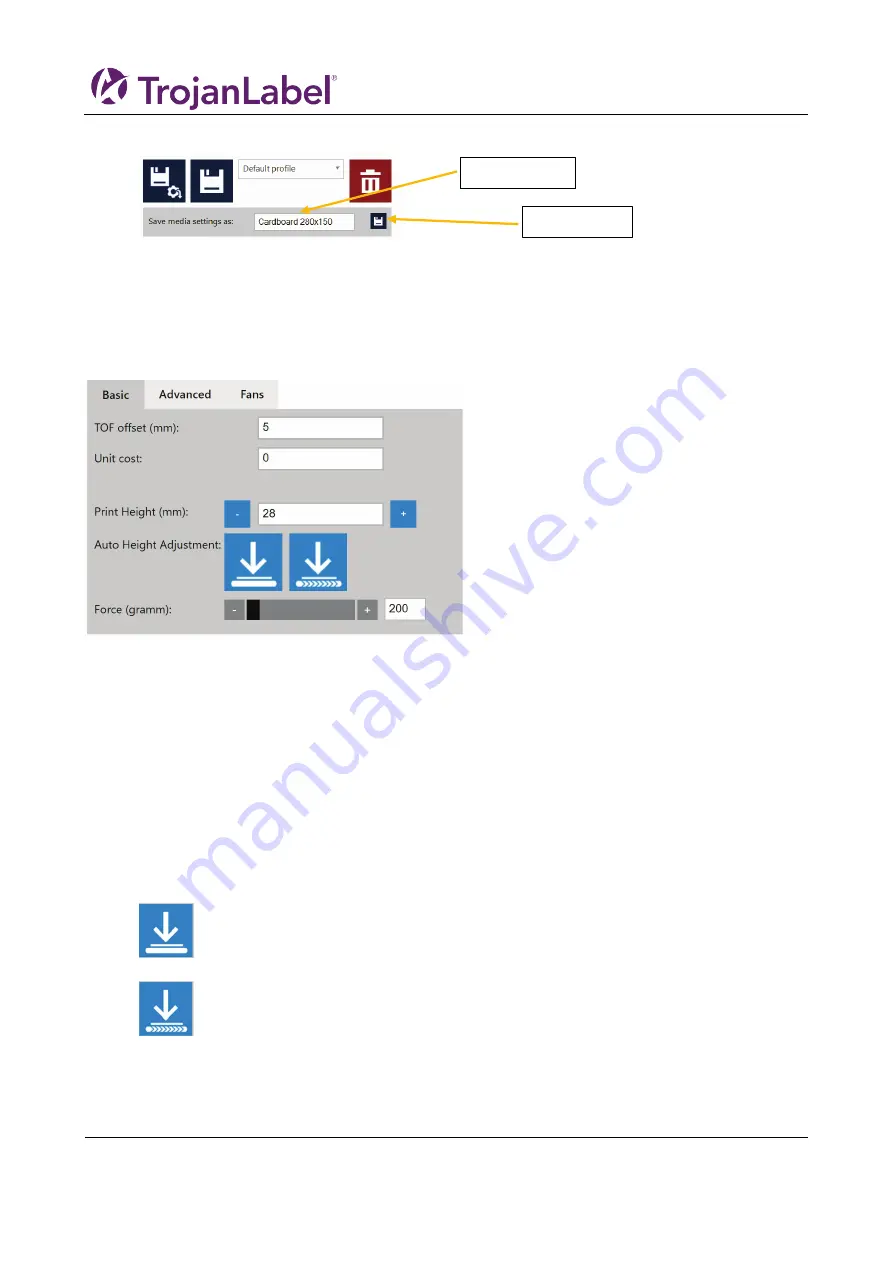
7.3.2
Basic tab
This is were the typical settings are managed
•
TOF offset (mm):
Set the distance from the edge of the material (registred by the edge sensor) to the position of the
printed artwork
•
Unit Cost:
Cost of the media (one unit, fx a box, paper bag etc). Currency is set in the HOME -> Consumables
menu
•
Print height (mm):
Distance between the table and the print head crash plate. Set the value in milimeters.
o
The print unit is not physically moved until the apply settings button is pressed
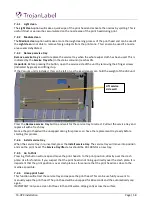
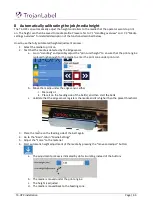
•
Auto height adjustment:
The auto adjustment will use the ”weight” specified in the Force setting below to apply pressure
and use the force feedback to set the height. Once the heigh is determined, is the Print height field
updated. There are two options for auto height adjustment:
”Adjust height”-button.
Start automatic height adjustment of the media placed under the pressure plate
”Move and adjust height”-button.
Moves the media placed on the conveyor belts on the entry side under the pressure plate, then
starts the automatic heigh adjustment. When complete will the media be moved back to the
starting position. Requirement: The entry sensor must be able to register the media.
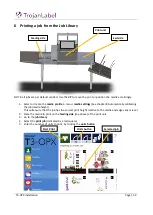
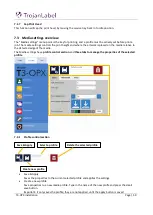
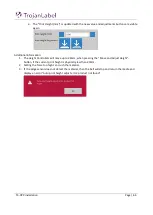
Type in name
Save button
Summary of Contents for T3-OPX
Page 1: ...T3 OPX user guide Version 1 2...
Page 5: ...T3 OPX installation Page 4...
Page 7: ...T3 OPX installation Page 6 1 1 1 Emissions...
Page 13: ...T3 OPX installation Page 12...
Page 17: ...T3 OPX installation Page 16 2 2 Backside Height controllers 3 Inlets Ink lid Serial plate...
Page 20: ...T3 OPX installation Page 19...
Page 34: ...T3 OPX installation Page 33 i The process will use the purge height in the settings menu...


