- 5 -
Setup
• The power inverter should be positioned on an
even, flat surface. Make sure that there is 1 cm
free space remaining all around the power inverter
for air circulation.
• A distance of 50 cm must be maintained behind
the fan's
q
ventilation slots.
In vehicle operation
If you are operating the power inverter in a vehicle
make sure that the installation is not a hindrance
when driving the vehicle.
For this, install cables so that they do not come into
contact with moveable parts in the vehicles interior
and they do not obstruct the view.
Note:
The power inverter can also be operated when
the engine is switched off. However be aware
that the power inverter possibly may not func-
tion during an engine startup.
Connection to a voltage source
Attention!
Before connecting the power inverter to a vol-
tage source make sure that the on/off switch
e
on the device is in the position 0.
You can connect the power inverter with the 12 V
plug
to a 12 V in vehicle receptacle or attach di-
rectly to an automobile battery with the connection
terminals .
For both connection variants the connection cable
must be connected to the power inverter's 12 V
connection screw
y
.
B
C
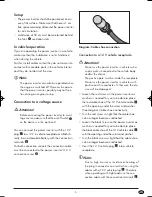
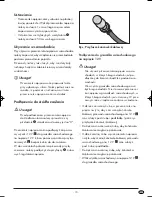
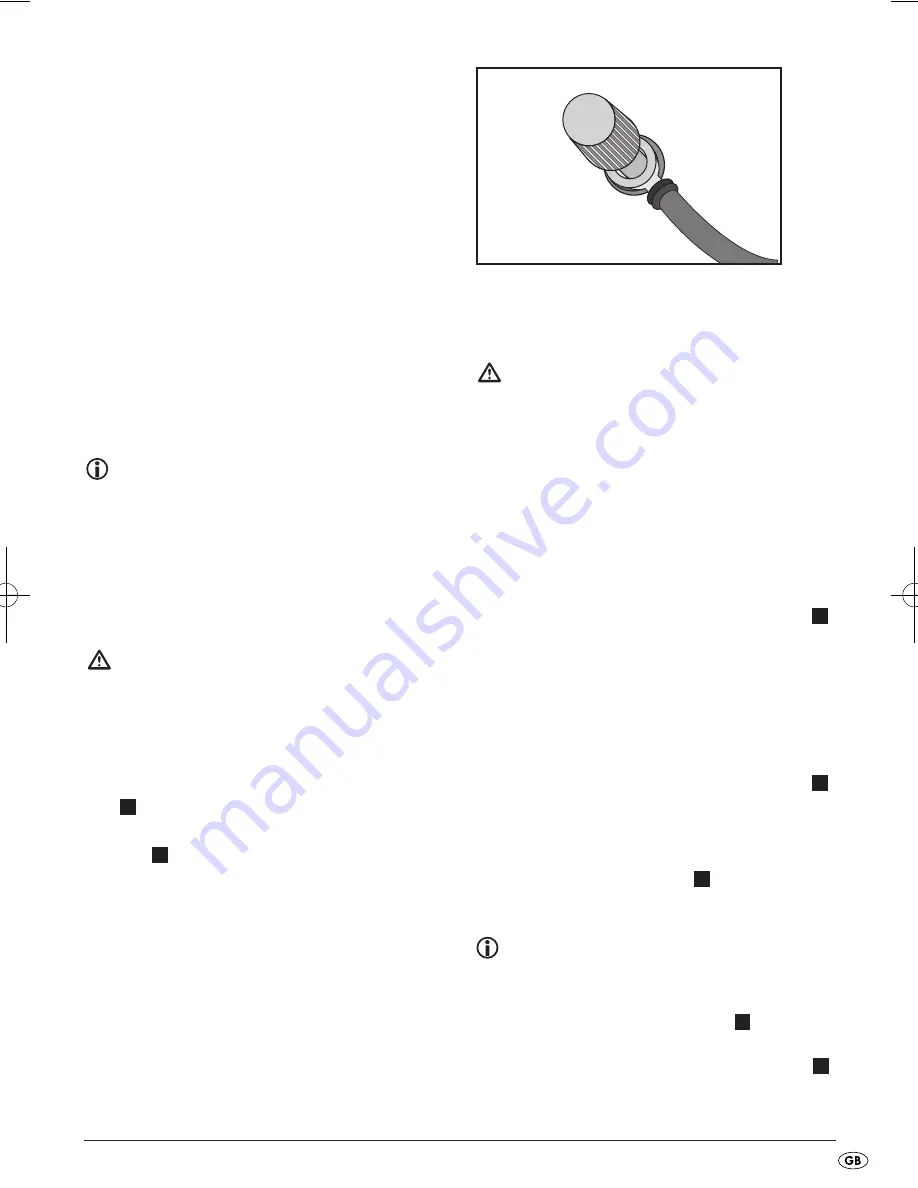
Diagram: Cable shoe connection
Connection to a 12 V vehicle receptacle
Attention!
Do not use the power inverter in vehicles who-
se plus pole is connected to the vehicle body
and/or the chassis.
The positive pole must be inside the receptacle.
Do not use the power inverter in vehicles with
positive earth receptacles. Otherwise the de-
vice will be damaged.
• Loosen the red screw on the power inverter as
much as is needed for you to be able to place
the red cable shoe of the 12 V vehicle cable
with the opening under the screw and washer.
(See diagram: Cable shoe connection)
• Turn the red screw so tight that the cable shoe
can no longer become unattached.
• Loosen the black screw on the power inverter as
much as is needed for you to be able to place
the black cable shoe of the 12 V vehicle cable
with the opening under the screw and washer.
• Turn the black screw so tight that the cable shoe
can no longer become unattached.
• Insert the 12 V vehicle plug
into a vehicle
receptacle.
Note:
Due to high crossover resistances heating of
the plug in connector can result when using the
cables with a 12 V vehicle plug
. Therefore
when operating with high loads use the con-
nection cable with the connection terminals
.
B
C
C
C
C
IB_71660_TSW300A1_GB_LB4.qxd 21.11.2011 16:24 Uhr Seite 5
Summary of Contents for TSW 300 A1
Page 2: ...TSW 300 A1 6 A B C D 1 7 2 3 4 5 CV_71660_TSW300A1_LB4 qxd 22 11 2011 11 46 Uhr Seite 4 ...
Page 12: ... 10 ...
Page 22: ... 20 ...
Page 32: ... 30 ...
Page 42: ... 40 ...
Page 52: ... 50 ...
Page 62: ... 60 ...
Page 72: ......


