12
EN
cordless planer PPLS 10-20V
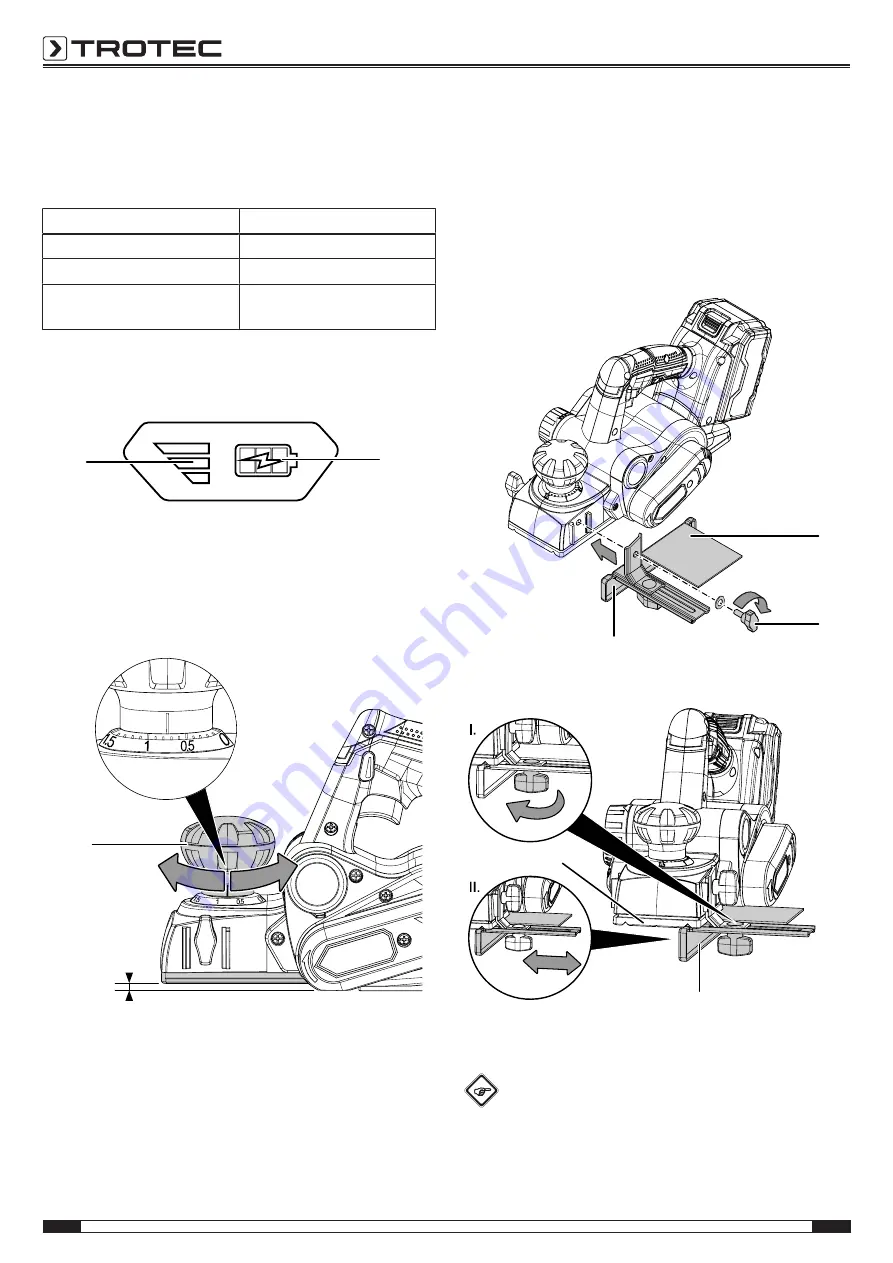
Checking the battery charging status
The battery comes with an integrated battery level indication.
The battery status is displayed as follows by the three LEDs of
the battery level indication (
16
):
LED colour
Meaning
Green – Orange – Red
maximum charge / power
Orange – Red
medium charge / power
Red
weak charge – Recharge the
battery.
1. Press on the battery icon (
25
) on the battery (
10
).
ð
You can read the battery status from the battery level
indication (
16
).
25
16
Setting the cutting depth
The cutting depth can be set in steps of 0.1 mm in the range
between 0 mm and 1.5 mm.
1. You can set the desired cutting depth at the rotary
knob (
4
).
4
Mounting the rip fence
The rip fence serves as a guide for precise working at the edge
of a workpiece. Furthermore, you can use the rip fence to
reduce the width of the planing track or of the base plate resting
on the workpiece.
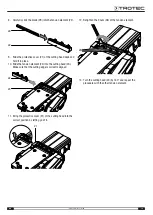
Proceed as follows to mount the rip fence:
1. Use the fastening screw (
3
) to fasten the rip fence (
11
) to
the left side of the device. Note that the guide rail (
26
)
must always point downwards.
3
11
26
2. Loosen the set screw (
27
) to adjust the width of the base
plate (
7
) or the position of the guide.
7
27
3. Tighten the set screw (
27
) after the desired position has
been set.
Info
If you are using the rip fence, apply slight lateral
pressure on the device while guiding it over the
workpiece.


