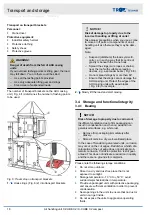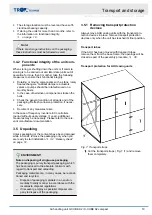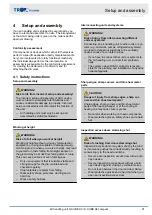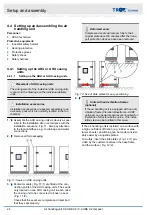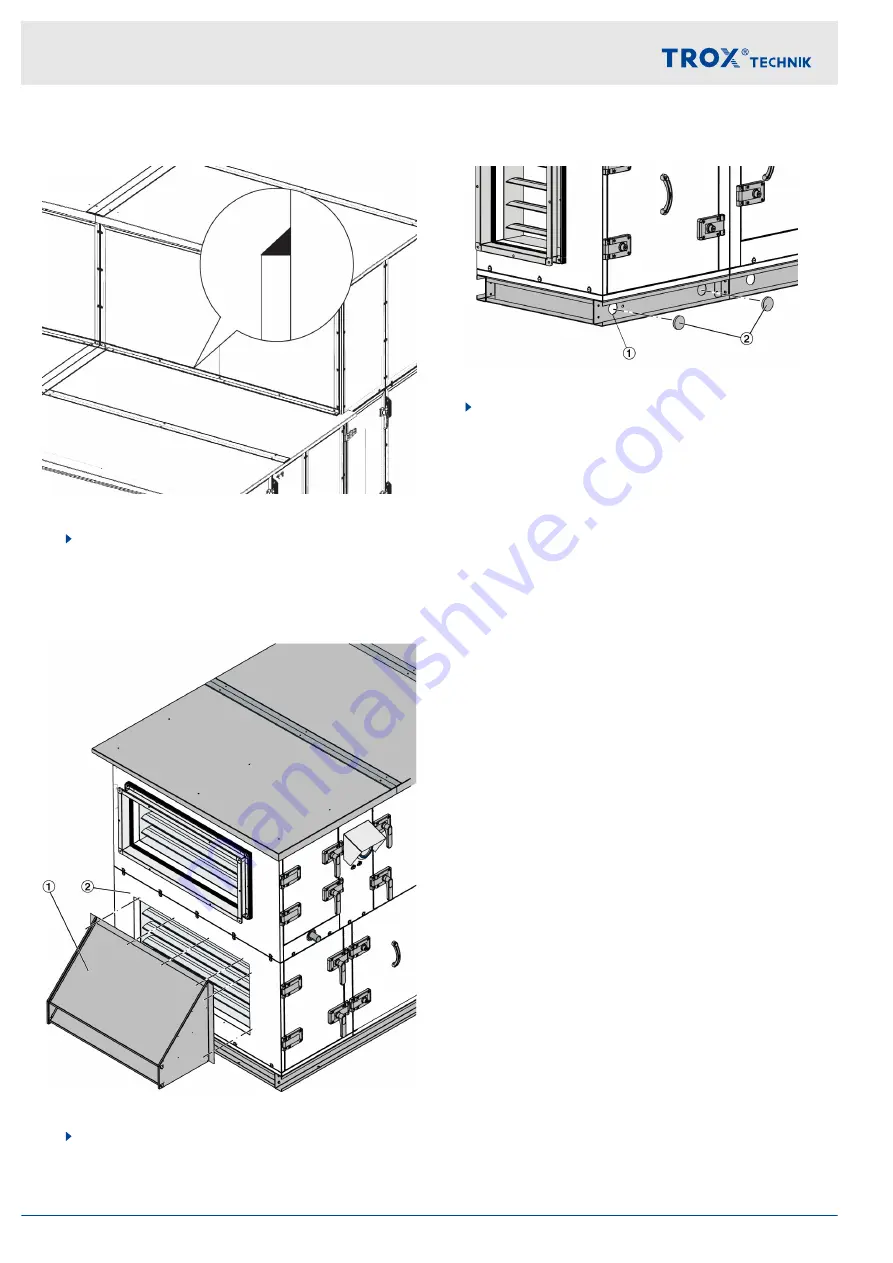
Stacked units (step design)
Fig. 22: Step design
3.
Fix the connecting angle section for the roof seg-
ment with self-drilling screws and seal it with
sealant.
Attaching the weather hood
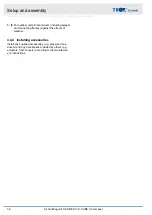
Fig. 23: Positioning the weather hood
Position the weather hood ( Fig. 23 /2) flush with
the hole pattern on the panel ( Fig. 23 /1) and
screw on with pan head screws (M6x12).
Fitting base frame plugs
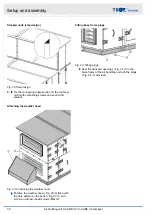
Fig. 24: Fitting plugs
Seal the transport openings ( Fig. 24 /1) in the
base frame of the air handling unit with the plugs
Setup and assembly
Setting up and assembling the air handling unit > Additional assembly steps for outdoor units
Air handling unit X-CUBE X2 / X-CUBE X2 compact
30


