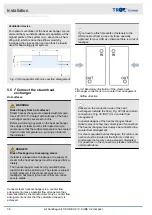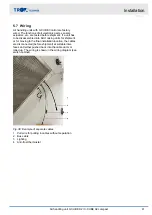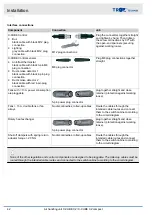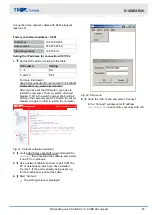
Personnel:
HVAC technician
Protective equipment:
Industrial safety helmet
Hearing protection
Protective clothing
Protective gloves
Safety shoes
NOTICE!
Risk of damage to property from incorrect pipe
connections!
Take care to connect the heat exchanger pipes cor-
rectly as otherwise the pipes may twist or become
subject to adverse effects. This may eventually
damage the heat exchanger beyond repair.
–
Connect pipes in such a way that the heat
exchanger is not affected by vibration and that
no loads are imposed on it.
–
If there is too much weight on a water pipe (by
others), support the water pipe.
–
Do not use the connection point of the heat
exchanger as a fixing point for other parts.
–
If an AHU is installed outdoors, use suitable
pipes and protect them from frost.
5.6 Connecting the run around coil
system
The proper connection of the pipework between the
heat exchangers of the AHU and the hydraulic unit is
carried out by the customer.
Connect heat exchangers in a counter flow arrangement
as only a counter flow arrangement ensures that the
calculated capacity is achieved. Use only suitable parts
and materials and use only the marked connection
points to connect the hydraulic unit.
If you have to attach brackets or fasteners to the
AHU panels or frame, use only those specially
approved for your AHU as otherwise there is a risk of
leakages.
Setting up and connecting the hydraulic unit
Personnel:
HVAC technician
Protective equipment:
Industrial safety helmet
Hearing protection
Protective clothing
Protective gloves
Safety shoes
Safety harness
Fig. 35: Setting up the hydraulic unit
1.
Install the hydraulic unit so that it is parallel to the
wall and floor.
2.
Alignment of the hydraulic unit
using level-
ling feet
(optional)
- Adjust the feet of the hydraulic
unit so that it is level (use a
19 mm wrench).
without feet
- Level out floor unevenness using
materials provided by others,
e.g. rubber or elastomer sheets.
Installation
Connecting the run around coil system
Air handling unit X-CUBE X2 / X-CUBE X2 compact
39


