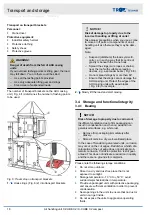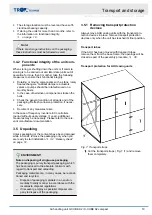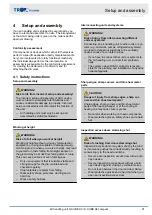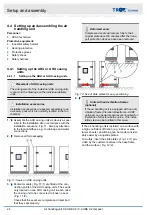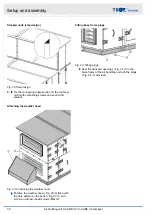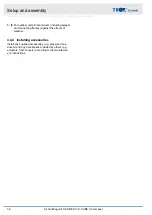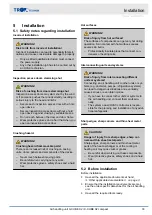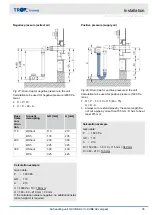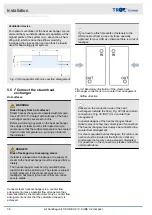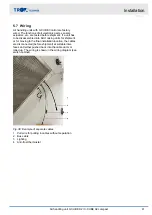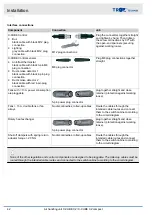
Installing the noise insulating connector
If the noise insulating connector has been supplied separately, install it once the AHU has been erected and assem-
bled. Depending on the AHU construction variant the noise insulating connector has to be attached to the panel or to
a multileaf damper.
Fig. 19: Installing the noise insulating connector
Supplied assembly material
No.
Description
Part no.
Panel
Multileaf damper
Galvanised
steel
Stainless steel
Galvanised
steel
Stainless steel
①
Noise insulating connector
②
Thread forming socket cap head
screw M6
×
40
A00000055910 A00000055911
–
–
③
Washer
∅
d 6.4
M332AA3
M333AA3
M332AA3
M333AA3
④
Rubber seal 17
×
6.5
×
3
M338BD0
⑤
Socket cap head screw M6
×
40
–
–
A00000018868 A00000056190
⑥
Washer
∅
d 6.4
–
–
M332AF9
M333AC3
⑦
Nut M6
–
–
M332AD6
M323AA3
⑧
Ground cable
A00000026651
⑨
Lock washer, serrated
M332KB4
A00000045194
M332KB4
A00000045194
⑩
Pan head screw M6
×
12
M852AC6
⑪
Socket cap head screw M6
×
30
M852AC4
Setup and assembly
Setting up and assembling the air handling unit > Assembling AHU casing units
Air handling unit X-CUBE X2 / X-CUBE X2 compact
28


