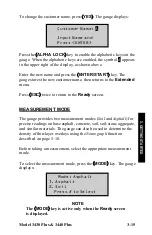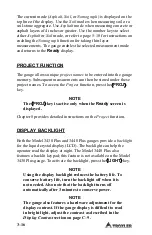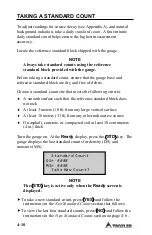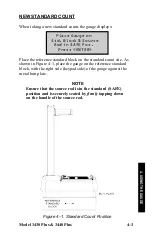
Model 3430 Plus & 3440 Plus
3–7
TURNING THE GAUGE ON
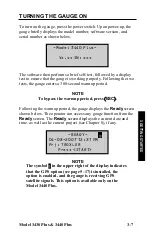
To turn on the gauge, press the power switch. Upon power-up, the
gauge briefly displays the model number, software version, and
serial number as shown below.
The software then performs a brief self-test, followed by a display
test to ensure that the gauge is working properly. Following the two
tests, the gauge enters a 300-second warmup period.
NOTE
To bypass the warmup period, press
〈
ESC
〉
.
Following the warmup period, the gauge displays the
Ready
screen
shown below. The operator can access any gauge function from the
Ready
screen. The
Ready
screen displays the current date and
time, as well as the current project (see Chapter 8), if any.
NOTE
The symbol
in the upper right of the display indicates
that the GPS option (see page 5–17) is installed, the
option is enabled, and the gauge is receiving GPS
satellite signals. This option is available only on the
Model 3440 Plus.
3. G
ETTI
NG
S
TA
RTE
D
Summary of Contents for 3430 Plus
Page 3: ...Model 3430 Plus 3440 Plus iii ...
Page 7: ...Model 3430 Plus 3440 Plus vii NOTES ...
Page 10: ......
Page 14: ...Model 3430 Plus 3440 Plus xii NOTES ...
Page 16: ...xiv NOTES ...
Page 30: ...2 6 NOTES ...
Page 64: ...4 NOTES ...
Page 98: ...7 NOTES ...
Page 122: ...9 NOTES ...
Page 142: ...Appendix A 20 NOTES ...
Page 178: ...Appendix D 2 STANDARD COUNT LOG Gauge Serial Number Date MS DS Date MS DS ...
Page 180: ...Appendix D 4 STANDARD COUNT LOG Gauge Serial Number Date MS DS Date MS DS ...
Page 190: ...Appendix F 8 NOTES ...
Page 194: ...Appendix G 4 NOTES ...
Page 200: ...Appendix H 6 NOTES ...
Page 215: ...Model 3430 Plus 3440 Plus Index 11 W Wide Area Augmentation System WAAS 2 Y YES key 3 4 INDEX ...
Page 216: ...Index 12 NOTES ...
Page 217: ...Model 3430 Plus 3440 Plus Warranty 1 NOTES WARRANTY ...

