13
Combination Gauge Calibration
Note
: Be sure that the camber has already been calibrated on each Combi gauge and the Laser
Guns have been calibrated with the Fixed Return Mirrors.
1) Place the Combi Gauges on the disks closest to the Fixed Return Mirror (with the mirrors
facing the Laser Guns).
2) Set the toe dials to zero, on both the Laser Guns and the Combi Gauges.
3) Point the lasers at the Combi mirrors. The lasers should be roughly in the center of the
mirror.
4) Check the laser on the Run-Out scale of each Laser Gun. If the laser reflects back to the
center of the hole of the laser guns scales, then the Combi is calibrated; no further
adjustment is needed. If either of the lasers does not reflect back to the hole, then follow
these steps:
a. Adjust the toe knob of the Combi gauge until the laser returns to the hole on the
Thrust Angle scale.
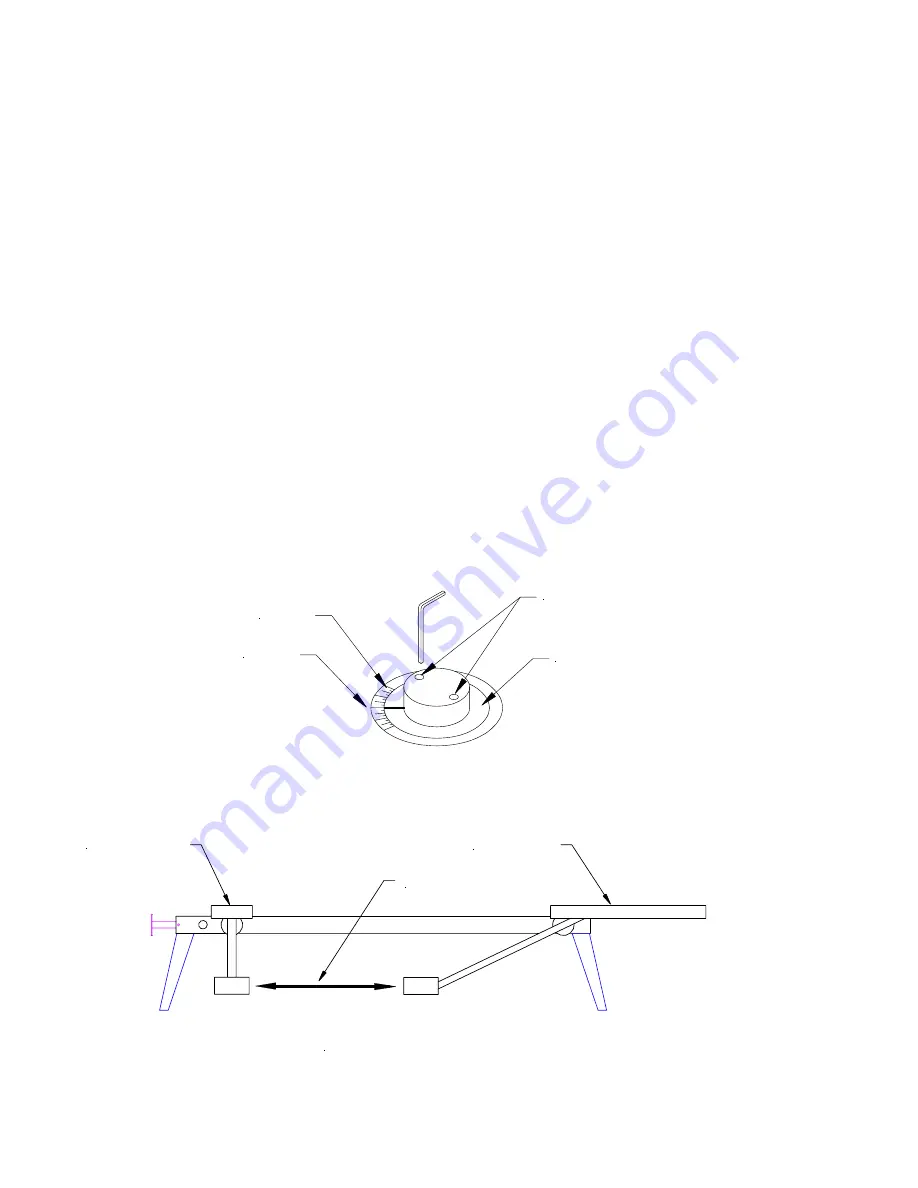
b. Set the dial ring to zero on the scale of the Combi gauge. To do this, loosen the hex
1/16 screws on the toe knob enough to move the dial ring freely. Set the dial ring to
zero, and check to make sure the laser is still returning to the #5. Now tighten the
hex screws.
RING SCALE
ZERO MARK
ALLEN SCREW
S
DIAL RING
5)
When the laser reflects off the Combi mirrors, returns to the hole on the Run-Out
scales, and all four dial rings are set to zero, the Combi gauges are calibrated.
COMBI GAUGE
LASER BEAM
COMBI GAUGE CALIBRATION
LASER GUN
Next:
Calibrating the Frame Centering Flags


