Removal & Replacement
600U
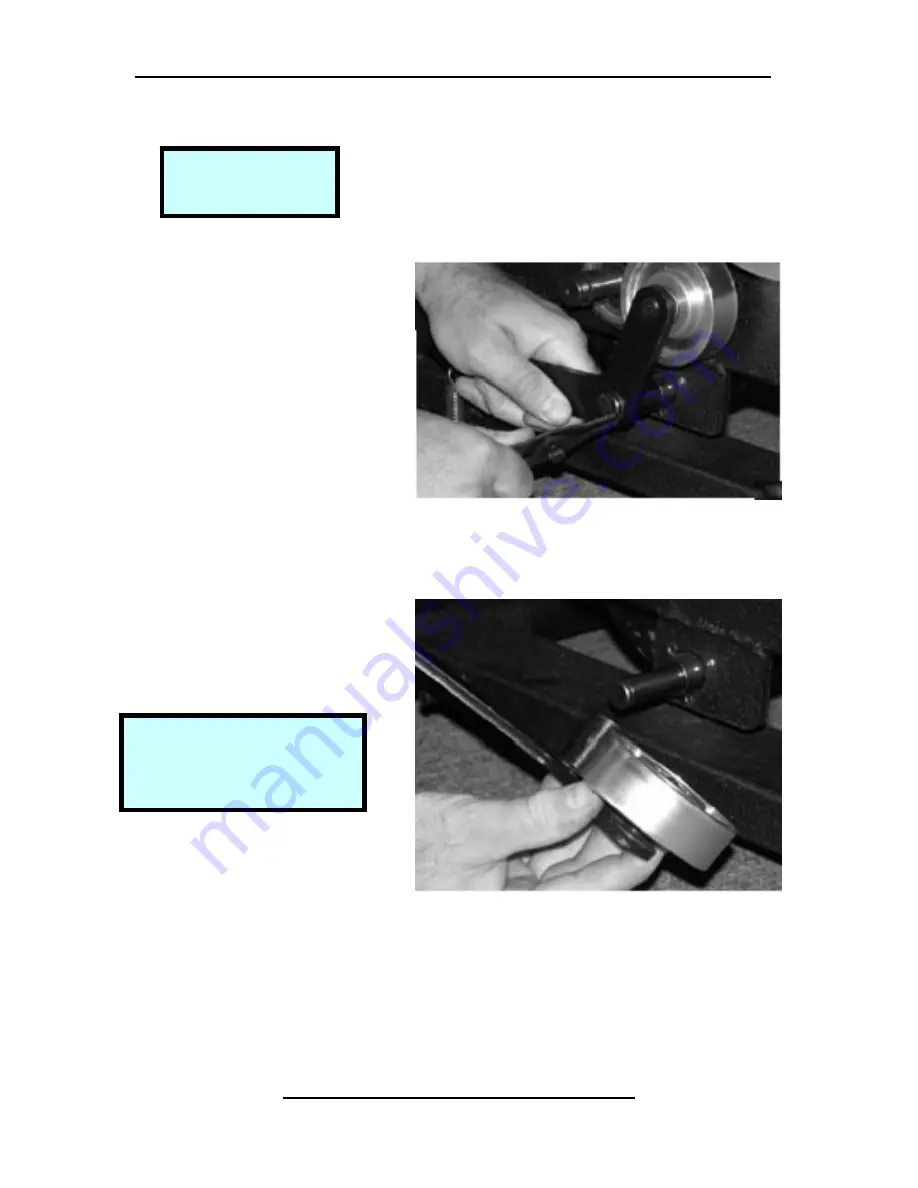
Remove Right Side Tensioner Assembly
Step 1.
Remove snap ring.
Step 2.
Slide tensioner assembly off pivot
shaft.
Copyright 2001 True Fitness Technology, Inc.
Page 77
Tools Required:
Snap Ring Pliers
Step 1.
Remove Snap Ring
Step 2.
Slide Tensioner Assembly
Note:
Frame is slotted to allow
brake bracket to slide when
bolts are loose.
Summary of Contents for 500R
Page 19: ...WIRING DIAGRAMS TR TU 500 Page 18 600 U Page 19 600 R Page 20 TR TU 750 Page 21 Page 17 ...
Page 20: ...Page 18 TR TU 500 WIRING DIAGRAM ...
Page 21: ...Page 19 TU 600 WIRING DIAGRAM ...
Page 22: ...TR 600 WIRING DIAGRAM Page 20 ...
Page 23: ...Page 21 TR TU 750 WIRING DIAGRAM ...
Page 24: ...Page 22 ...
Page 26: ...Page 24 ...
Page 29: ...Page 27 TR 500 Exercise Bike ...
Page 32: ...Page 30 ...
Page 34: ...TU 600 PARTS DIAGRAM Page 32 ...
Page 37: ...TR 600 PARTS DIAGRAM Page 35 ...
Page 40: ...Page 38 ...
Page 42: ...Page 40 TU 750 PARTS DIAGRAM 3 PIECE CRANK ...
Page 45: ...Page 43 TU 750 PARTS DIAGRAM 1 PIECE CRANK ...
Page 50: ...Page 48 ...
Page 53: ...TR 750 PARTS DIAGRAM After 08 05 01 and Prior to Serial 02 RE0283C Page 51 ...
Page 56: ...Page 54 TR 750 PARTS DIAGRAM After Serial 02 RE0283C 1 Piece Crank ...
Page 59: ...True Fitness Removal Replacement 500R 500U 600U 600R Page 57 ...


