


............ www.truemfg.com ............
............ www.truemfg.com ............
True Food Service Equipment, Inc.
True Food Service Equipment, Inc.
9
9
9
9
S
helf
Clip
S
helf
SHELVING INSTALLATION / OPERATION
INSTALLATION / OPERATION INSTRUCTIONS
INSTALLATION / OPERATION INSTRUCTIONS
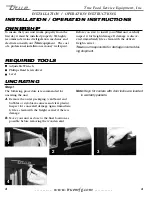
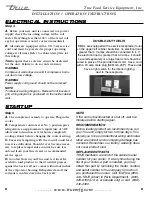
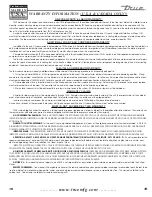
SHELF INSTALLATION:
A. Hook shelf clips onto shelf standards.
(See image 1). Make sure front shelf clip is posi-
tioned at a lower height. (See image 2).
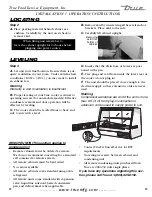
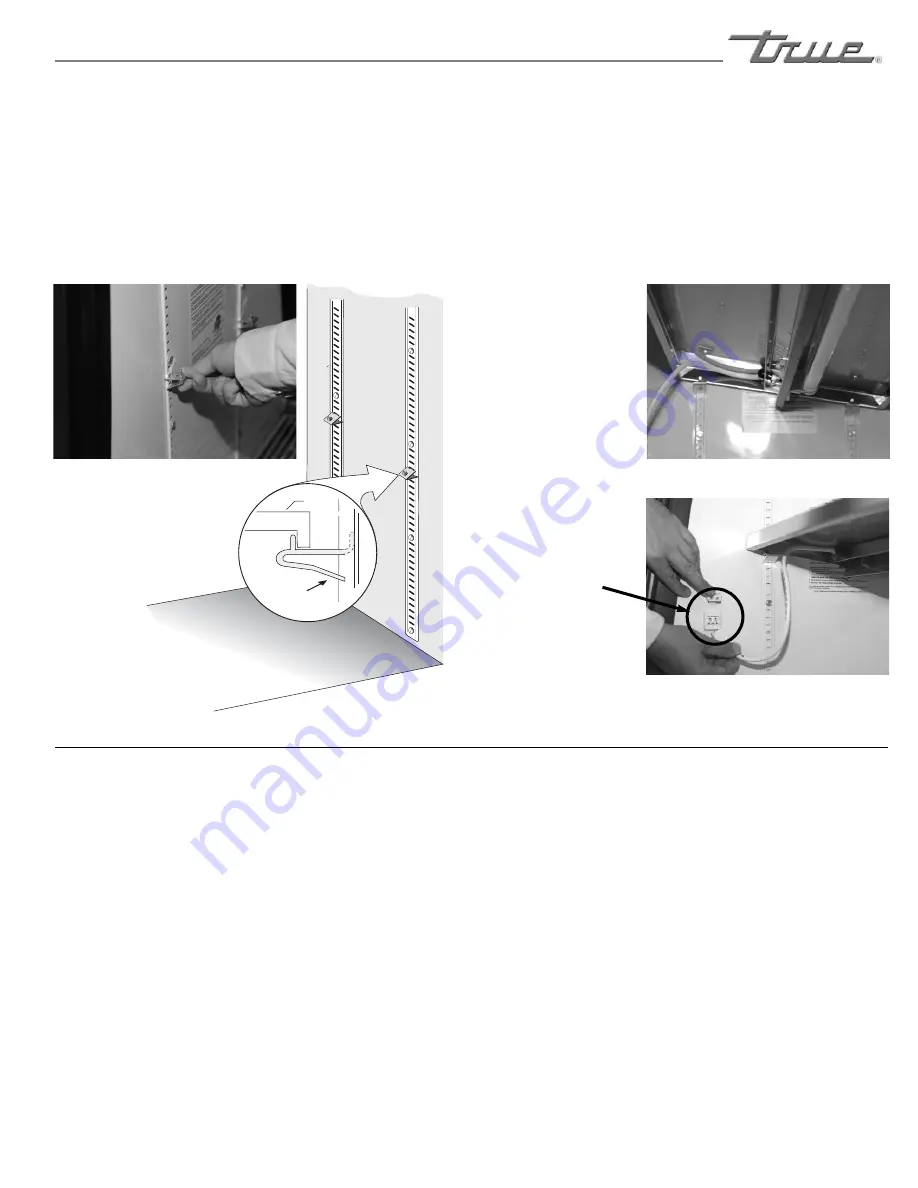
B. After installing shelf clips position the shelf on
the clips. (See image 2). Make sure the plug for the
shelf lighting is on the correct side for the electrical
connection. When shelf is in position you can plug
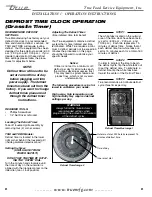
in the shelf lighting. (See image 3).
Image 3
Electrical connection
for the shelf lighting.
Important:
If all shelving lights are
not plugged in or plug
cap is not closed. All
shelving lights will
not turn on.
Image 1
Shelf clip installation.
Image 2
Shelf clips are installed
with the front clip
lower than the rear
clip. This will allow
the shelf to tilt
forward.
Optional
A. It may be necessary to seal the deli to the floor
for local sanitary codes or if the customer so
desires. True recommends either of the following
methods:
B. Using a vinyl cove base trim as produced by
Armstrong, Johnson, or Kentile (available at floor
covering suppliers)
or
C. Using mastics available at hardware stores.
D. When applying the cove base trim, thorouly
clean both the cabinet and floor of dirt and grease.
Apply a recommended contact cement to the cove
base trim. After cove base trim has dried, fill in
cracks and joints with a caulking material.
E. When applying a mastic, draw an outline of the
cabinet on the floor. Raise and block the front side
of the cabinet. Apply a bead of mastic to the floor
1/2” inside the outline drawn. Lower the cabinet.
Raise and block the rear side of the cabinet. Apply
the bead of mastic, lower the cabinet.
SEALING CABINET TO FLOOR