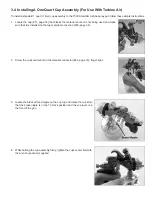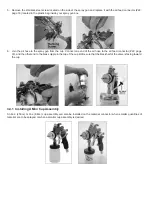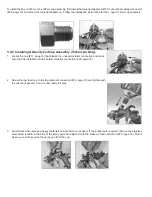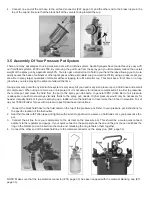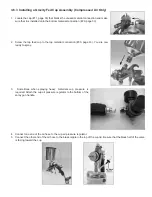
3.8 Installing Cup Air Regulator And Gauge (Compressor Only)
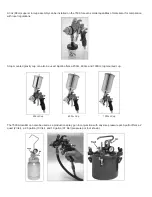
(Optional item)—Recommended when using gravity cup with pressure. When using The 7500 AtomiZer® with compressed
air and a pressurized gravity cup, it is necessary to regulate the pressure to the cup to ensure proper delivery of material
to the spray nozzle (approximately 3psi – 5psi). Failure to install the air regulator can result in leakage around the cup
seal, and/or poor finish quality. No regulator is necessary when using The 7500 AtomiZer as a production spray gun from a
pressure pot system or other styles of cup assemblies.
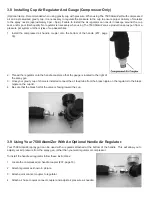
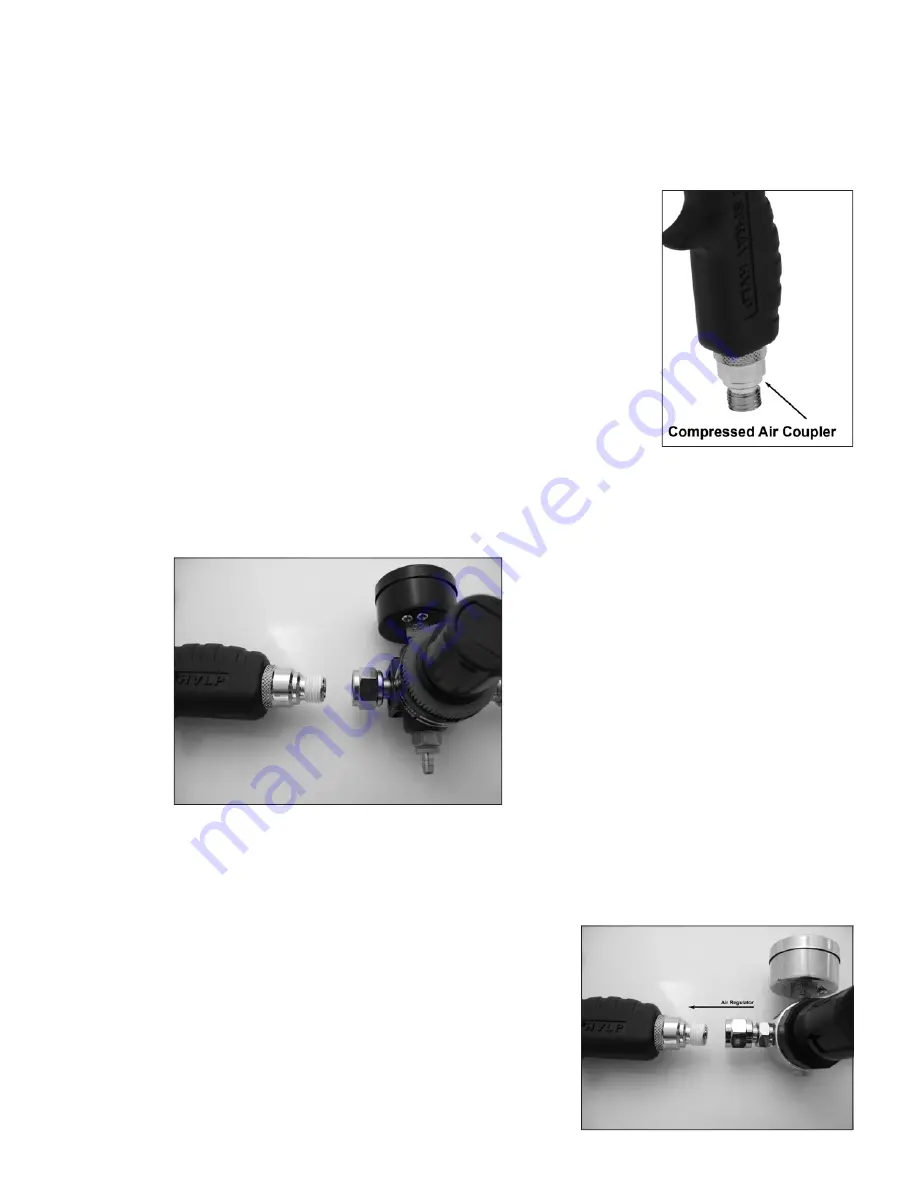
1. Install the compressed air handle coupler onto the bottom of the handle (#37, page
33).
2. Thread the regulator onto the handle coupler so that the gauge is located to the right of
the spray gun.
3. Once your gravity cup of choice is installed connect the air feed tube from the brass nipple on the regulator to the brass
nipple on the cup lid.
4. Be sure that the black half of the valve is facing toward the cup.
3.9 Using Your 7500 AtomiZer With An Optional Handle Air Regulator.
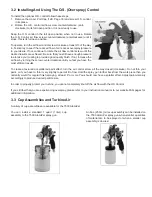
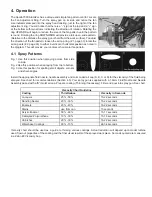
Your 7500 AtomiZer spray gun can be used with a regulator attached at the bottom of the handle. This will allow you to
adjust your air pressure from the spray gun, rather than your wall regulator or compressor.
To install the handle air regulator follow these instructions:
1. Locate the compressed air handle coupler (#37, page 33).
2. Attach regulator as shown in picture.
3. Attach quick connect coupler to regulator.
4. Attach air hose to quick connect coupler and adjust air pressure as needed.
Summary of Contents for Apollo 7500 AtomiZer
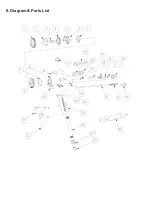
Page 32: ...8 Diagram Parts List...

