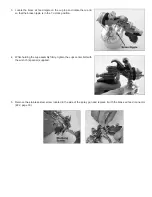

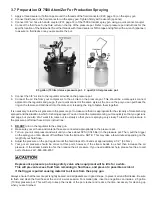
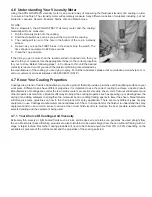
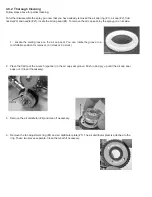
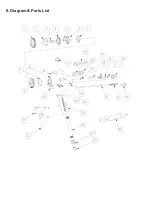

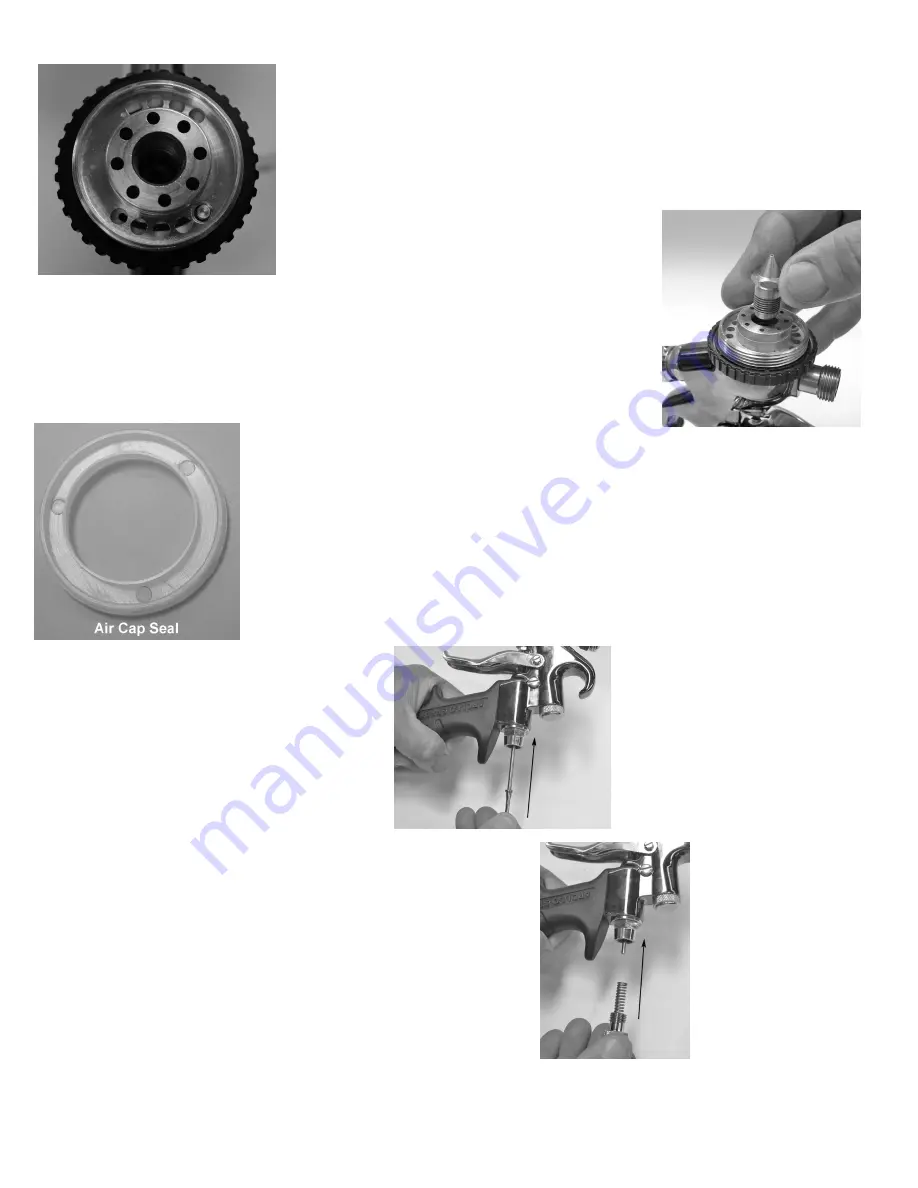
3. Holding the head of the spray gun facing you, place the Air Distributor
Assembly onto the body of the spray gun aligning the round hole with the
locating pin in the spray gun body at the 5 o’clock position and in the 5
th
smaller hole to the far right.
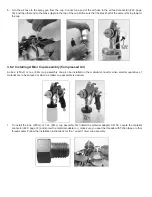
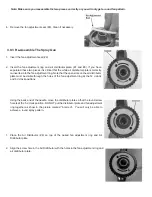
4. Screw the fluid nozzle (#3) back onto the spray gun,
finger tight. Rotate the fan adjustment ring to be sure it rotates freely and easily. Tighten
the nozzle slightly more with the wrench (spanner). Rotate fan adjustment ring again. Do
not over tighten the fluid nozzle as it will stop the fan adjustment ring from rotating. If too
tight, back off slightly. Be sure that the fluid nozzle is not too loose or leaking will occur.
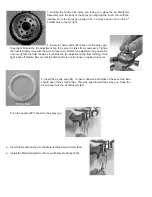
5. Insert the air cap seal (#4). To insert, observe both sides of the seal. One side
should have three small circles. This side goes toward the spray gun. Snap the
air cap seal onto the air distributor (#6).
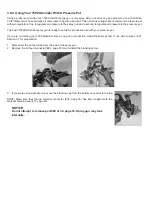
Push the needle (#21) back into the spray gun.
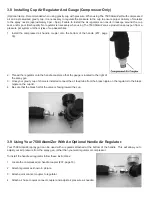
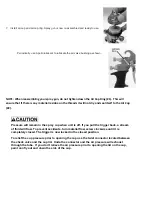
5.
Insert the Needle spring into the Material Adjustment Screw (#19).
6.
Install the Material Adjustment Screw with Needle Spring (#20).
Summary of Contents for Apollo 7500 AtomiZer
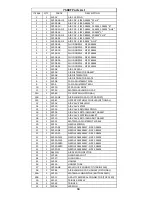
Page 32: ...8 Diagram Parts List...